Bilibili’s First AI Advertisers Are Already Using AI Ads: A Hands-On Guide to Recreating Their AIGC Creatives
Contents · 4 sections
As a long-time Level 6 Bilibili user, I recently stumbled upon an amazing phenomenon while browsing the site:A large number of image ad slots have quietly been filled with AIGC ad creatives.。
For example:
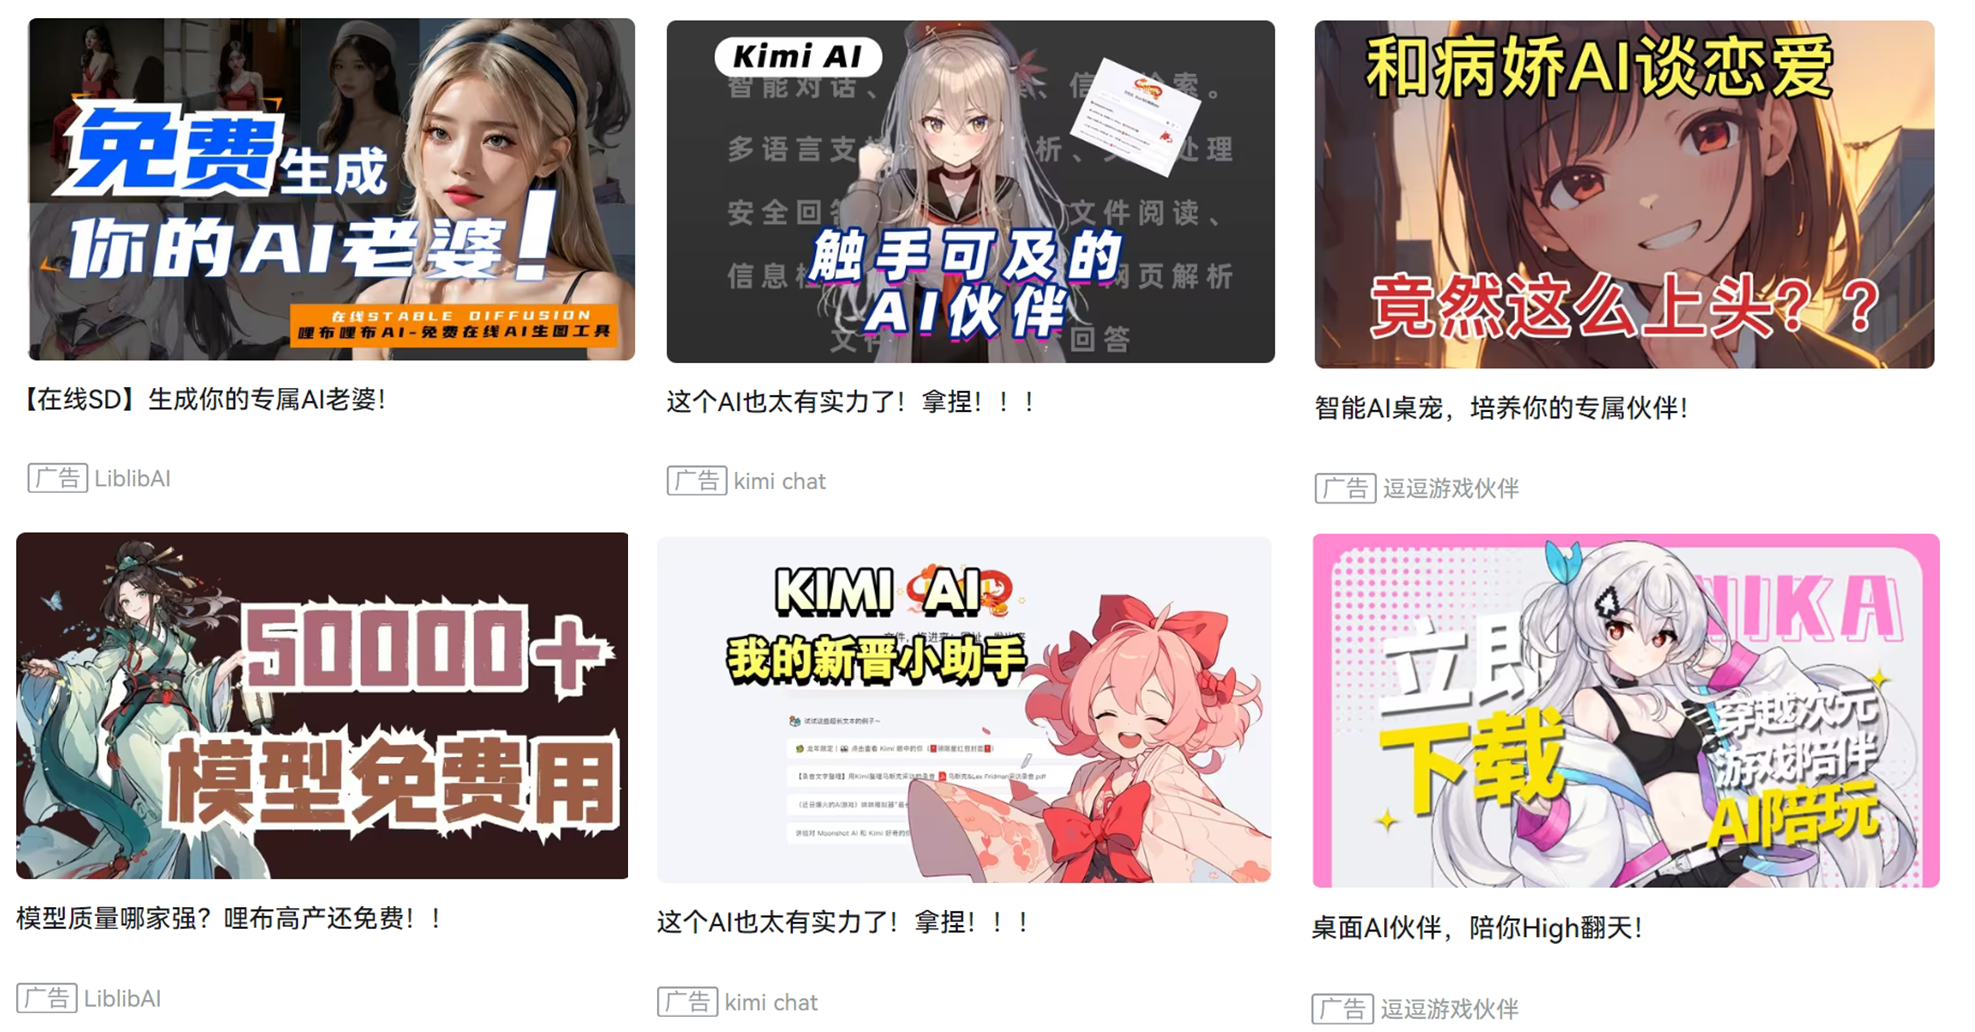
“It’s reasonable for an AI company to use AI-generated images.” / “It’s just anime stuff, not very useful.”
Hold your judgment and take another look:

This not only involves using AI to generate creatives but also selects piglets whose brains meet the standard.
Someone will immediately ask:
“How easy is it to generate these creatives with AI? We have no concept.”
Or
“Can you make one for me too?”
Don’t rush, we’ll explain step by step.
Getting Set Up
To do a good job, one must first sharpen one’s tools.
First, you needto be able to use Stable Diffusion。
If your PC’s performance is decent, you can choose local deployment. Beginners can simply install the webui integration package by Cyber Buddha Qiuye, which is very easy and comes with various plugins; if local deployment is not possible, you can also opt for online image generation websites, such as the first advertiser Liblib in the first ad image above.
Now let’s get started officially:
1. Realistic Dating-Event Ads
This is incredibly simple.
Here we need to use a real-person model. To simulate real scenes as much as possible, let’s first find acommercially usablereal-person model.
Coincidentally, the well-known SD1.5 model ‘MaiJu Realism’ meets the requirements.
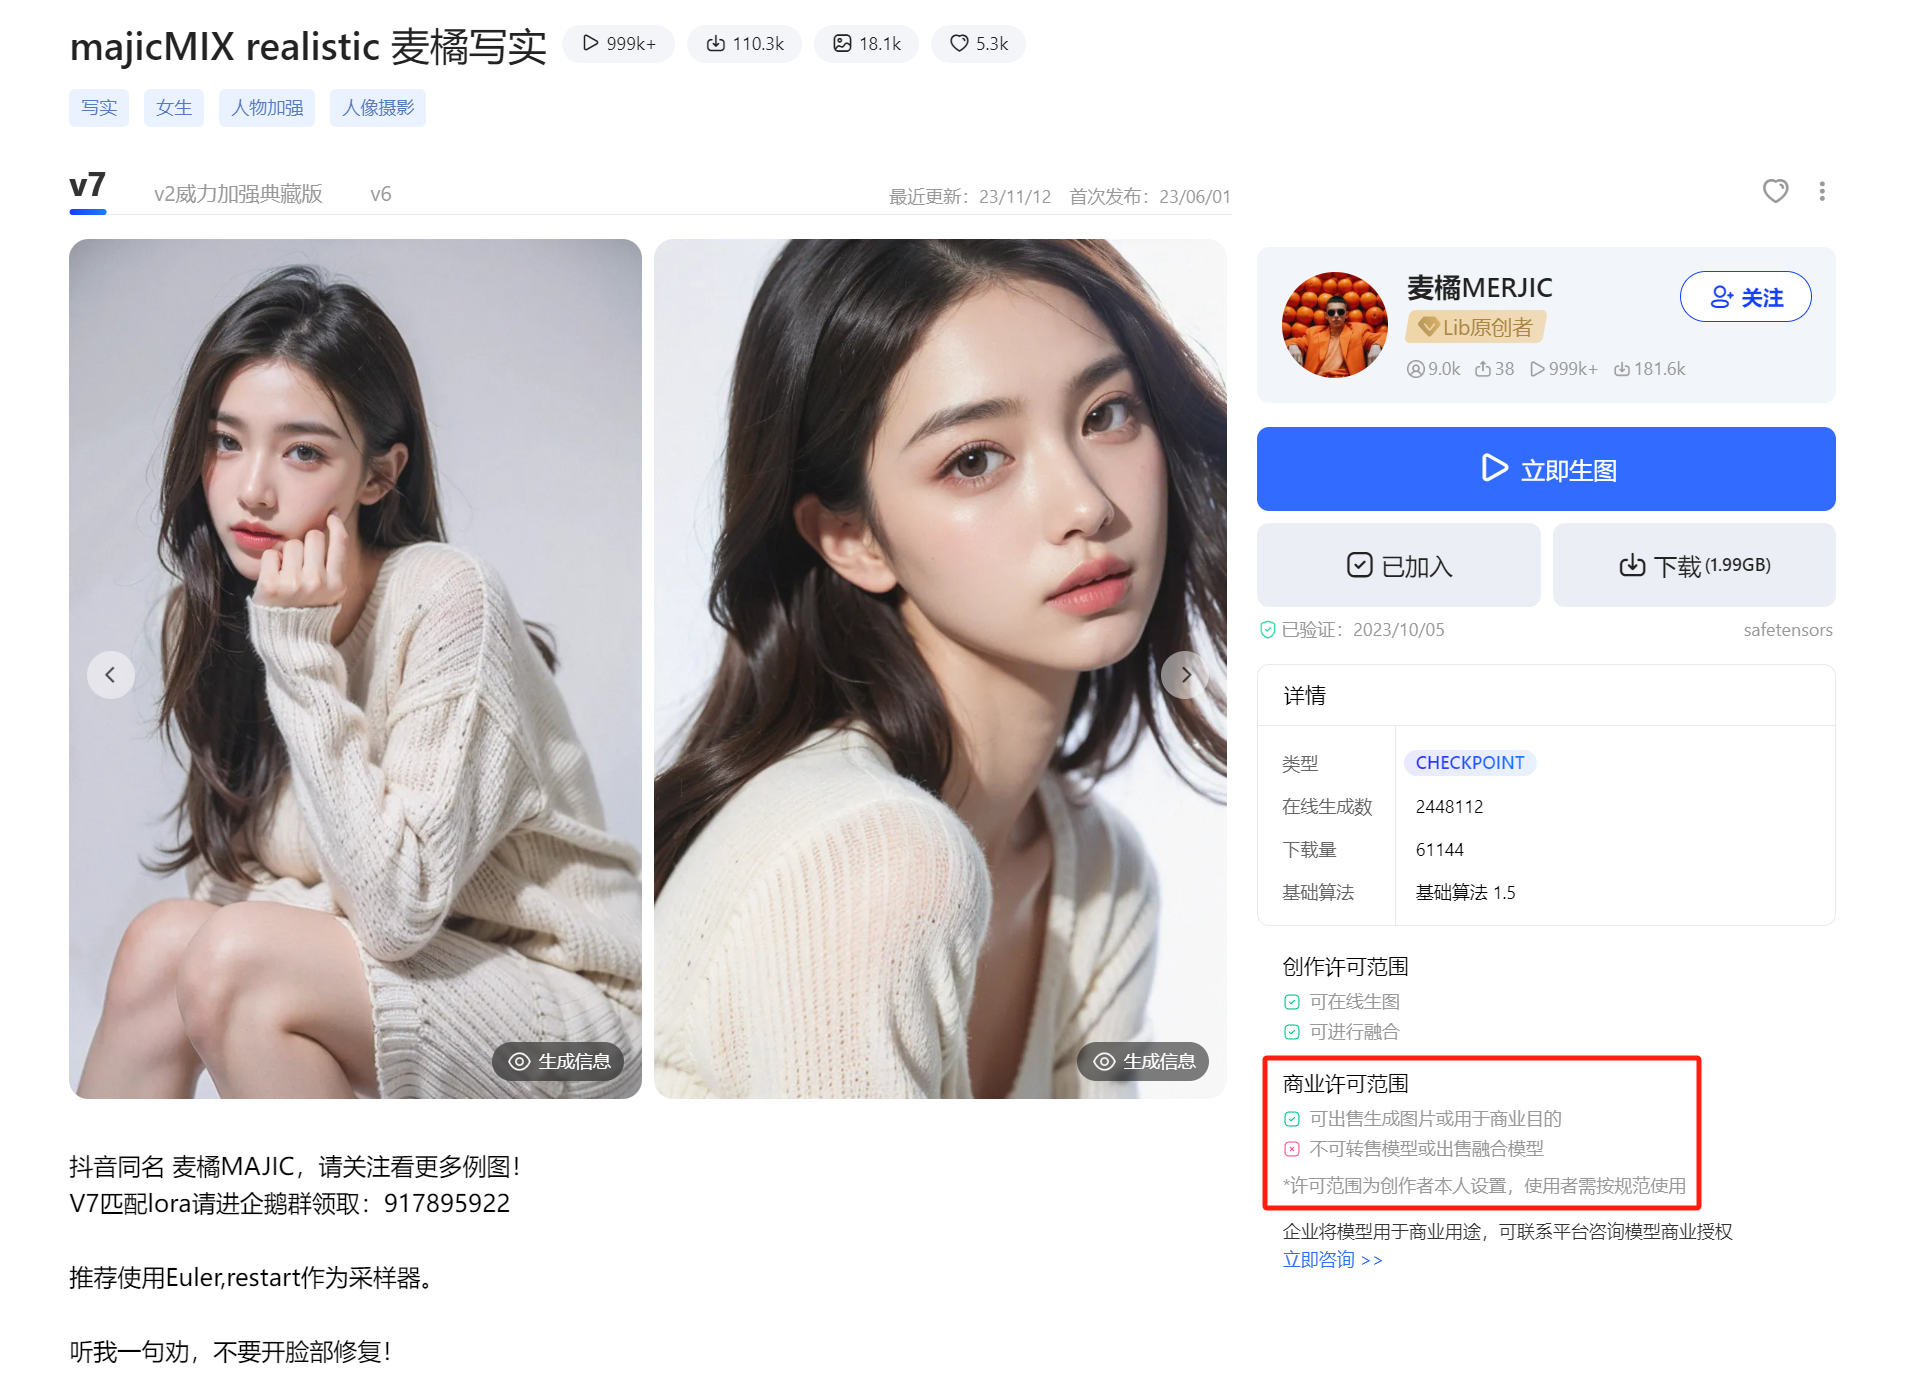
The first image of the original above is a bit sloppy—you can tell at a glance that it’s just a cropped version of the model’s cover image. They didn’t even bother changing parameters to run it once to make it look convincing, which is quite excessive.
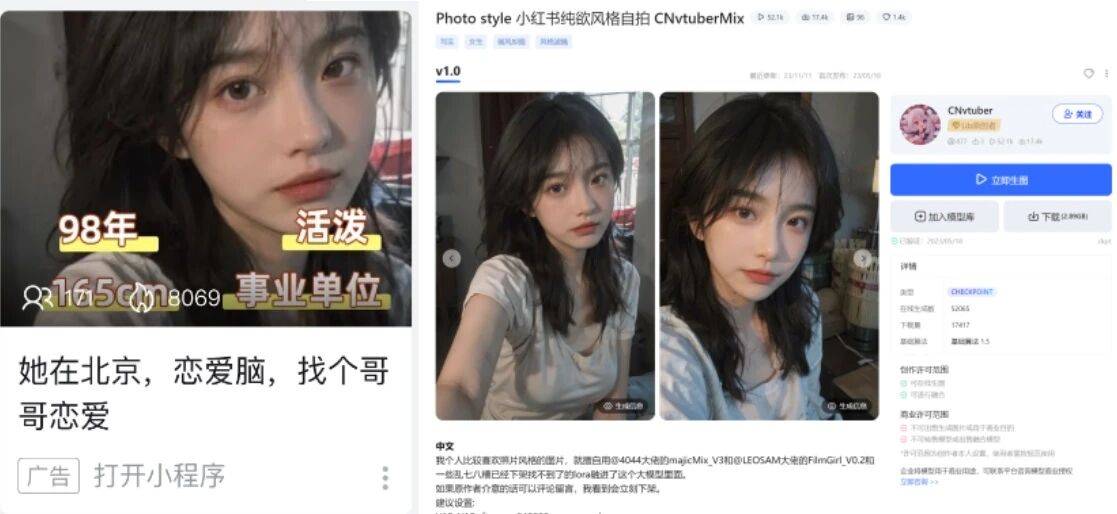
So we won’t recreate this one and will directly replicate the second image.
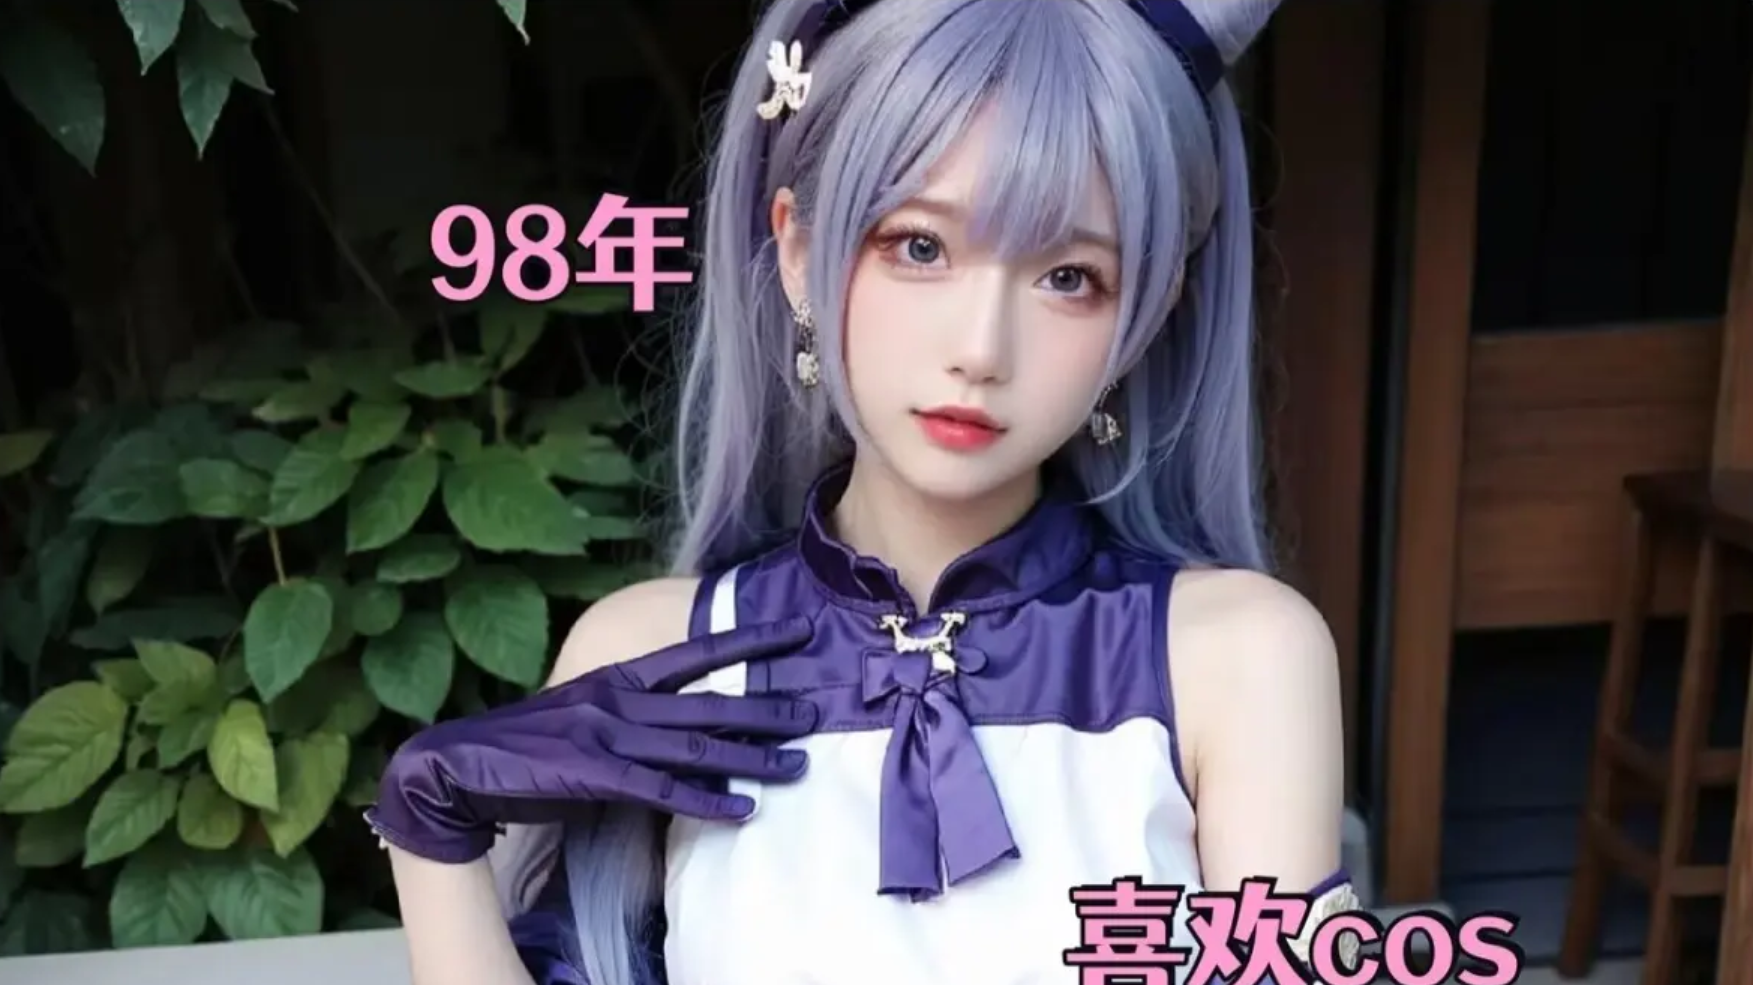
Ideally, you could just apply a Keqing LoRA for this image, but considering it’s for use as advertising material, it’s better not to make it look too similar to the original.
Let’s launch Stable Diffusion directly and switch the model to MaiJu Realism.
As it happens, I have an OpenAI API, so let’s start by doing something fun. If you’re using the AkiLeaf integration pack, it should come with this prompt plugin that can use ChatGPT to generate prompts.
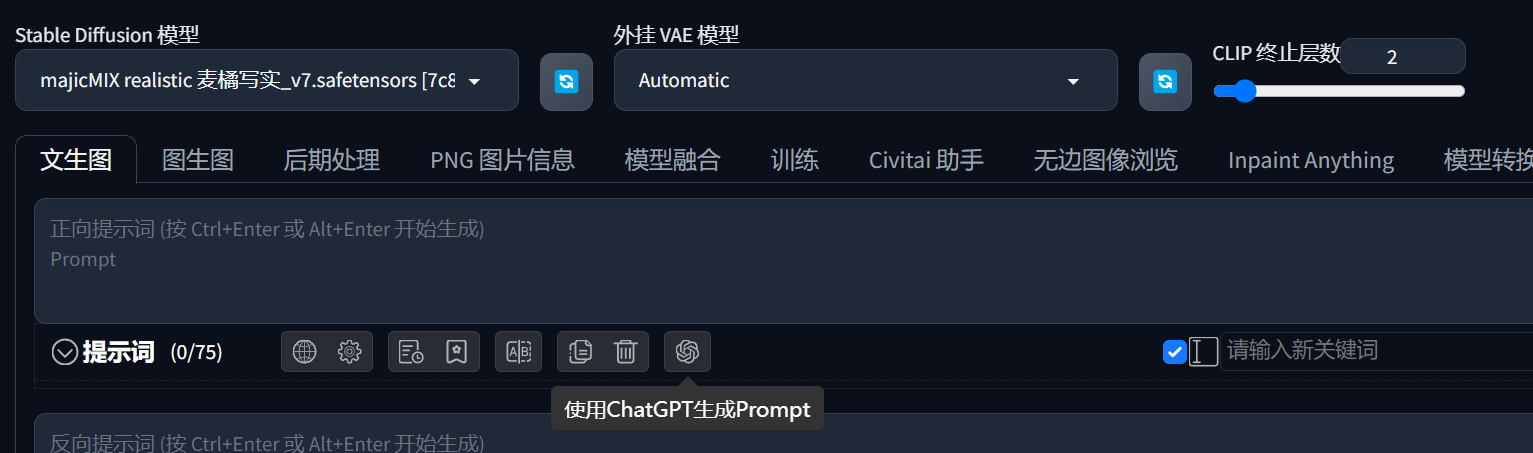
Enter the API, selecting GPT3.5 is sufficient, no need to use GPT4. Then describe the girl’s appearance in the original image.
A 20-year-old girl cosplaying as Keqing from Genshin Impact. She has purple hair and eyes, silver earrings, a purple bow tie, purple gloves, bare shoulders, posing for a photo by a wooden cabin on the roadside, facing the camera, with some greenery behind her.
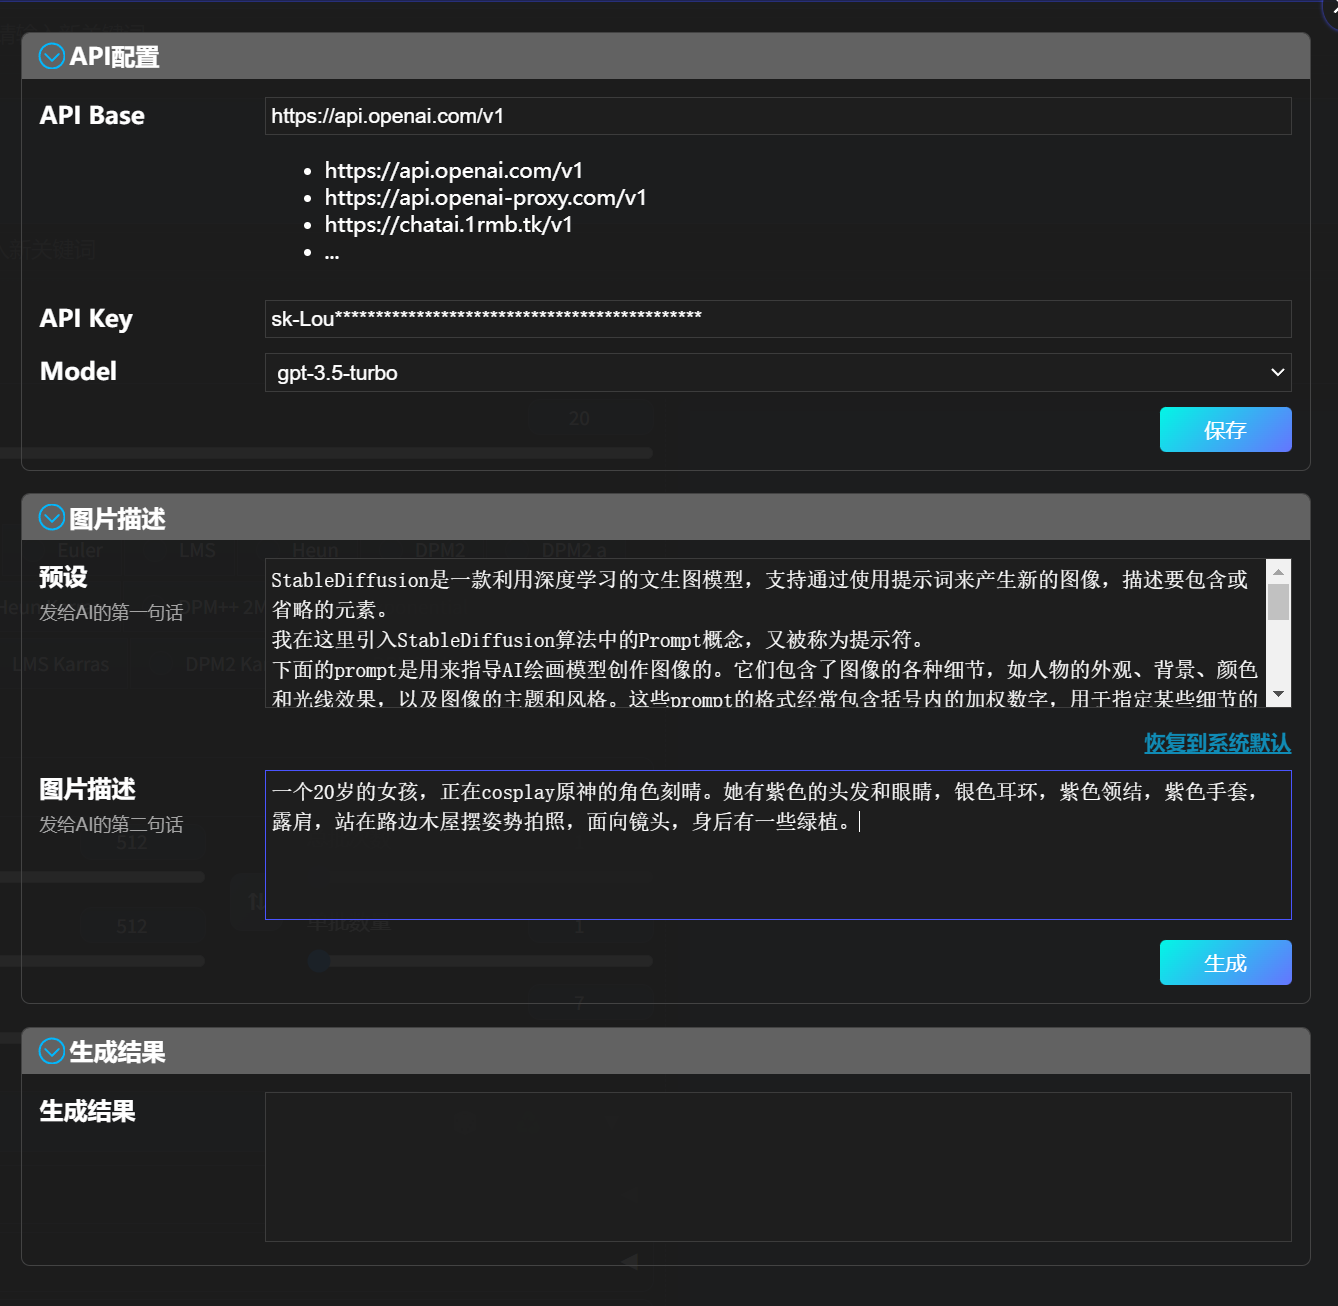
Click generate, and GPT directly provides the generation results. Click use again, and these prompts are automatically entered into the positive prompts.
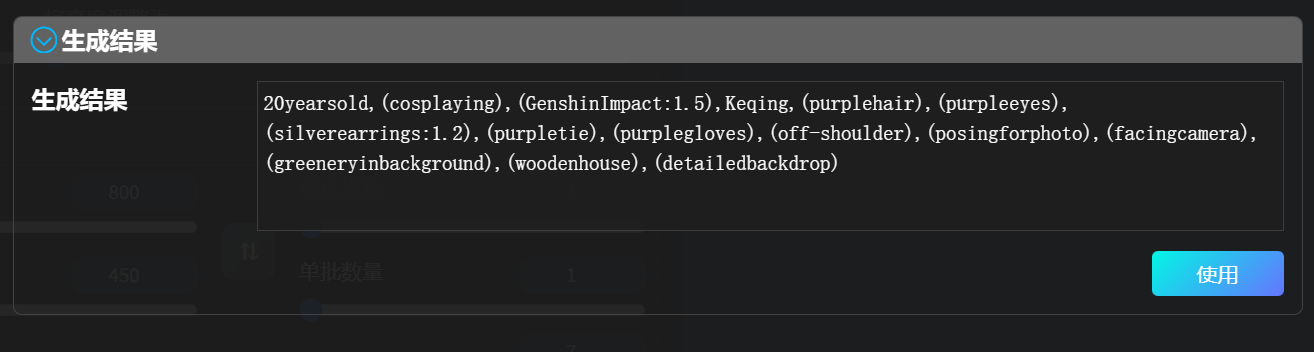
But this is not enough. We also need to add quality-related terms in the positive prompts, as well as input problematic hand terms and others in the negative prompts. However, these are readily available online, so I’ll just select three previously saved presets.
At the same time, to control the character’s proportion in the frame as much as possible and avoid a headshot, add a prompt ‘bust’ (half-body portrait) and slightly increase its weight.

Each preset comes with a set of pre-configured prompts.
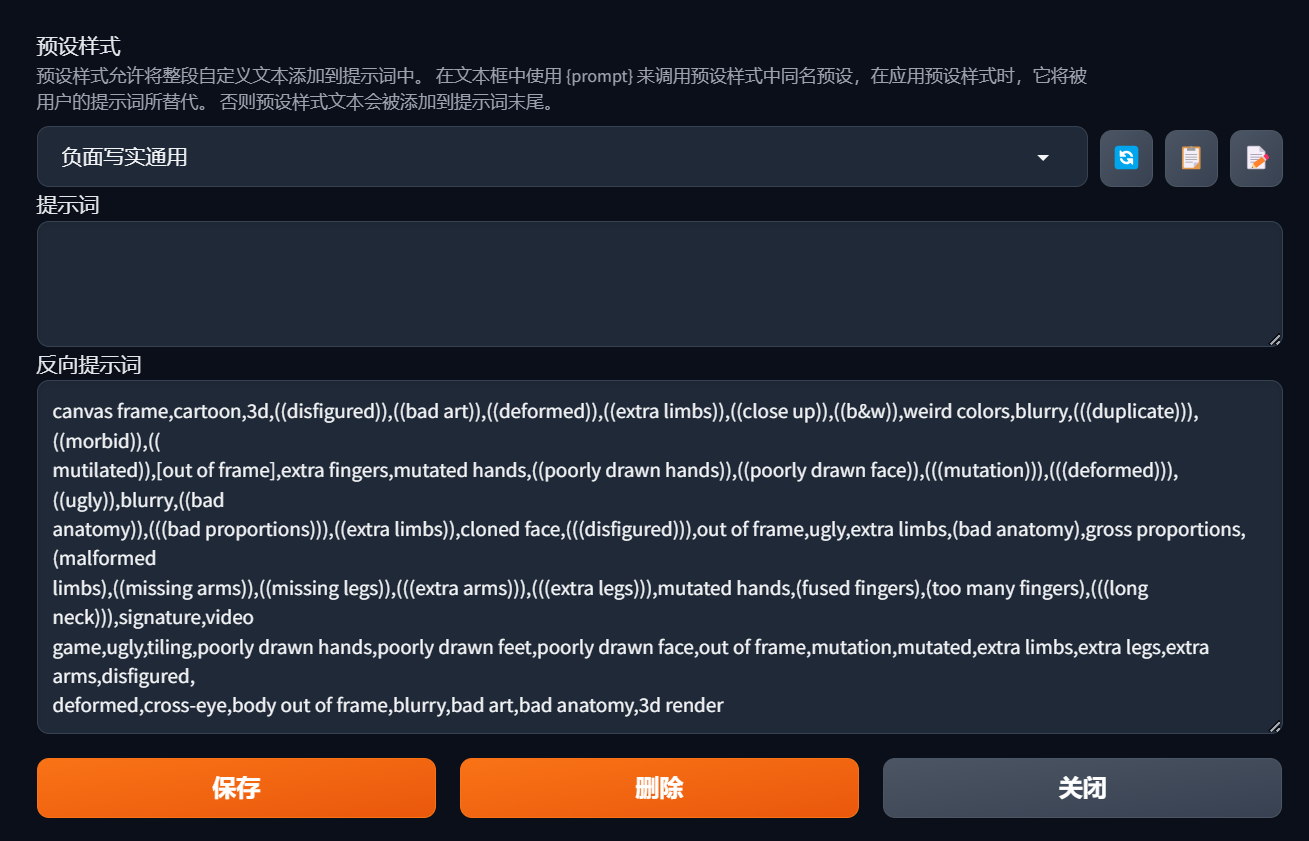
After adjusting the parameters, click ‘Generate’.
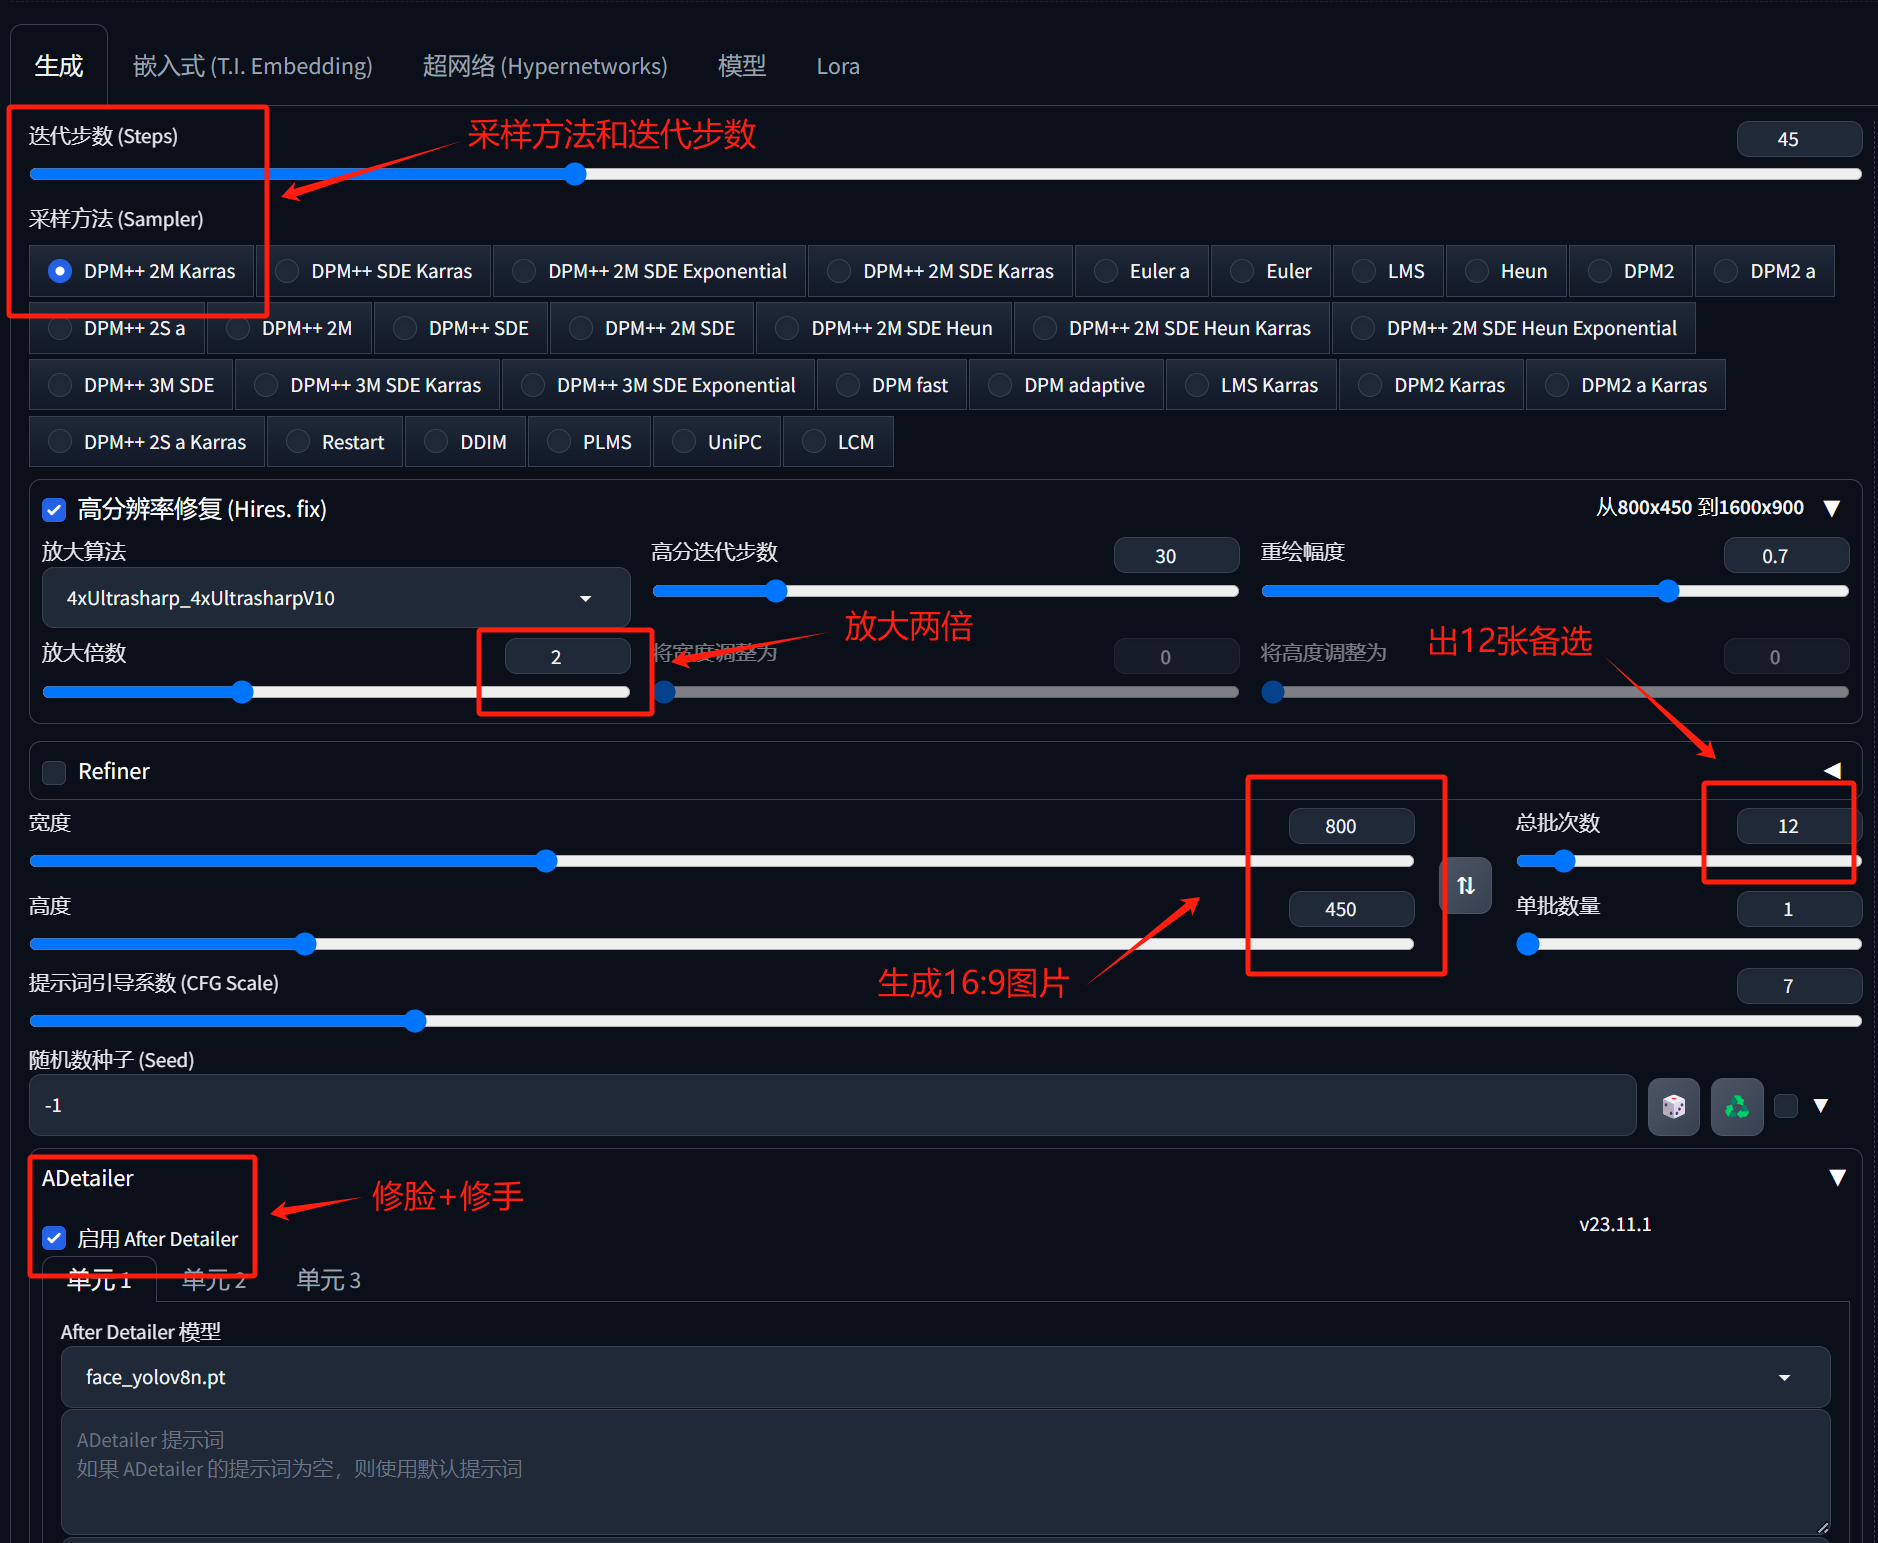
Then you get a version of the image:
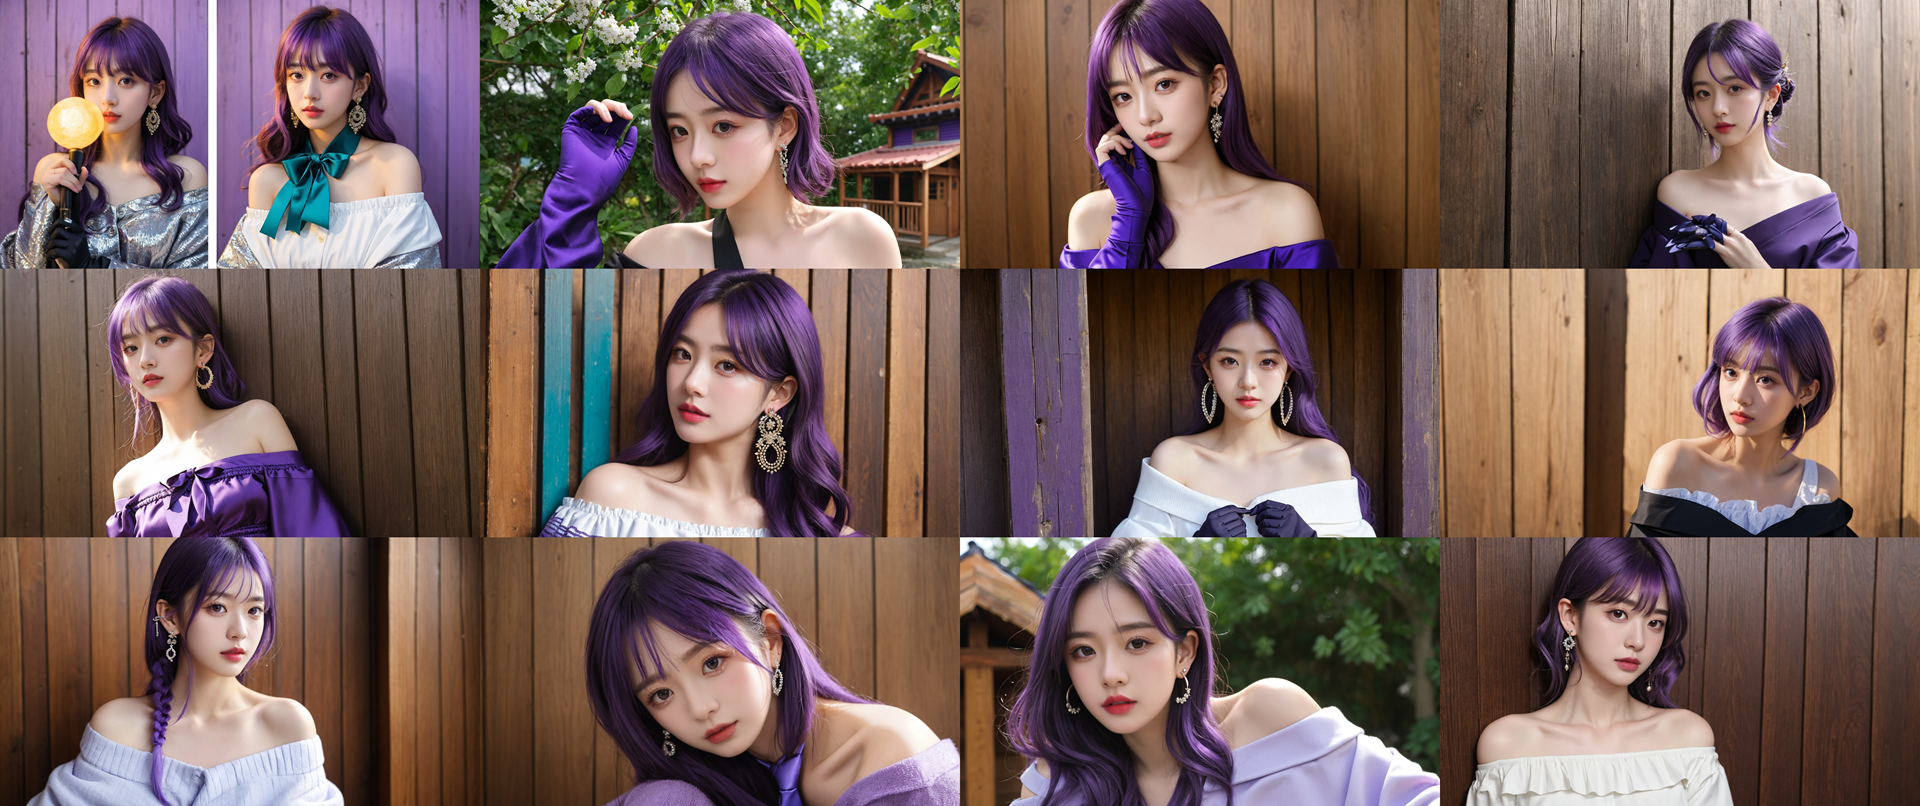
Hmm, the weight for ‘wooden cabin’ is a bit high. I can add another keyword for ‘green leaves’. But that’s okay, we can still pick two usable images from this version.
The female lead looks like she’s into cosplay, but not specifically Keqing.
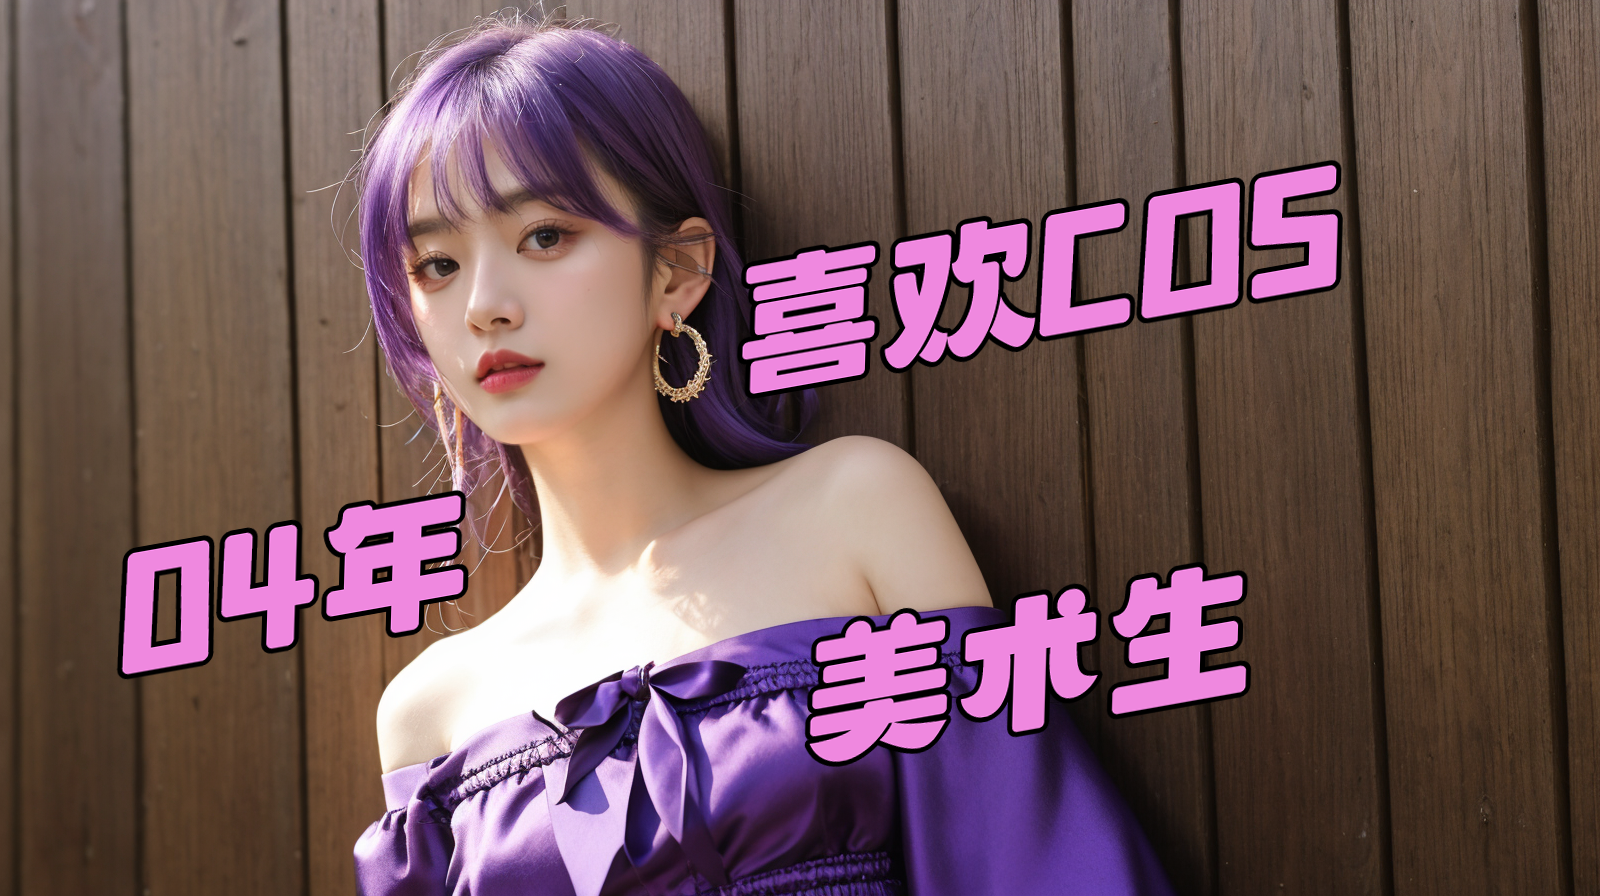
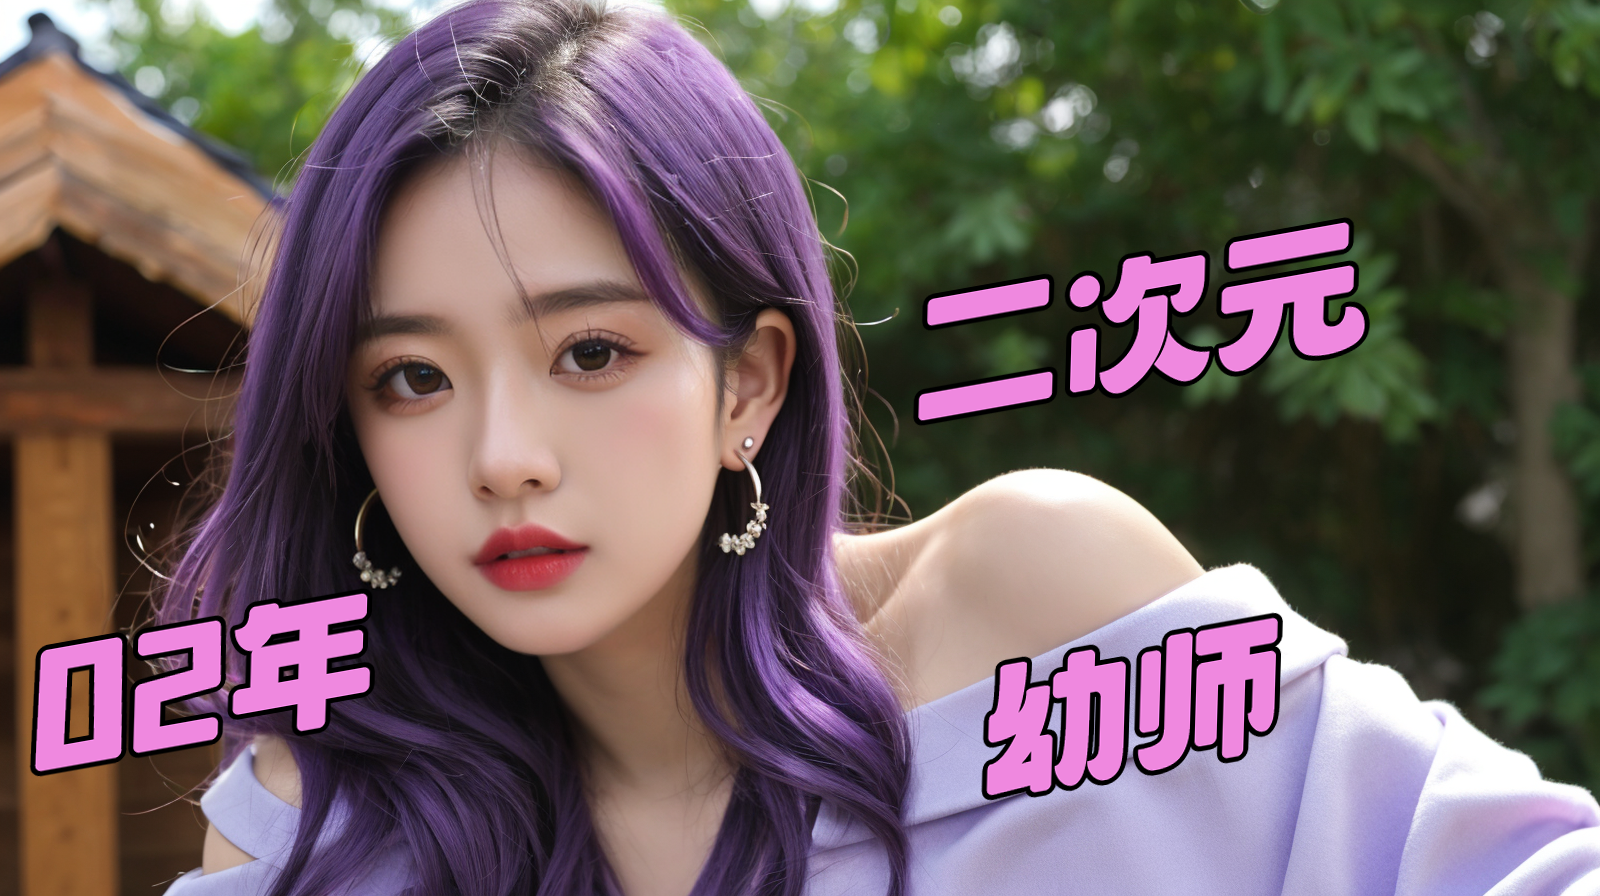
2. Anime Background Plus Text
Like this:
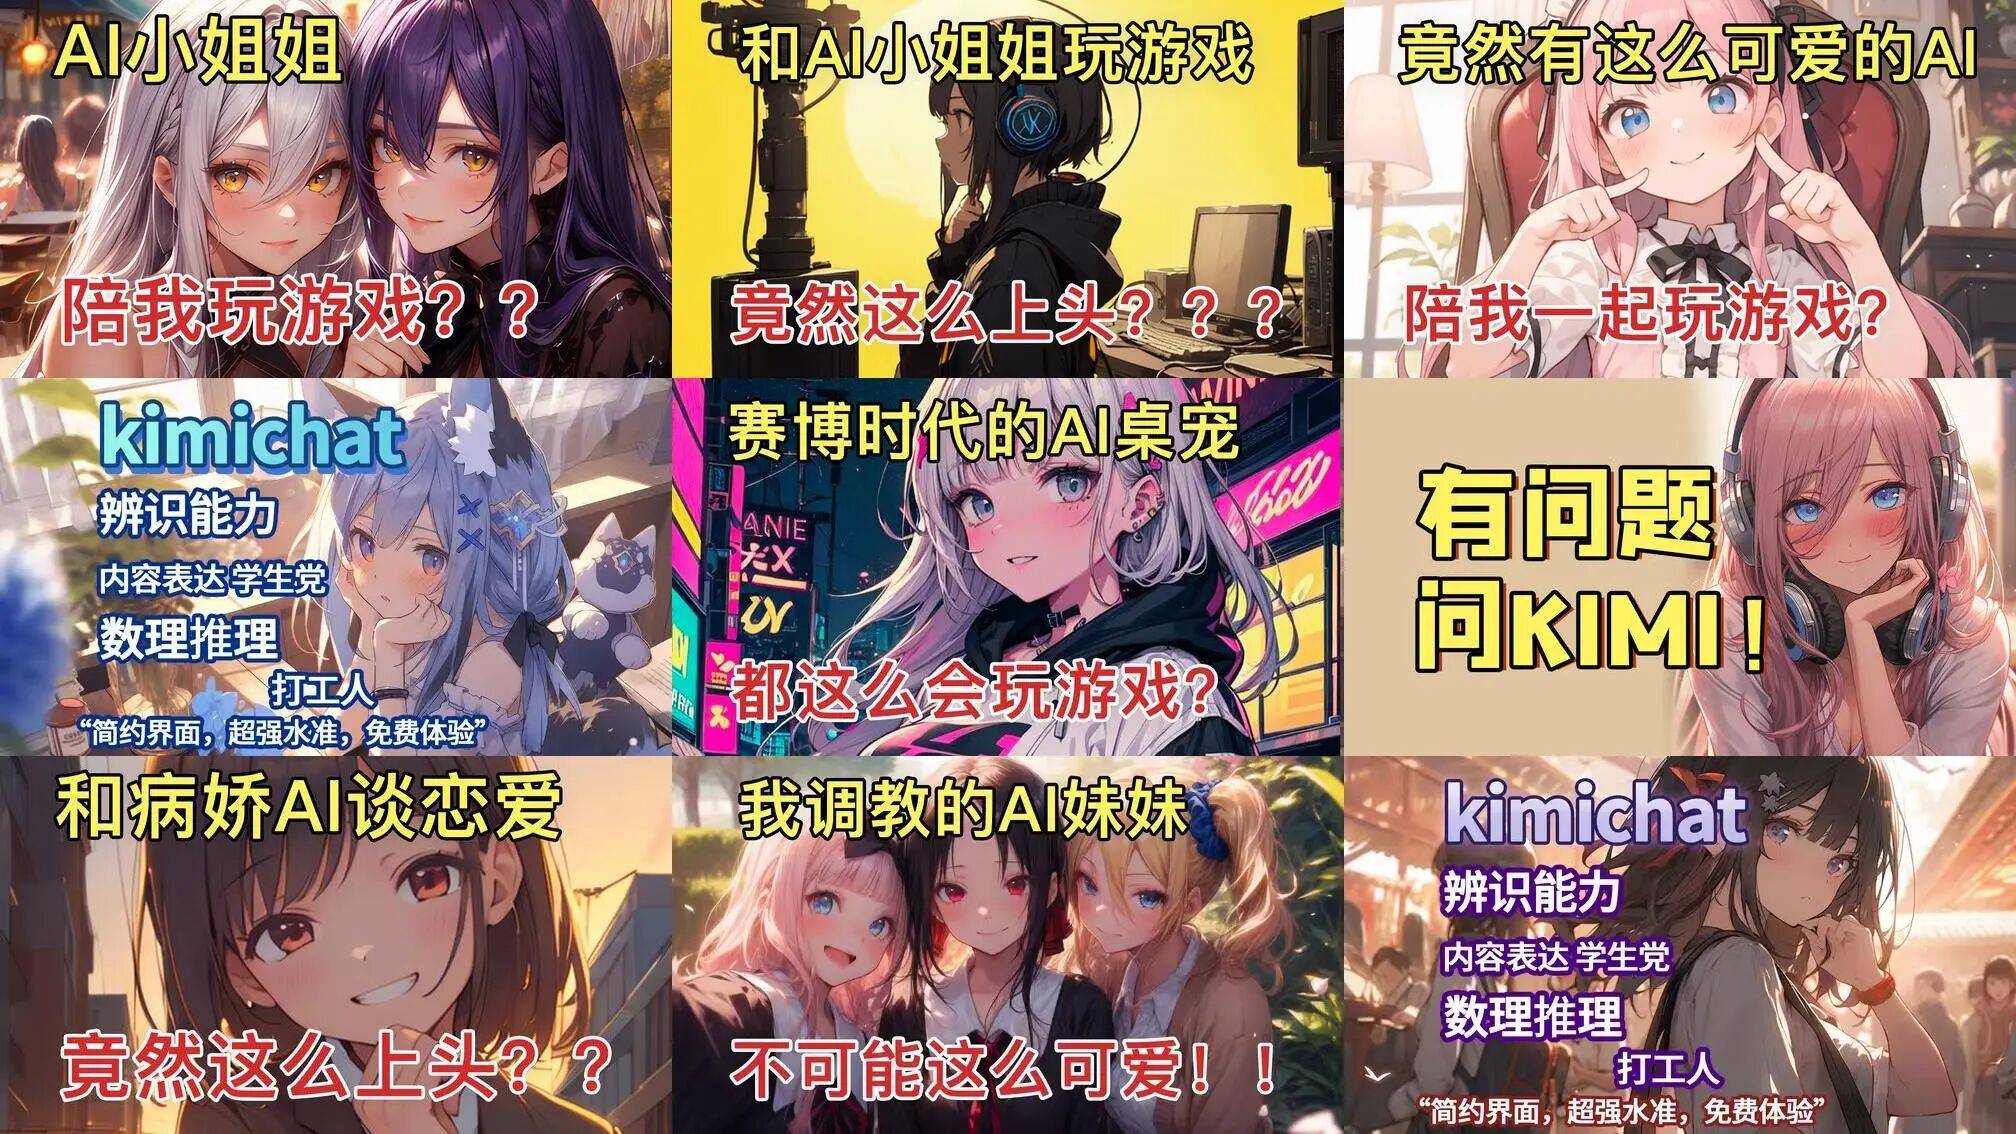
This type is even simpler.
For anime-style, you can’t continue using the same model from earlier. We need to find another anime-style model.
For example, the SDXL model.「anima_pencil-XL」。
This model also permitscommercial use for the generated images.。
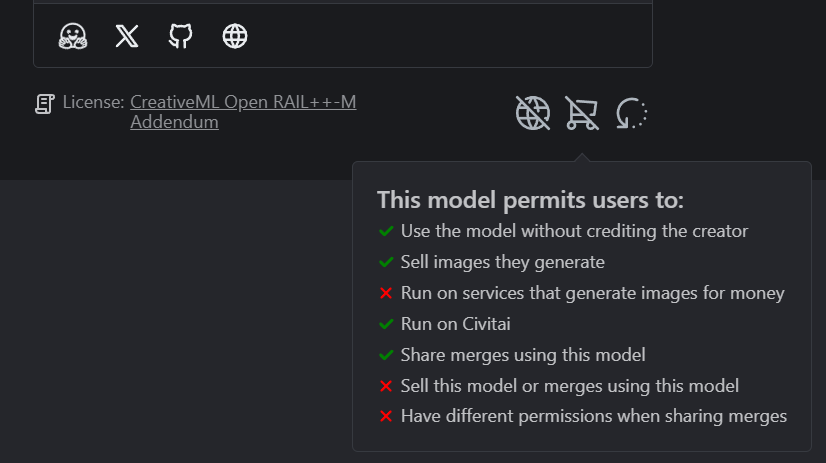
If you have other models to share or want to try other models, I raised a question on Zhihu that you can contribute to or check out.
What are some Stable Diffusion models that allow free commercial use for generated images?
https://www.zhihu.com/question/645824762/answer/340918924
Let’s still start SD and switch to the corresponding model.
This time, we won’t use GPT. Instead, let’s use a reverse prompt plugin.WD1.4 Tagger(Included in the Qiuye integration pack).
Drag the image you want to replicate to the image source position. The right side automatically follows with the image and reversely deduces the prompt words, then send these words directly to the text-to-image generation.
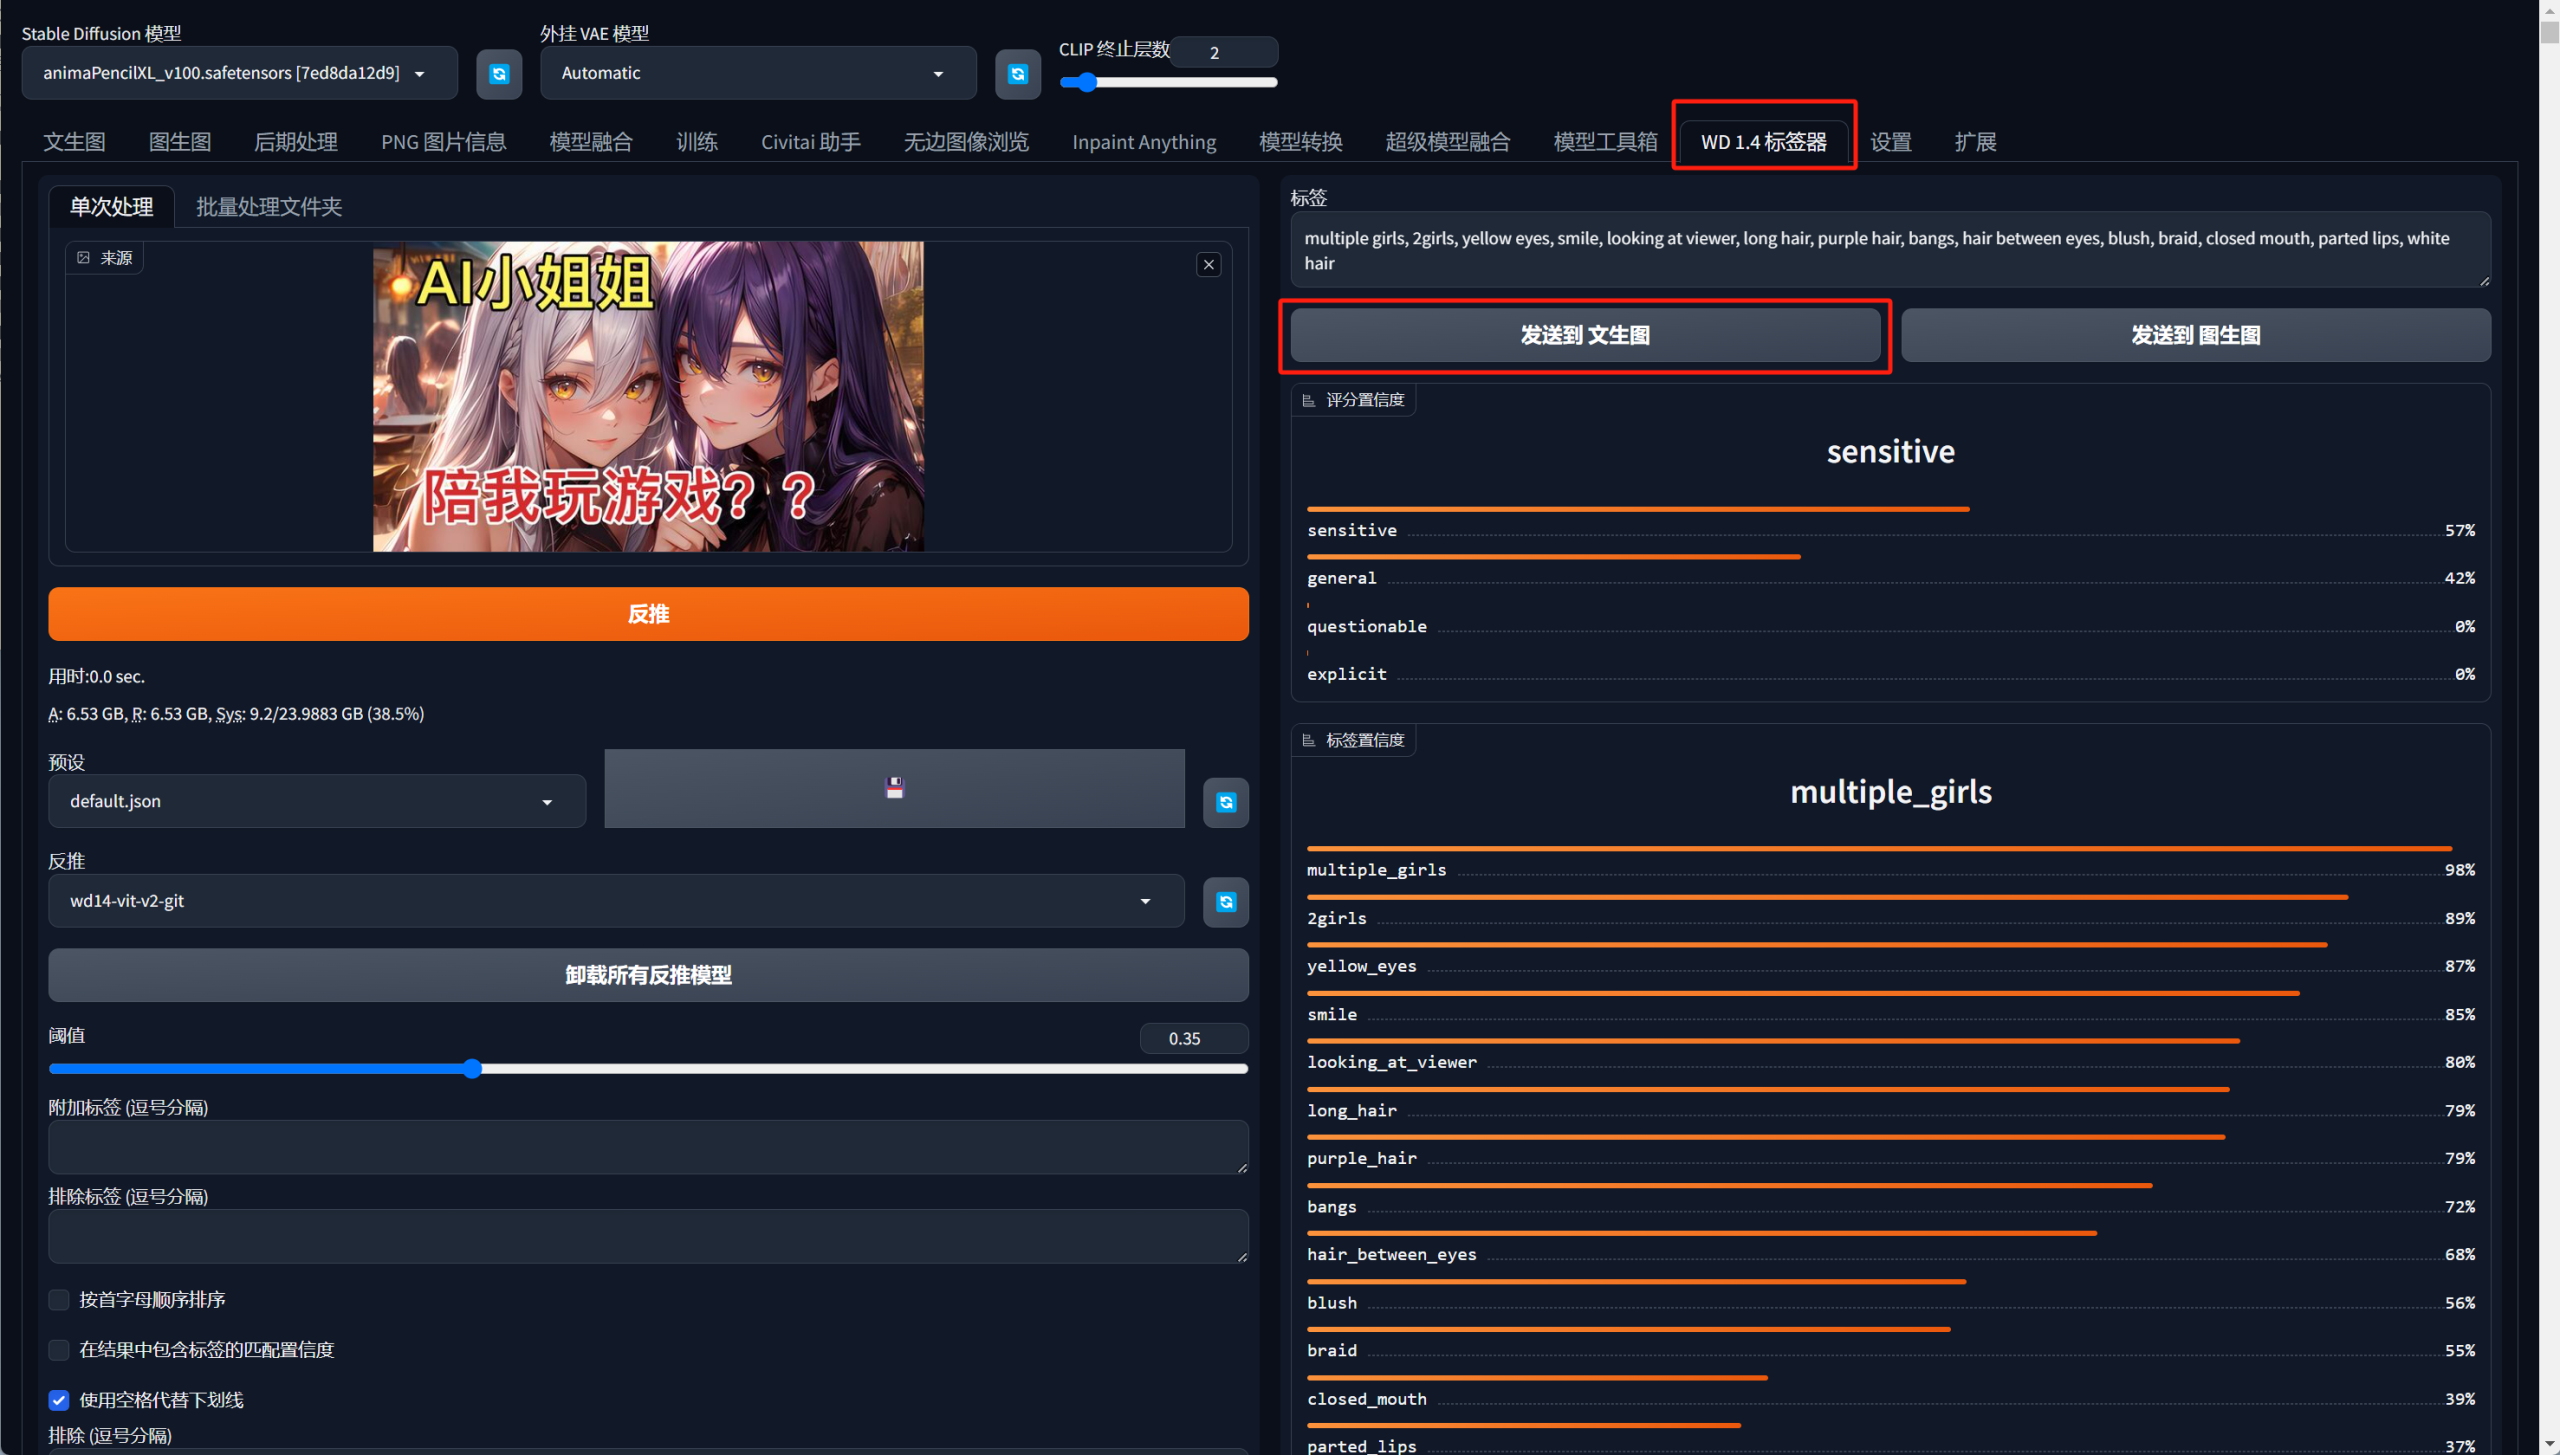
Just like before, add preset words, adjust parameters, and click generate.
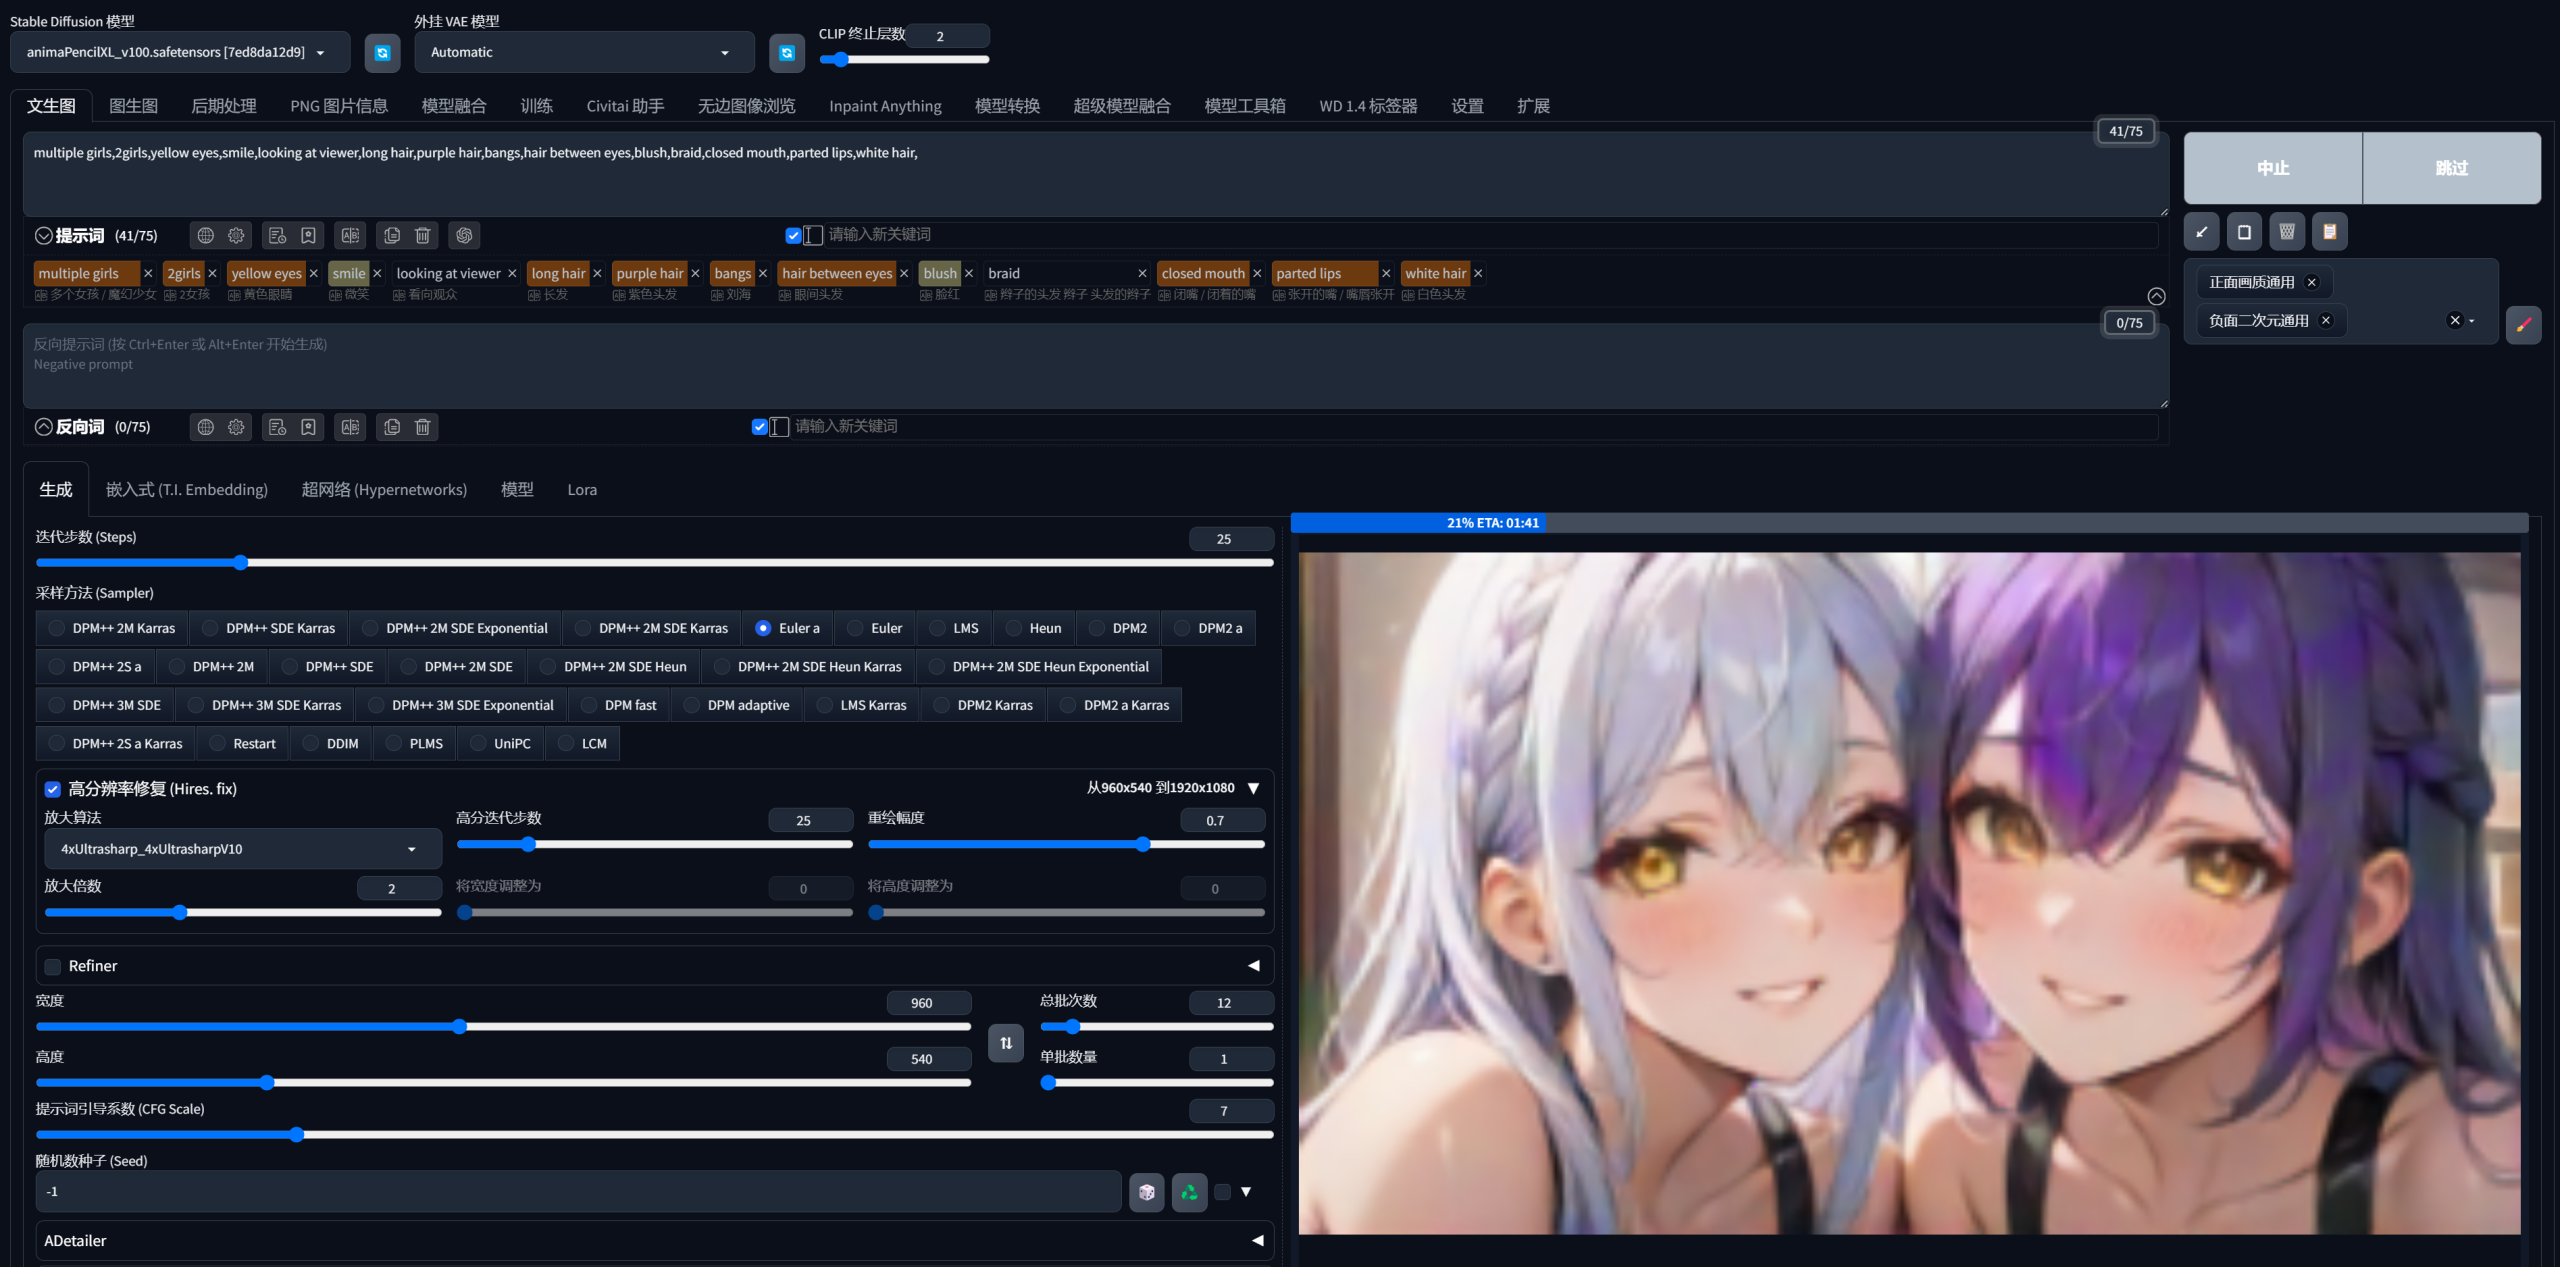
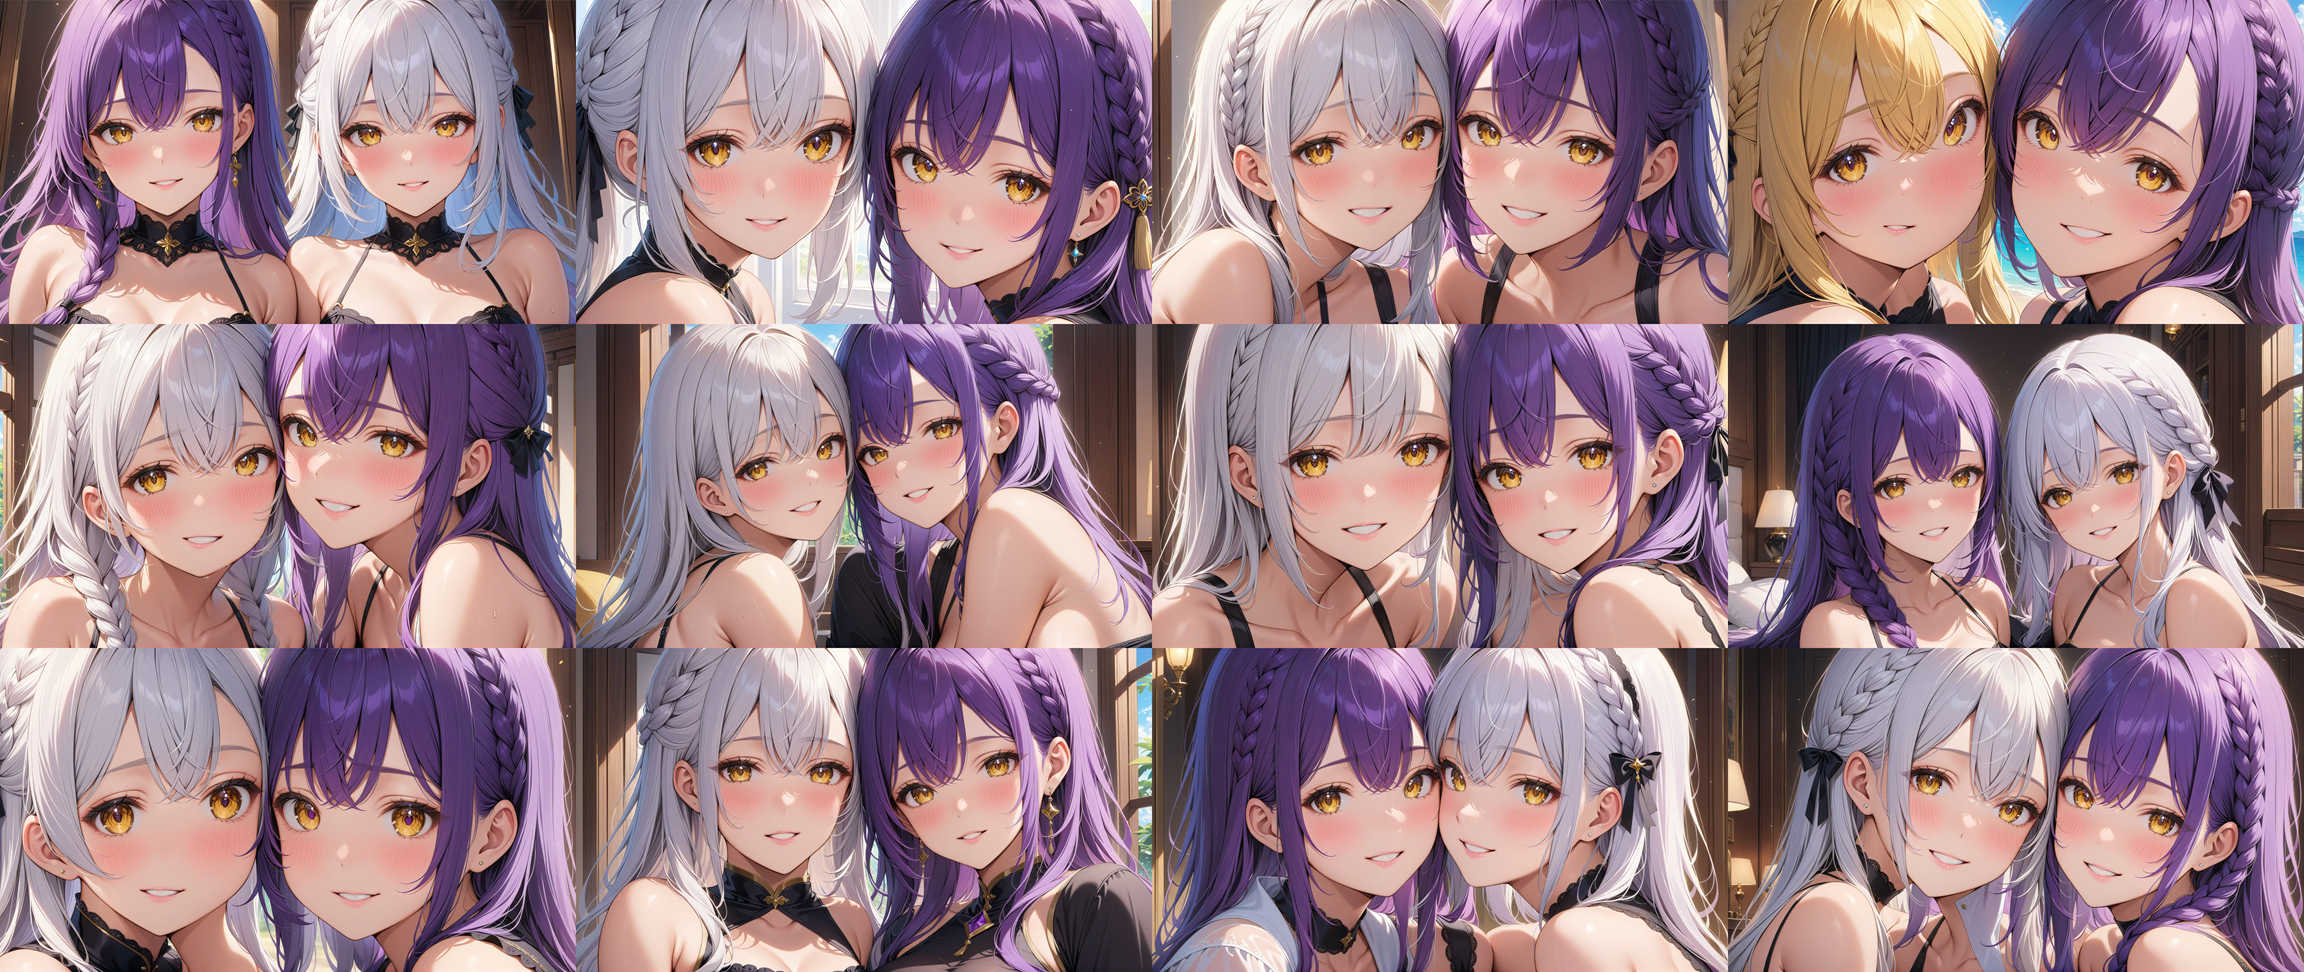
A batch of 12 images, and you don’t even need to enable face repair.
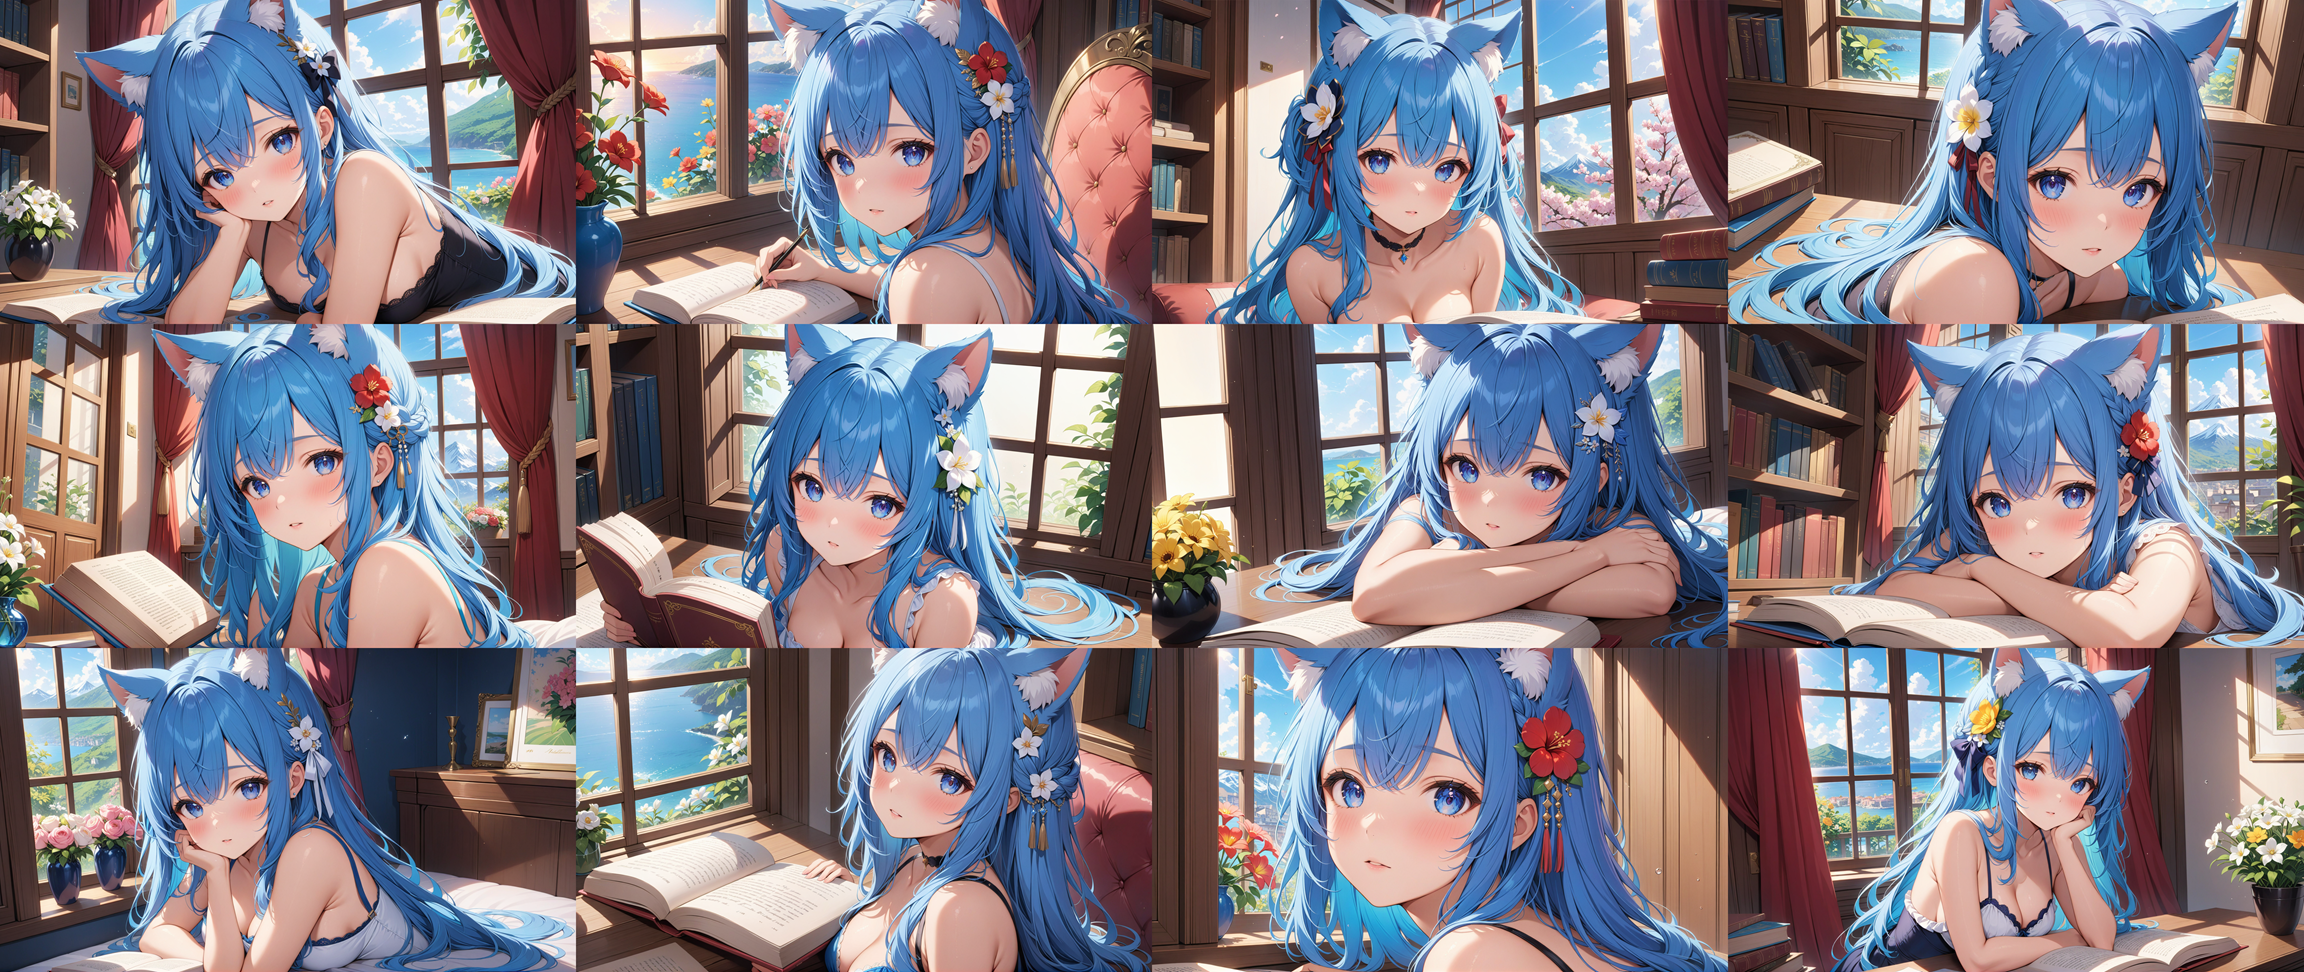
Let’s do another batch with a blue-haired cat girl.
Just use any photo editing software to add text, even if you’re not using a computer, mobile apps like Xingtu will work.
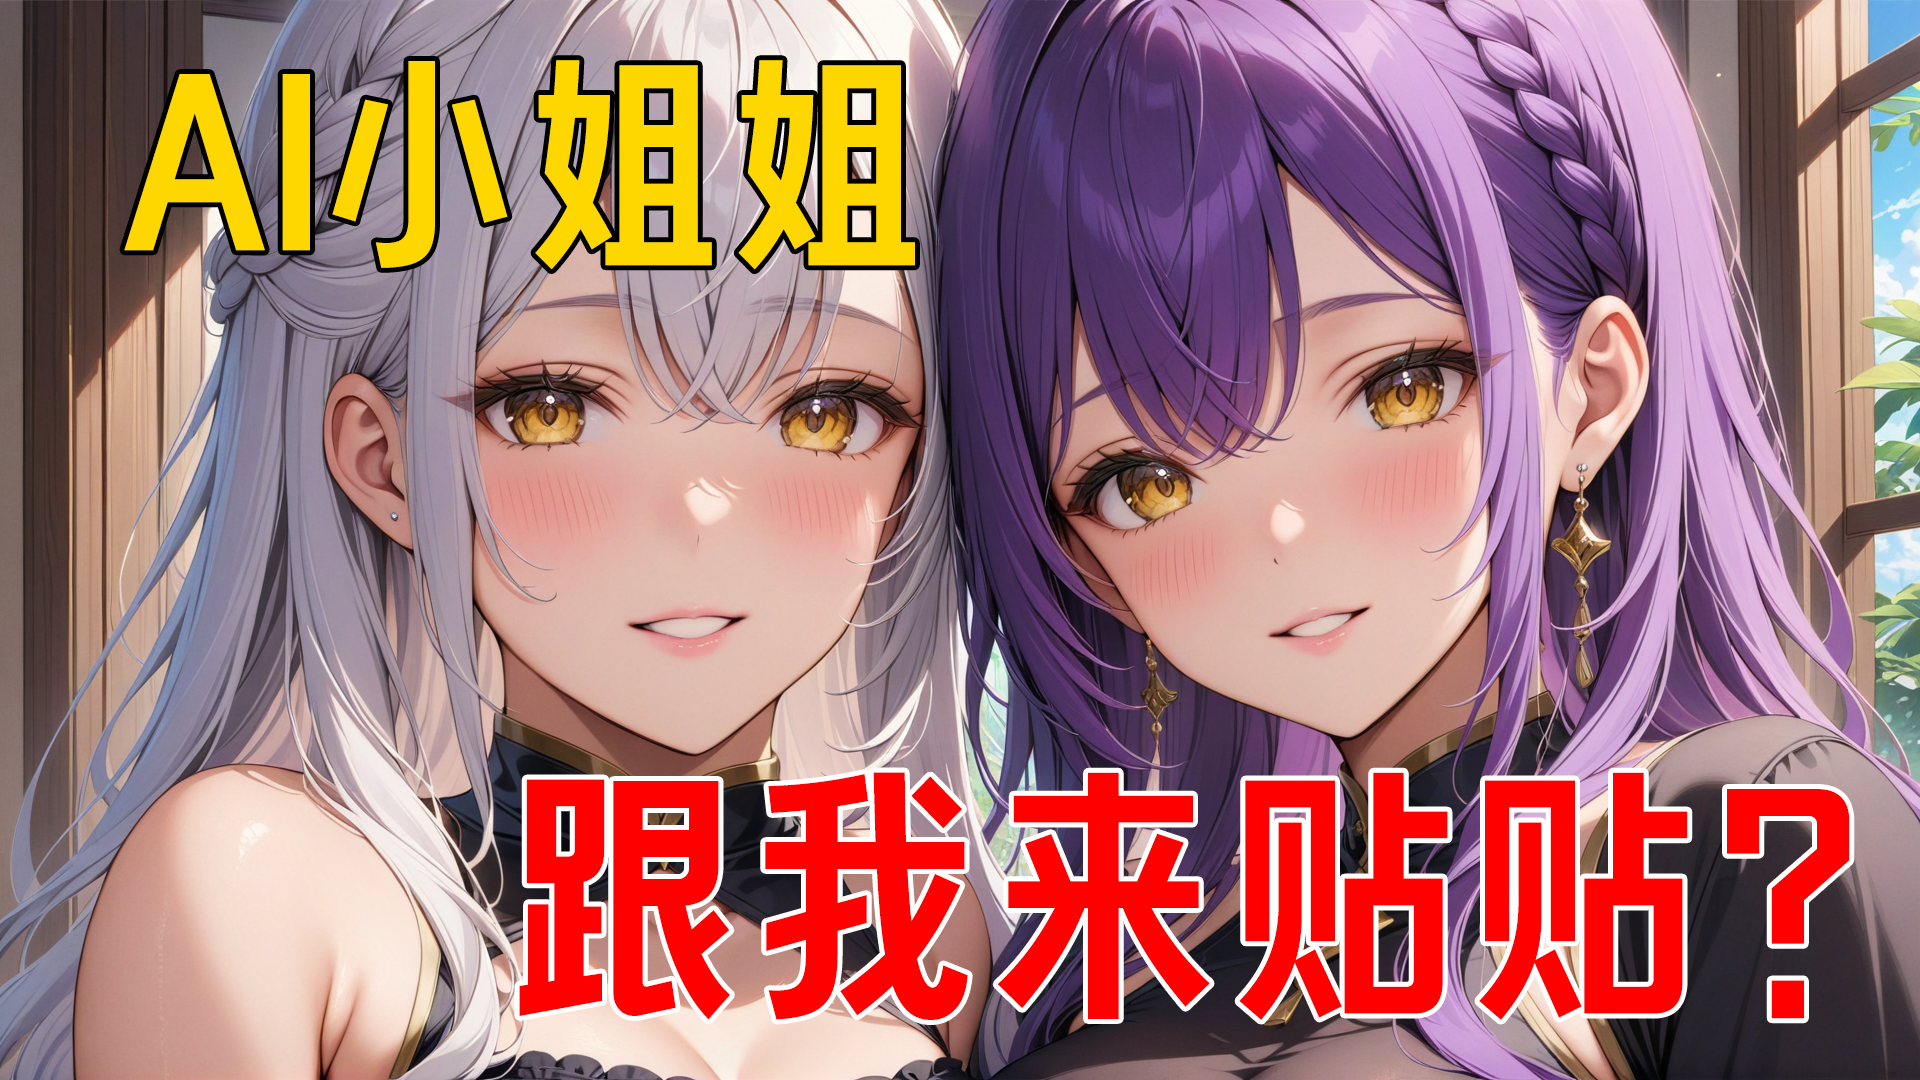
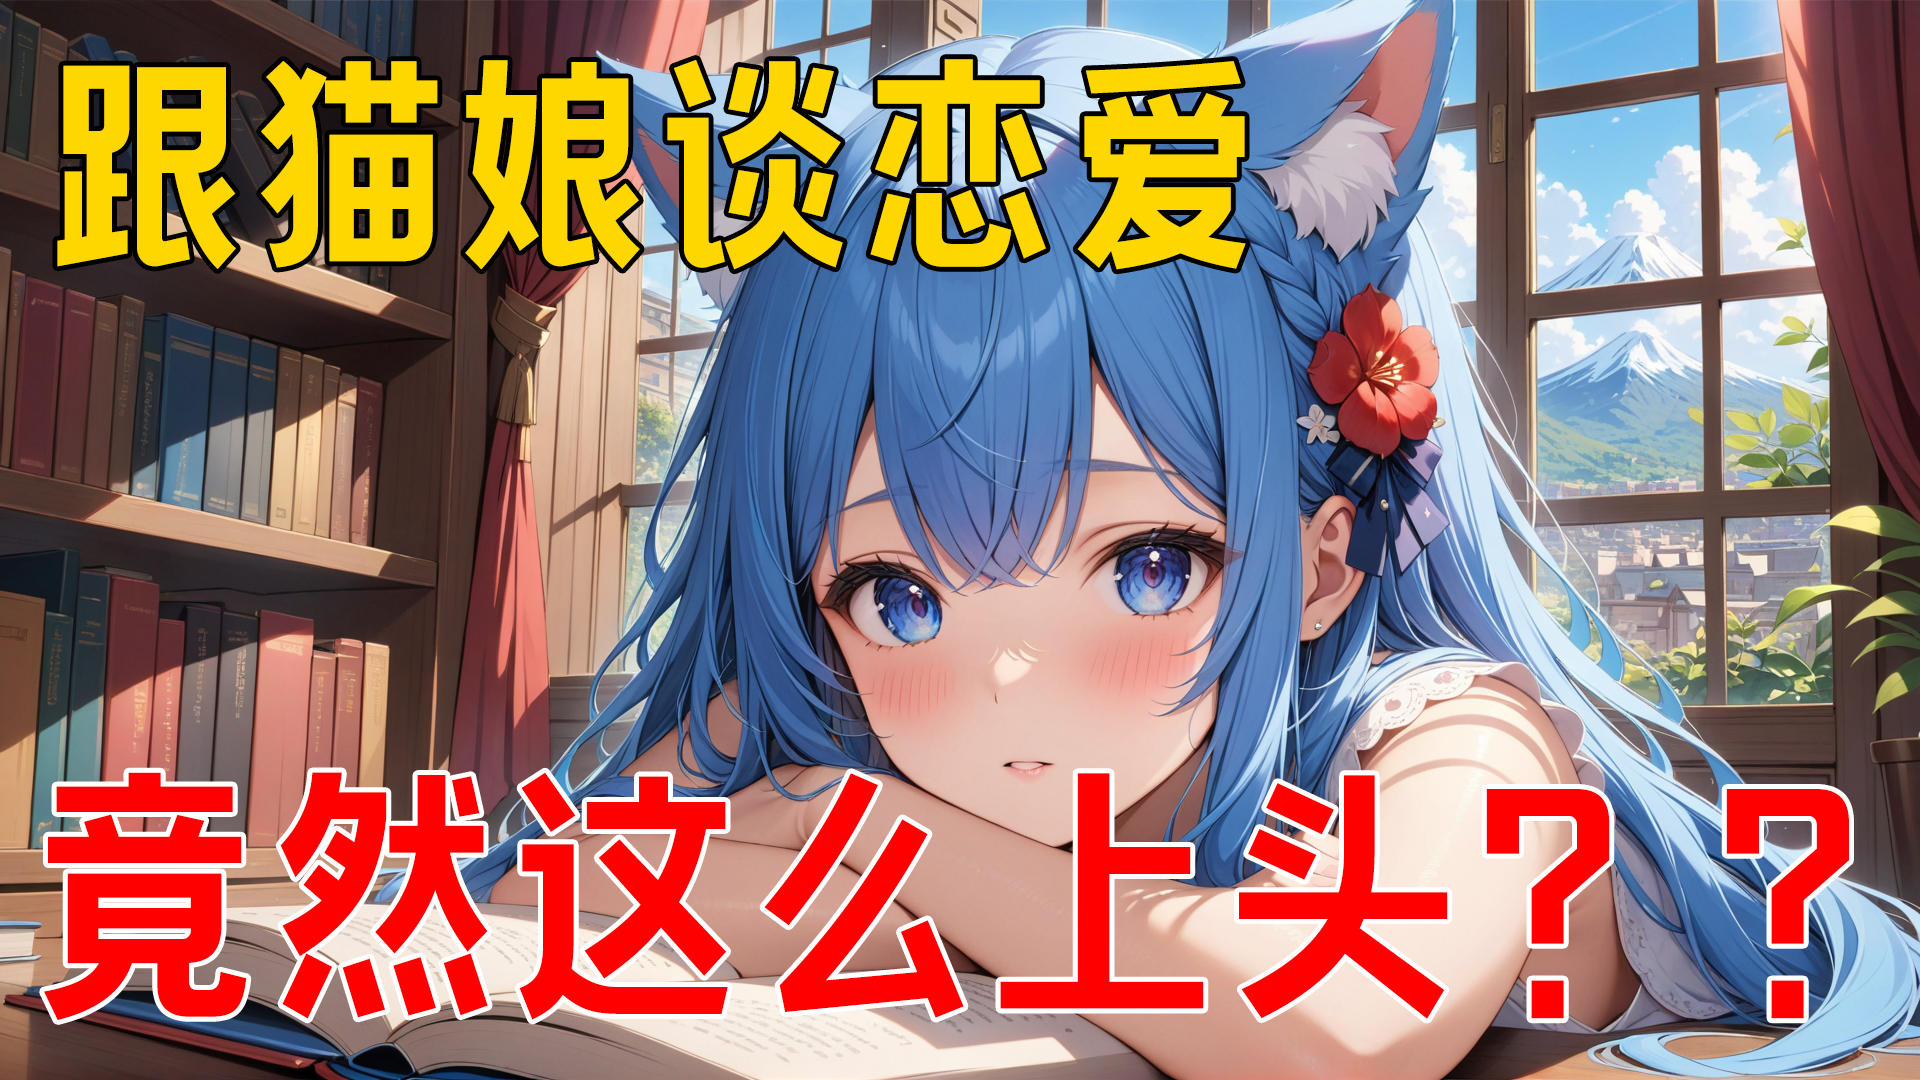
3. Transparent Layer, Background and Text
A typical example I recently came across is some materials from KIMI AI:
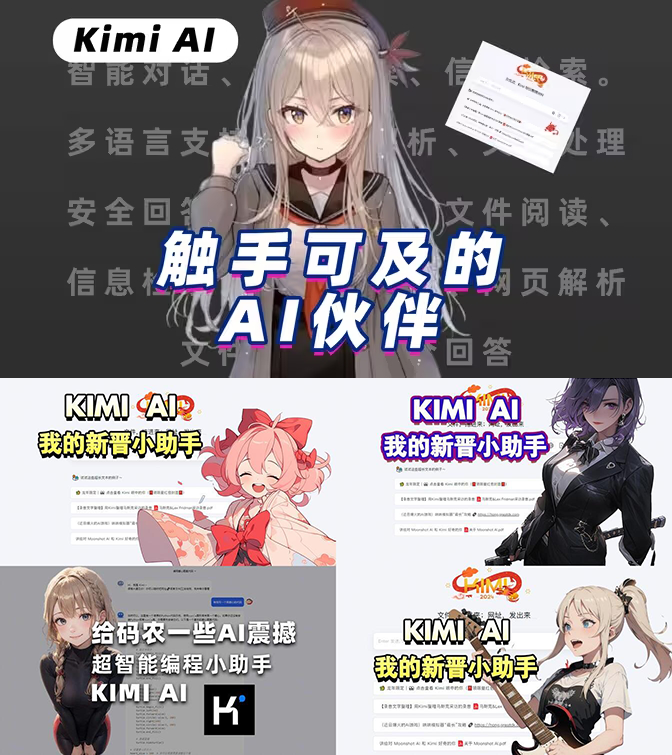
By the way, Kimi is one of the AI chat tools I use most frequently. I recommend trying it out, you know what I mean.
The key to this kind of image is to cut out the anime character as a transparent layer. If you generate images with backgrounds like before, it will be very difficult to extract.
So,First method:
Remove all background prompt words, such as windows, curtains, bookshelves, desks, etc., and add a keyword ‘transparent background’ in the positive prompts.

Generate a batch to see.
This batch is a bit of a flop, not many pure black or pure white backgrounds came out.
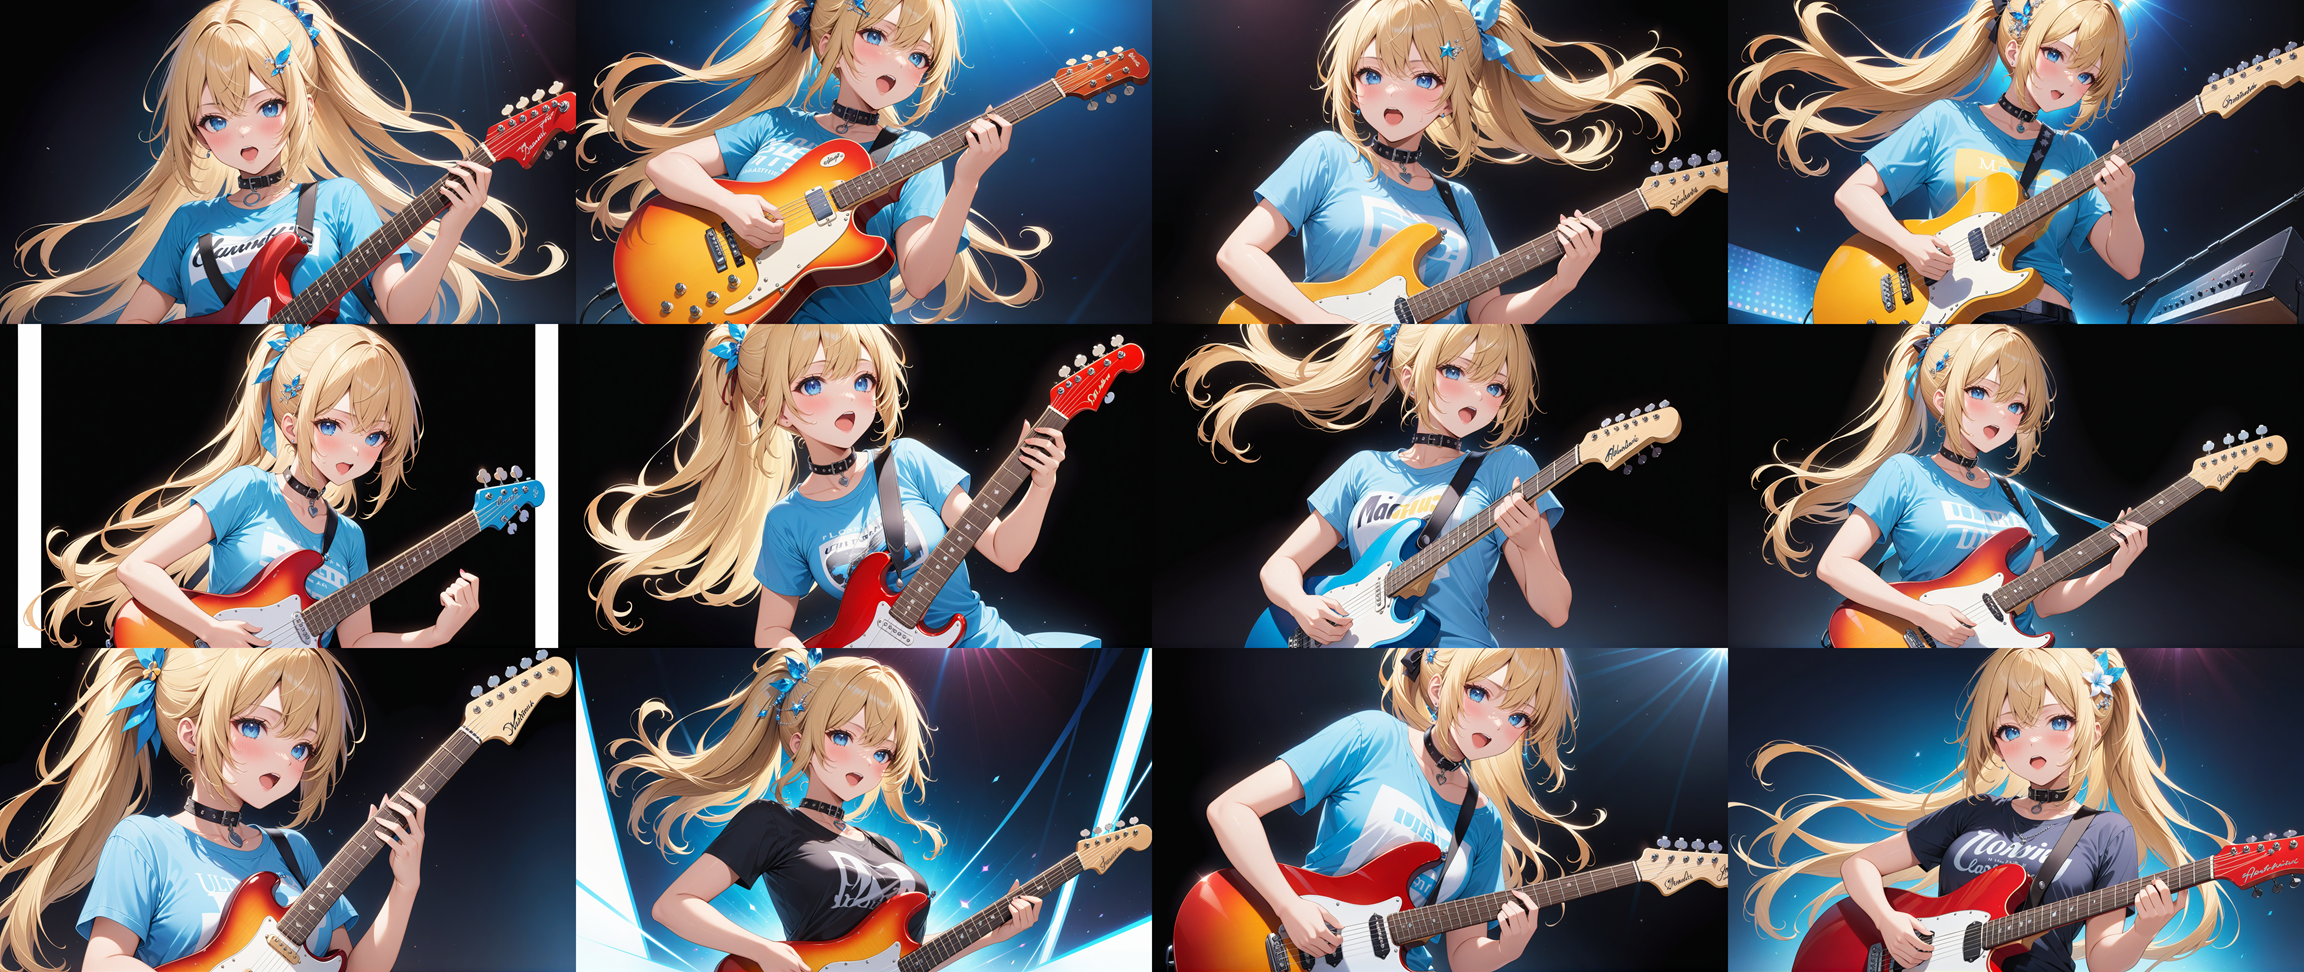
Let’s try another version.
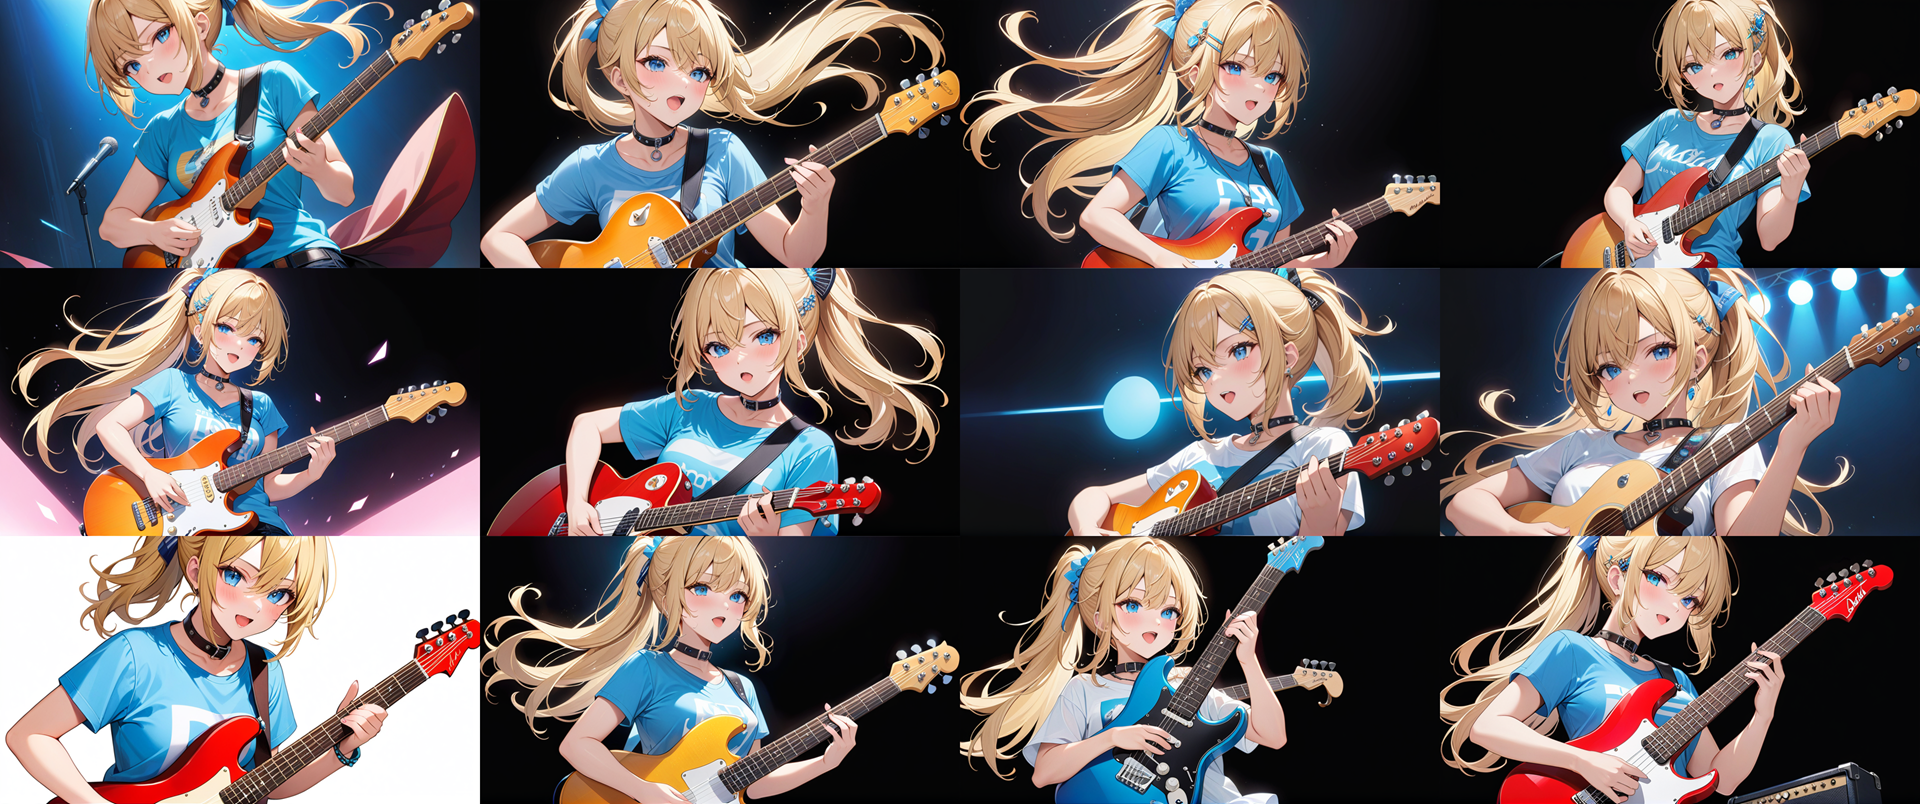
Got it.
For a pure white background like this, it’s relatively easy to remove the background in Photoshop.
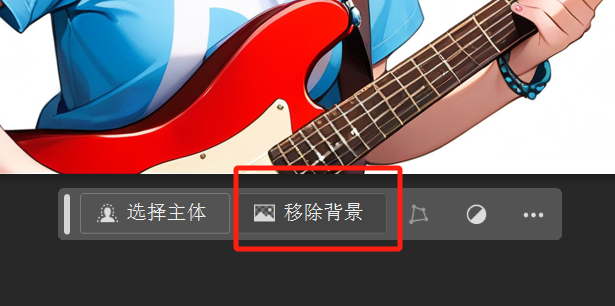
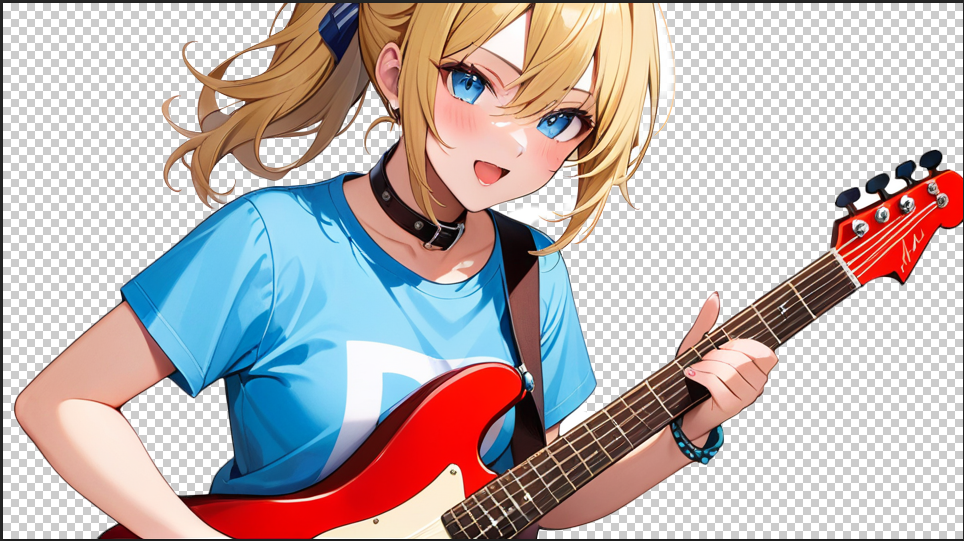
A pure black background is a bit more difficult.
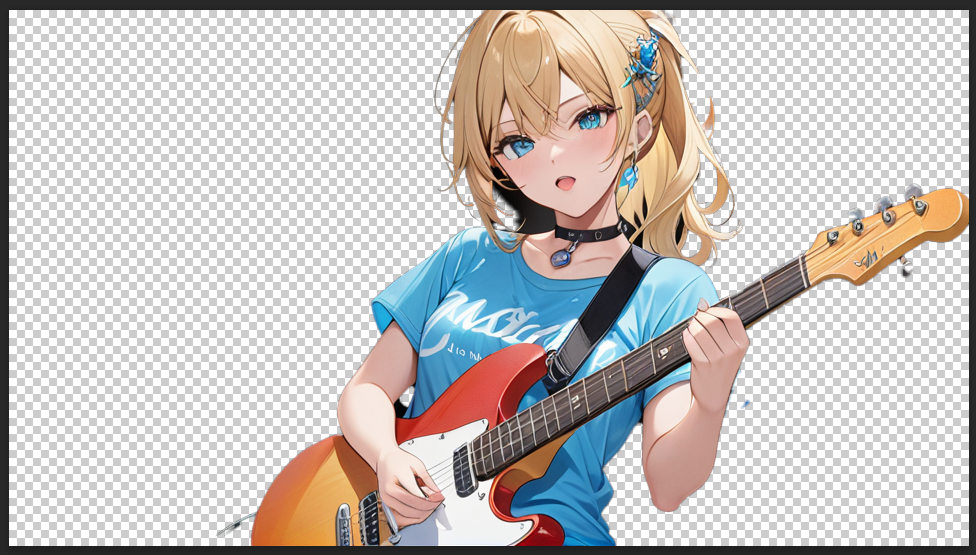
However, there will inevitably be some areas that aren’t recognized correctly and require manual touch-ups, like this guitar.
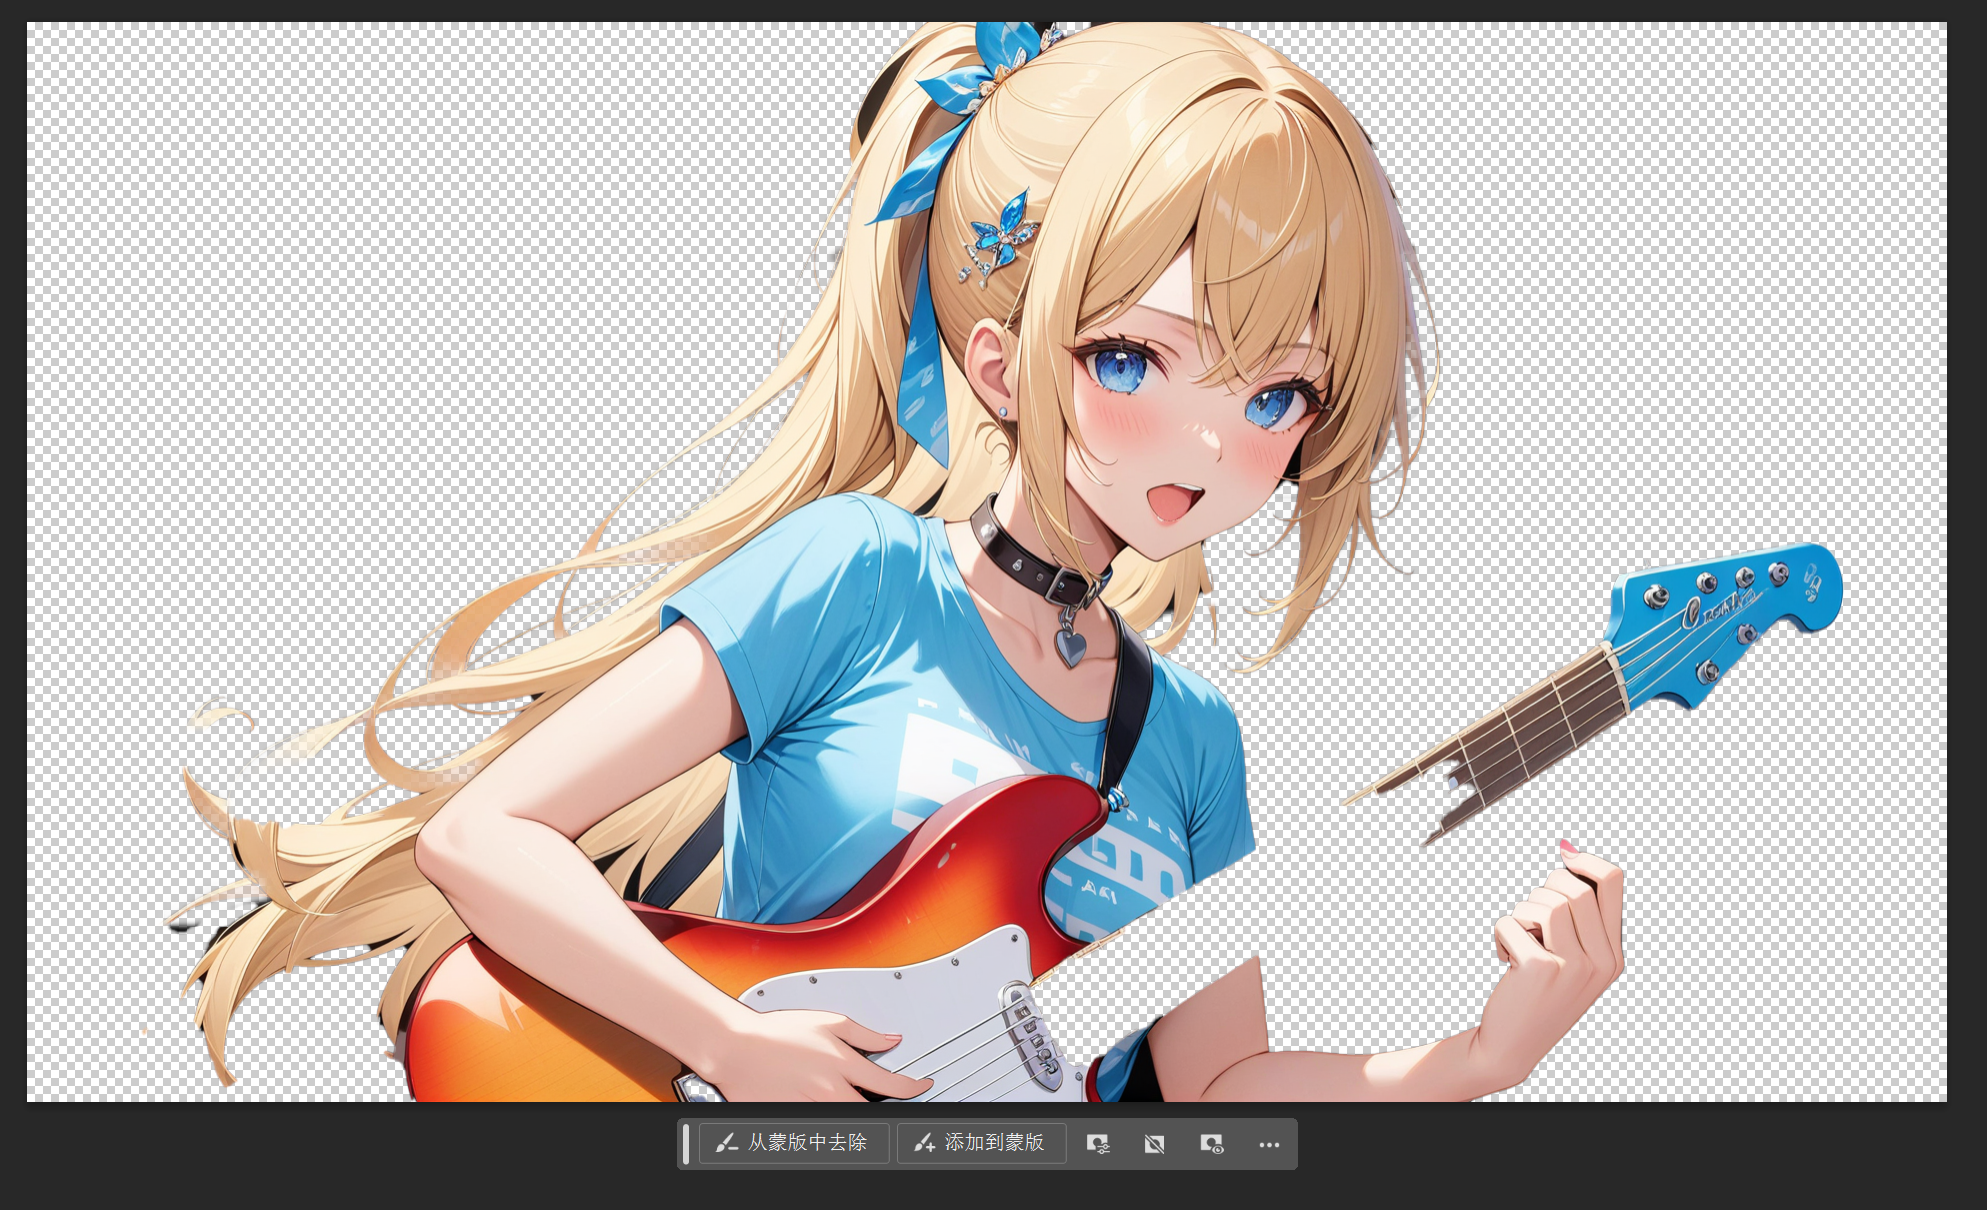
A gradient blue background is even more troublesome.
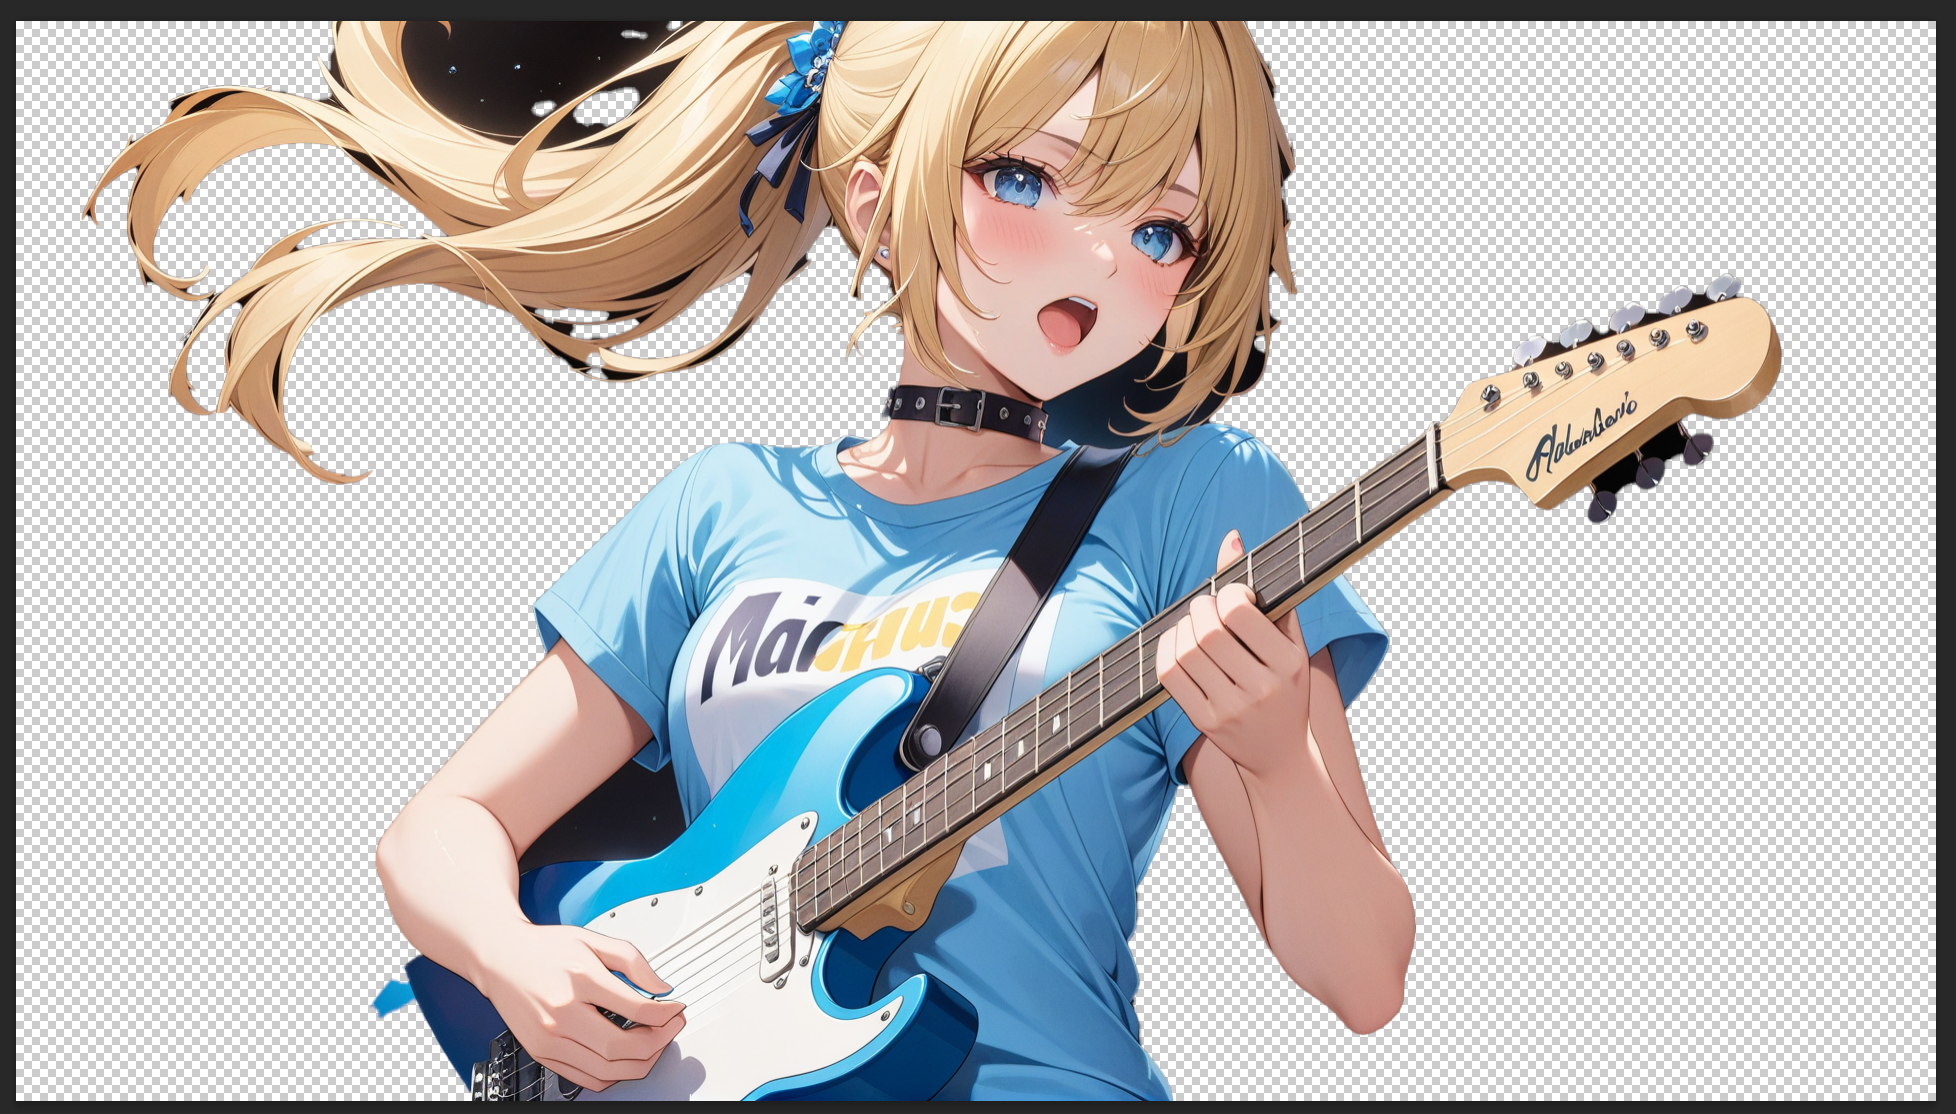
Therefore, this method is somewhat complex—either the background needs to be extracted as white beforehand, or it requires post-processing fixes.
Is there a better solution?
That brings us tothe second method:UsingLayerDiffusiona plugin to have AI directly output a transparent layer.
If you’re familiar with AI painting, you might not have heard of LayerDiffusion, but you’ve probably heard of ControlNet. LayerDiffusion is another creation by the same author as ControlNet. Additionally, this expert has developed an optimized branch of the webui called stable-diffusion-webui-forge. Currently, LayerDiffusion can only run on the forge version of the webui (though it seems there’s been an unofficial ComfyUI version released in the past couple of days).
Therefore, the following steps cannot be completed directly in the Qiuye integrated package; you need to reinstall the forge version of the webui and install the LayerDiffusion plugin.
After installation, the basic process is not much different. Note that since we only need PNG transparent images, select a size of 512for a square image, then upscale it by two times for high resolution, and add “full body” to the prompts as much as possible to get a full-body image. Meanwhile, enable LayerDiffusion’sOnly Generate Transparent Image*(Attention Injection)(LayerDiffusion also has powerful blending functionality and can be applied not only toanime-style models, but here we only use it to generate transparent layers for anime characters).
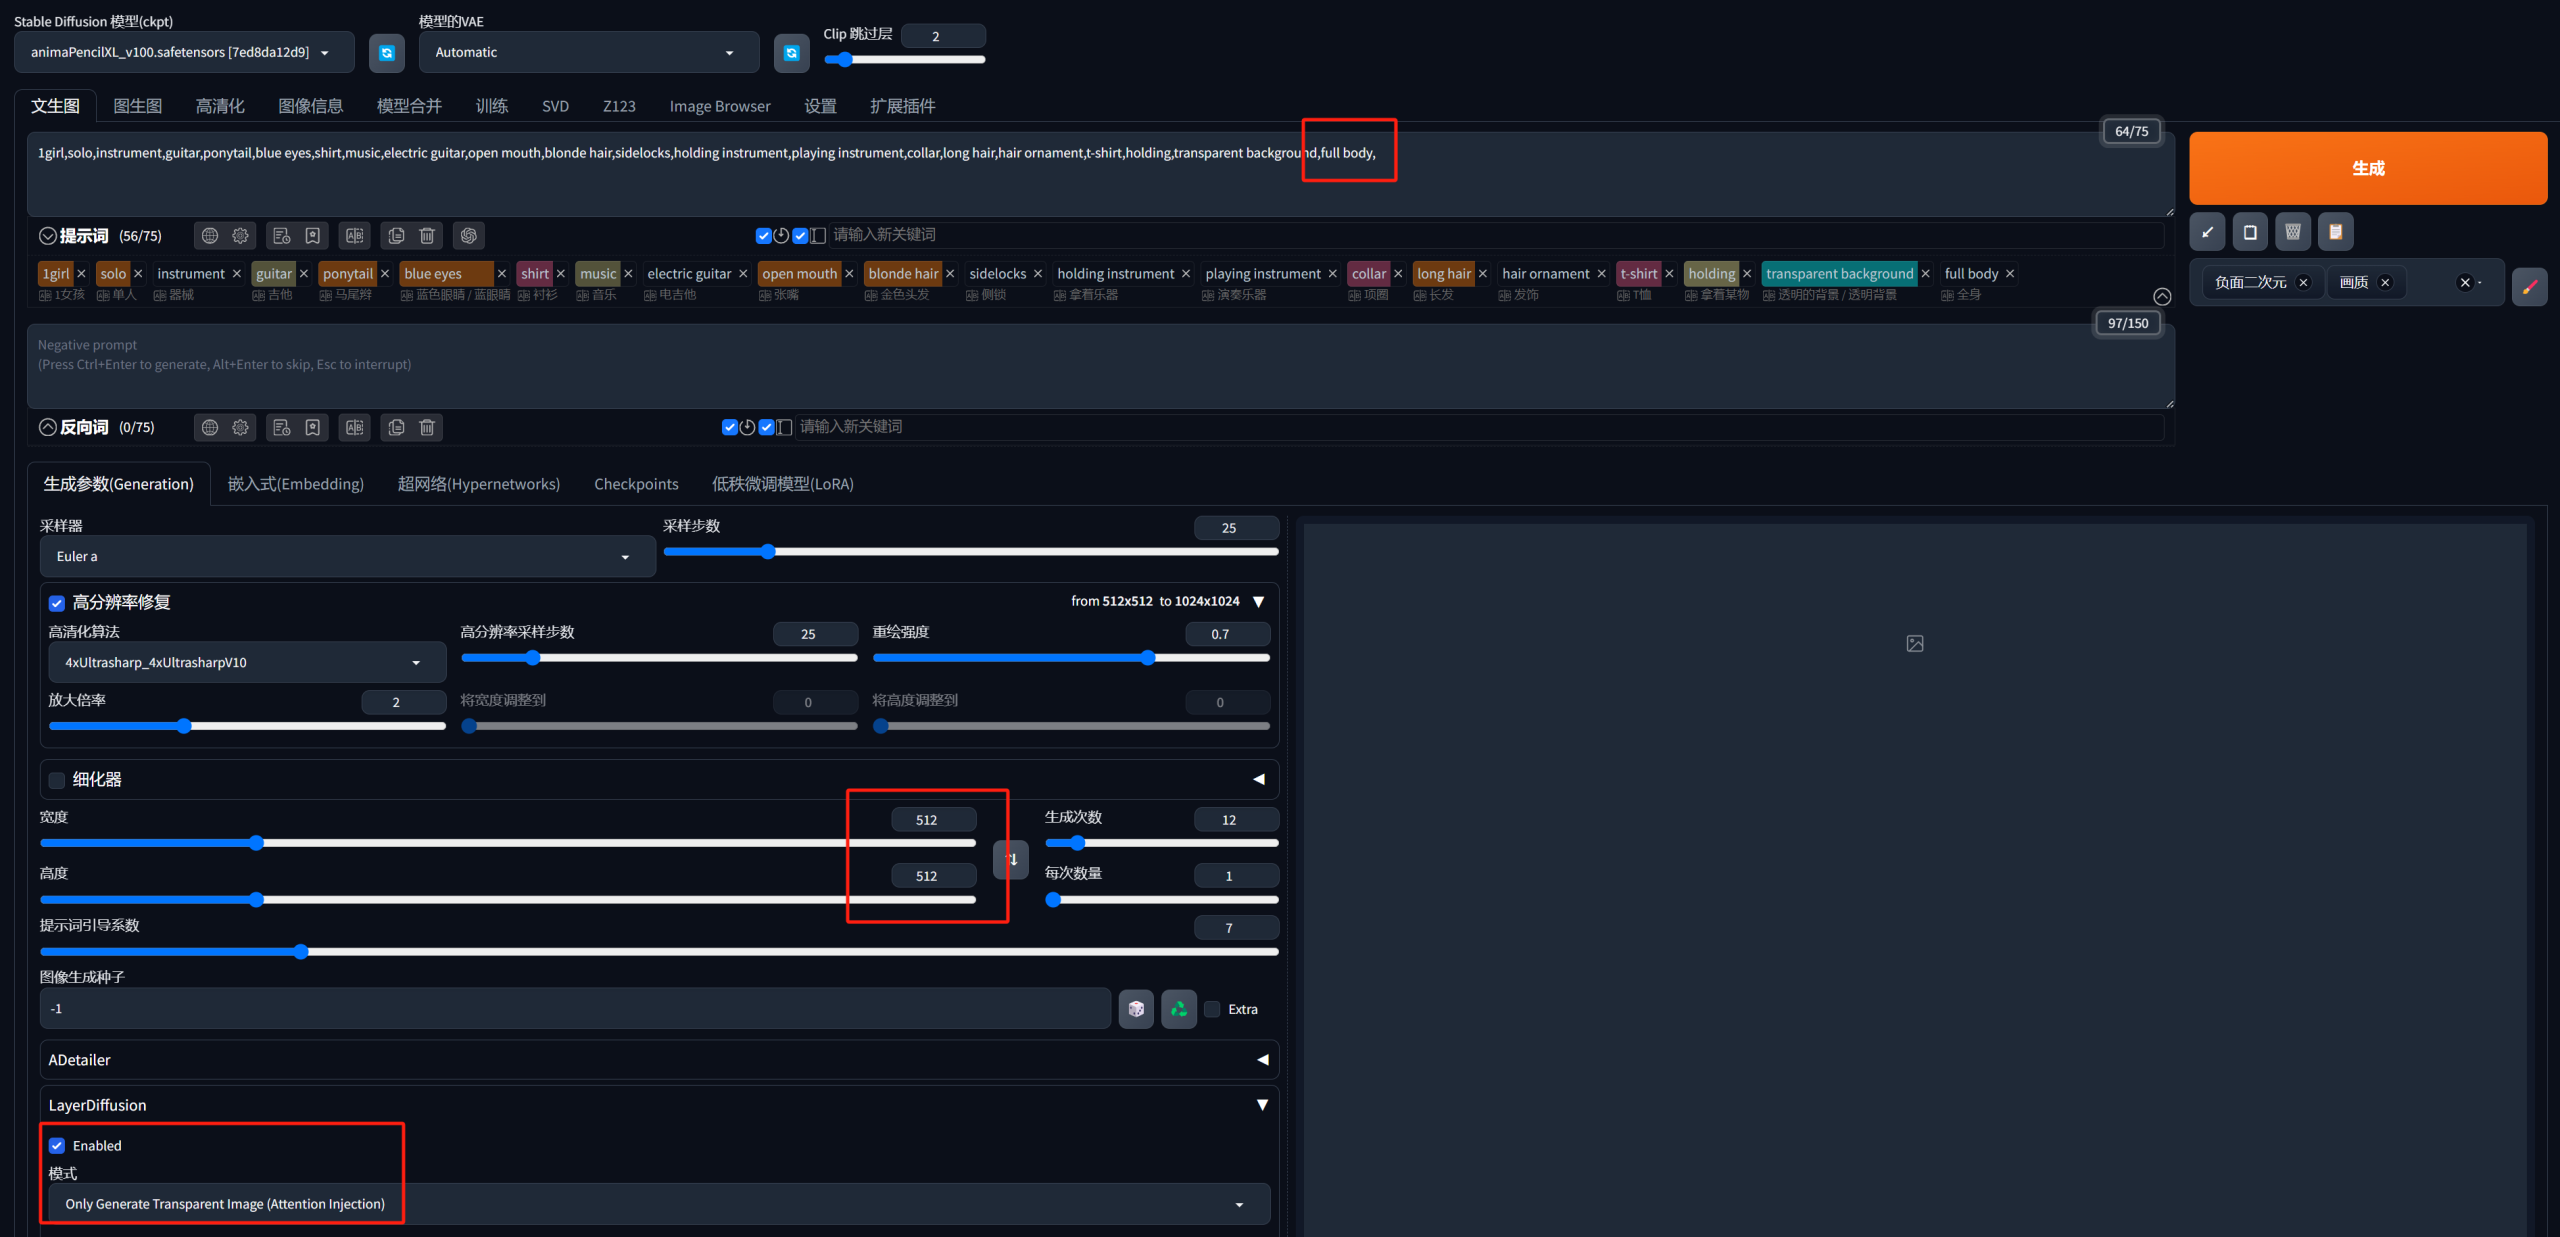
Then simply click generate as usual.
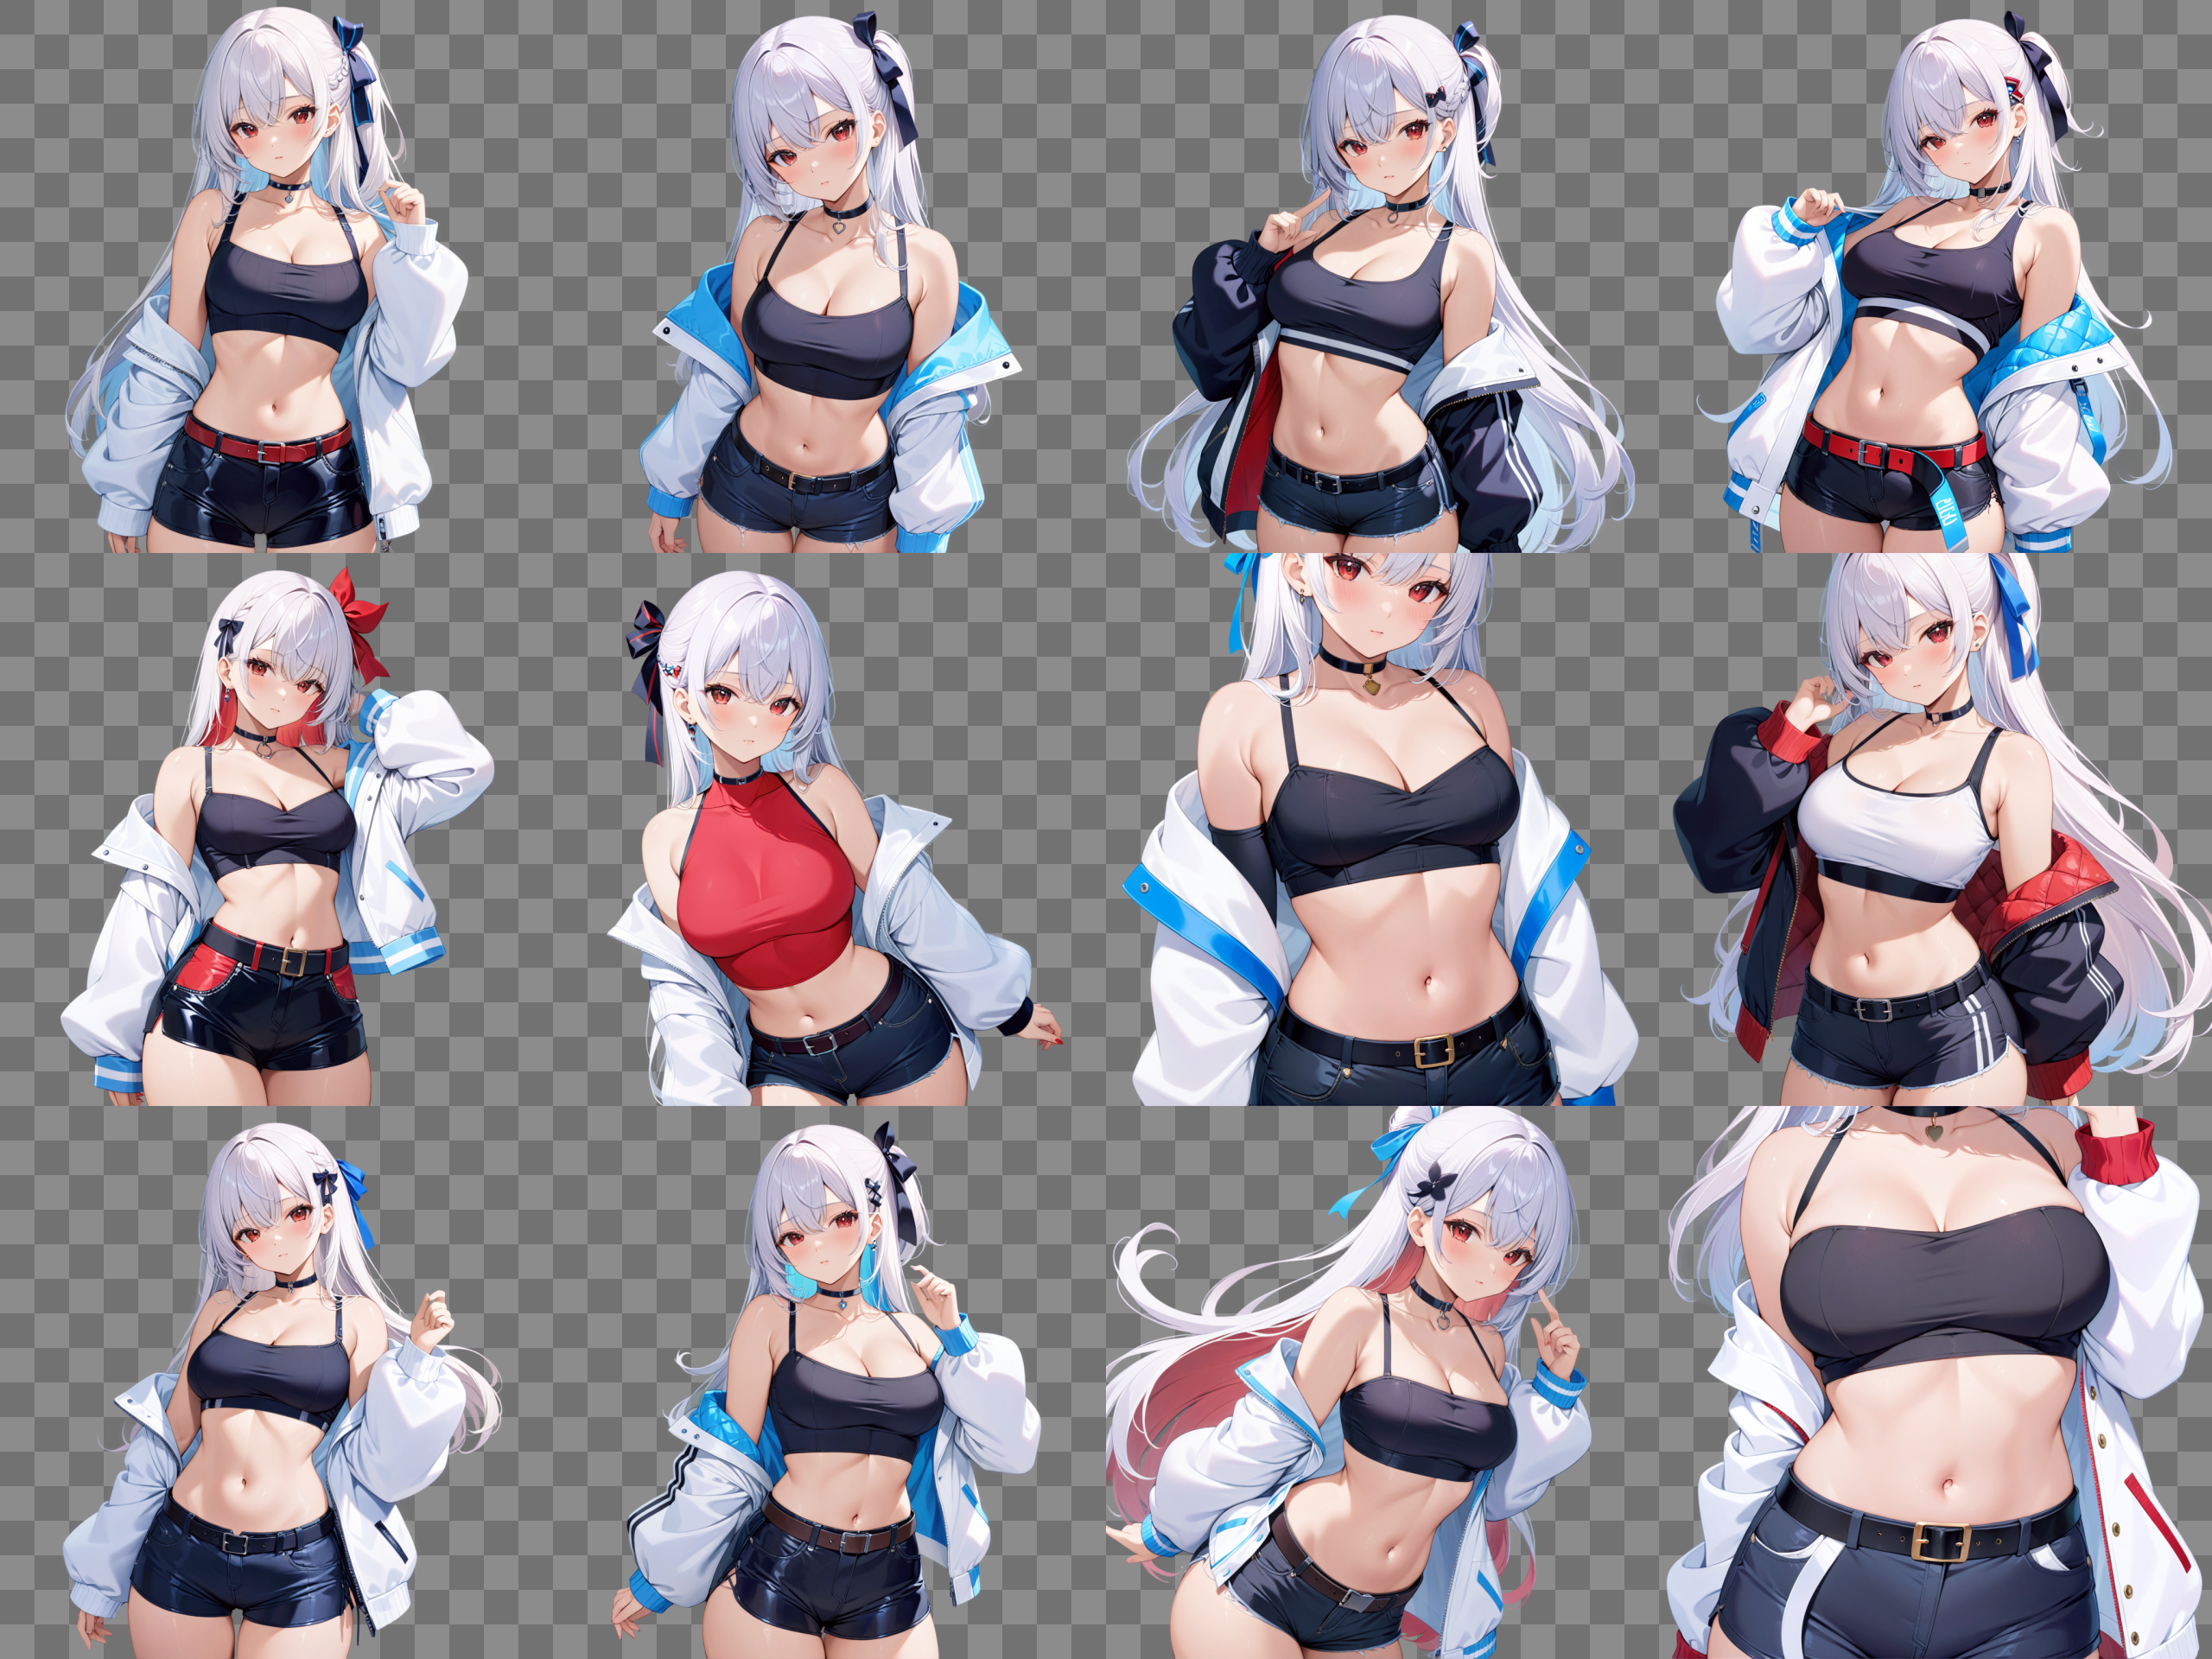
Now, we have obtained a version of the character with a transparent background.
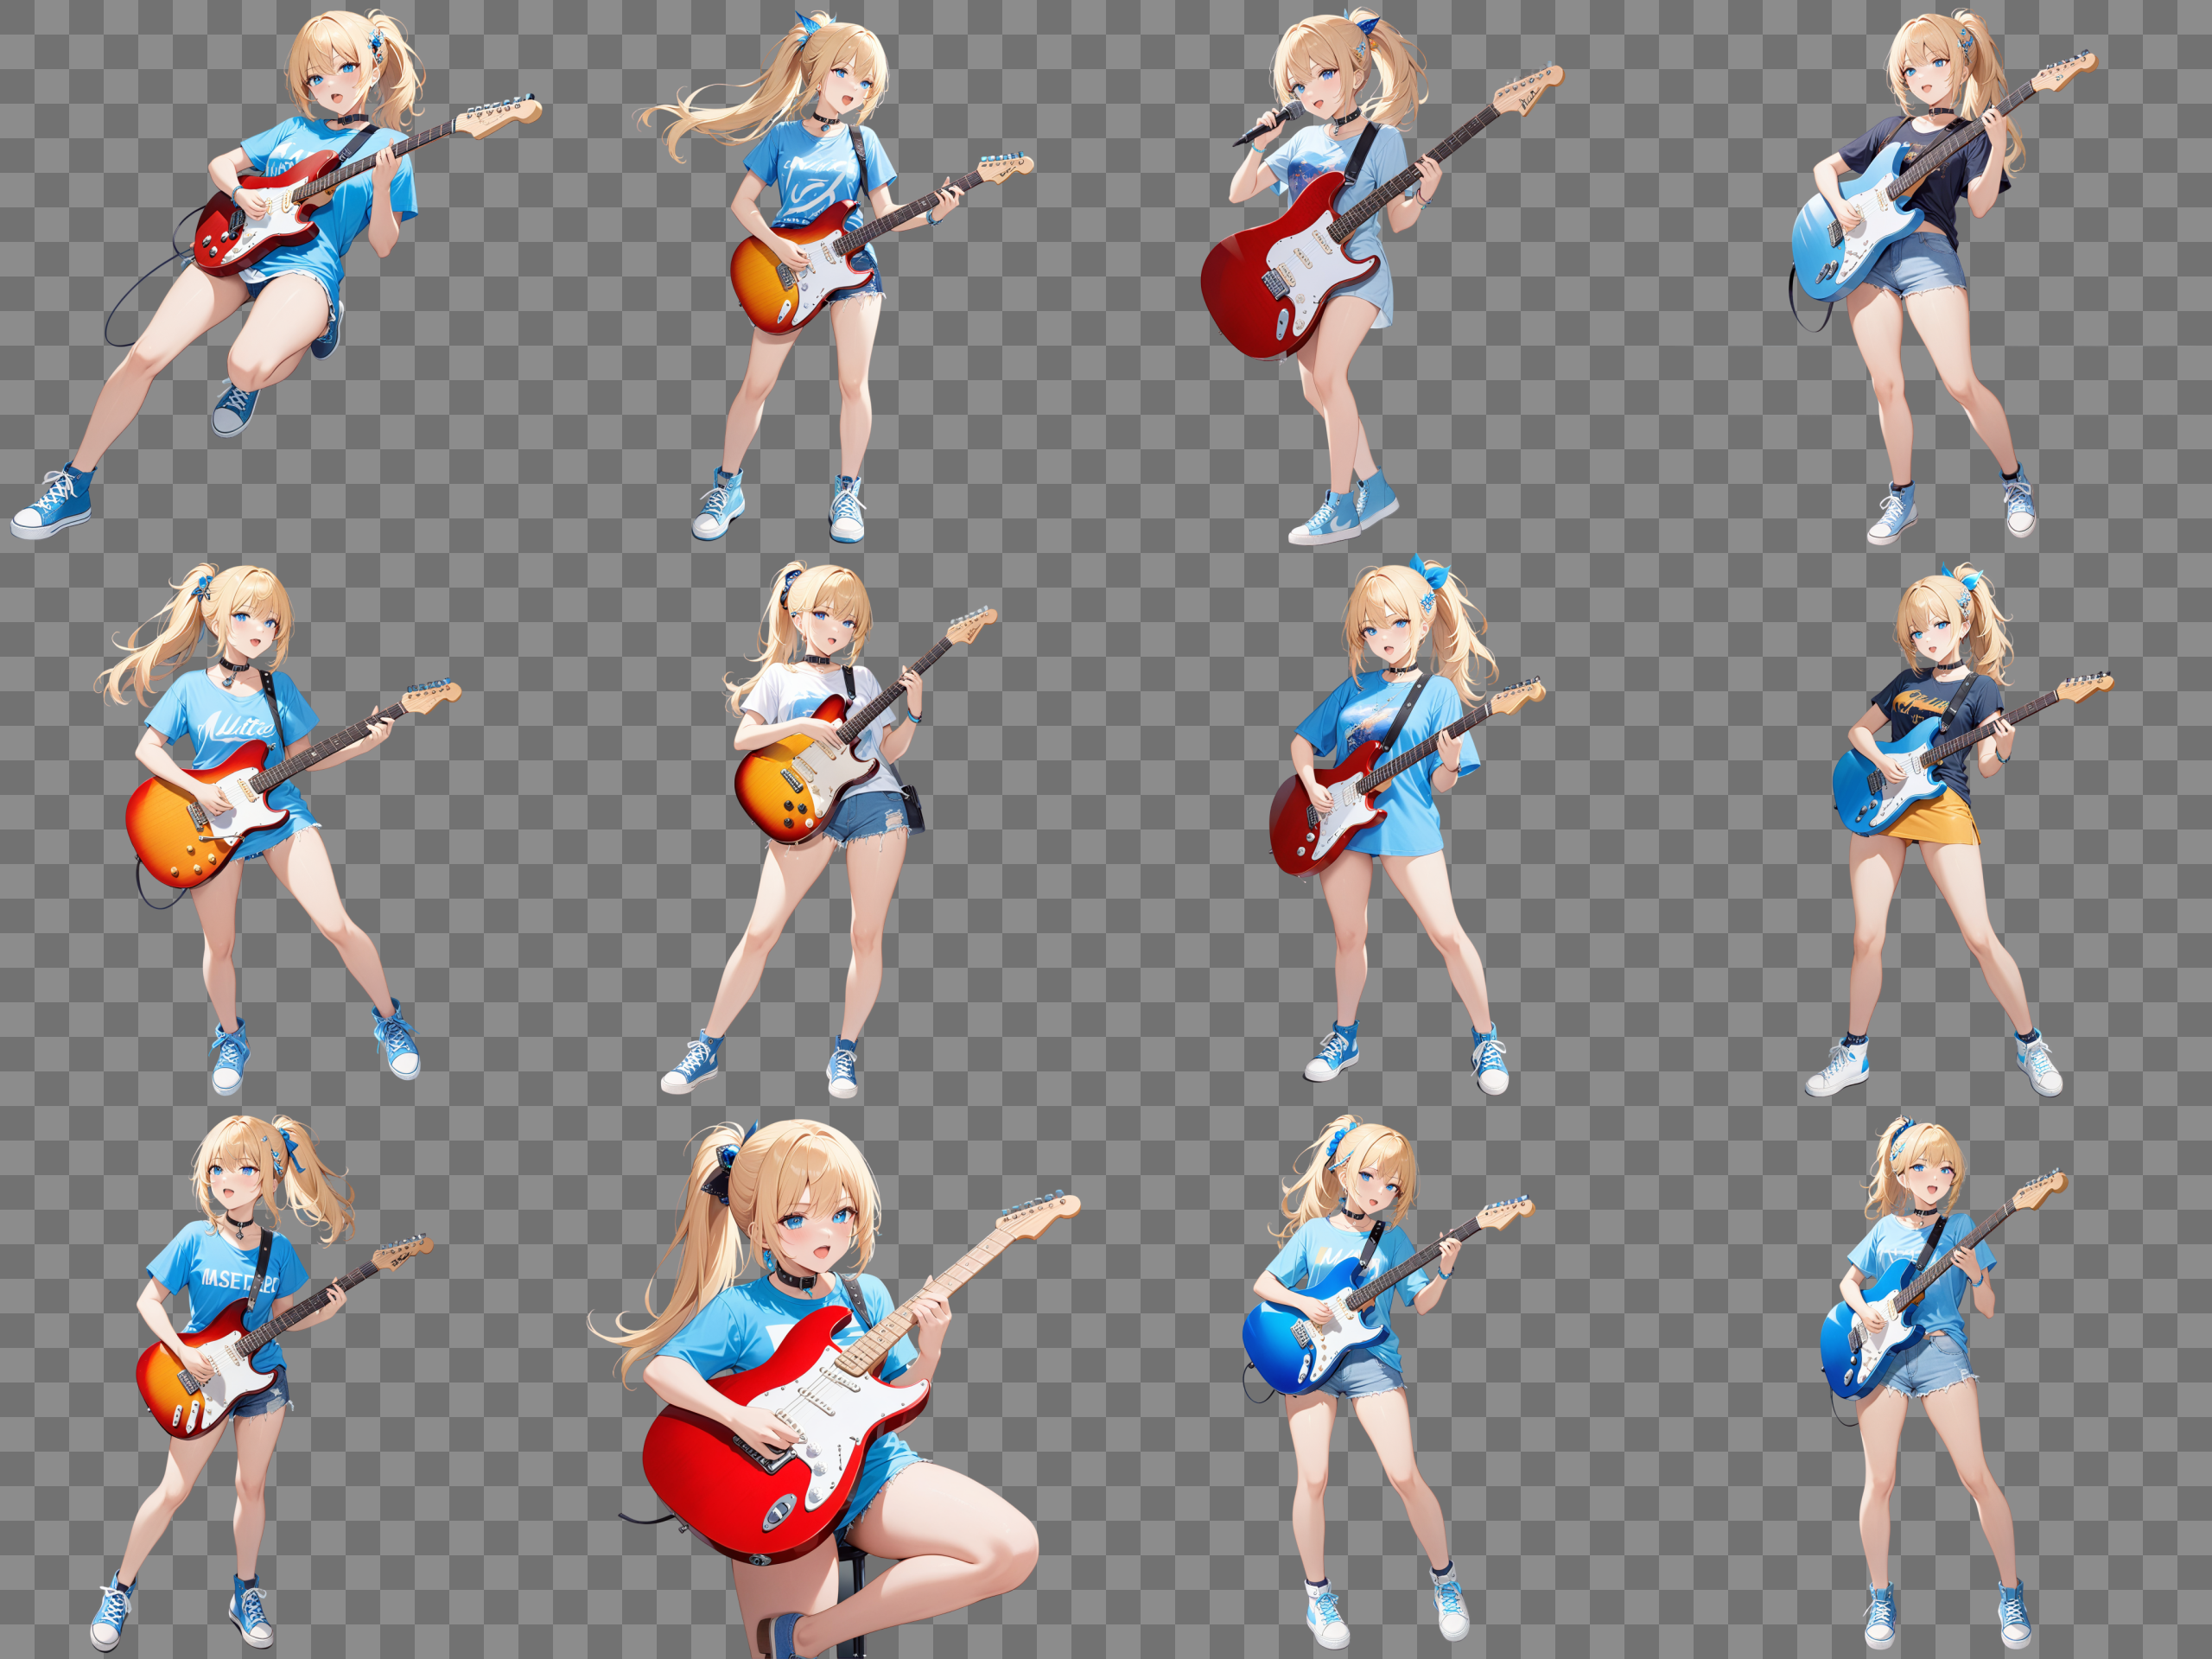
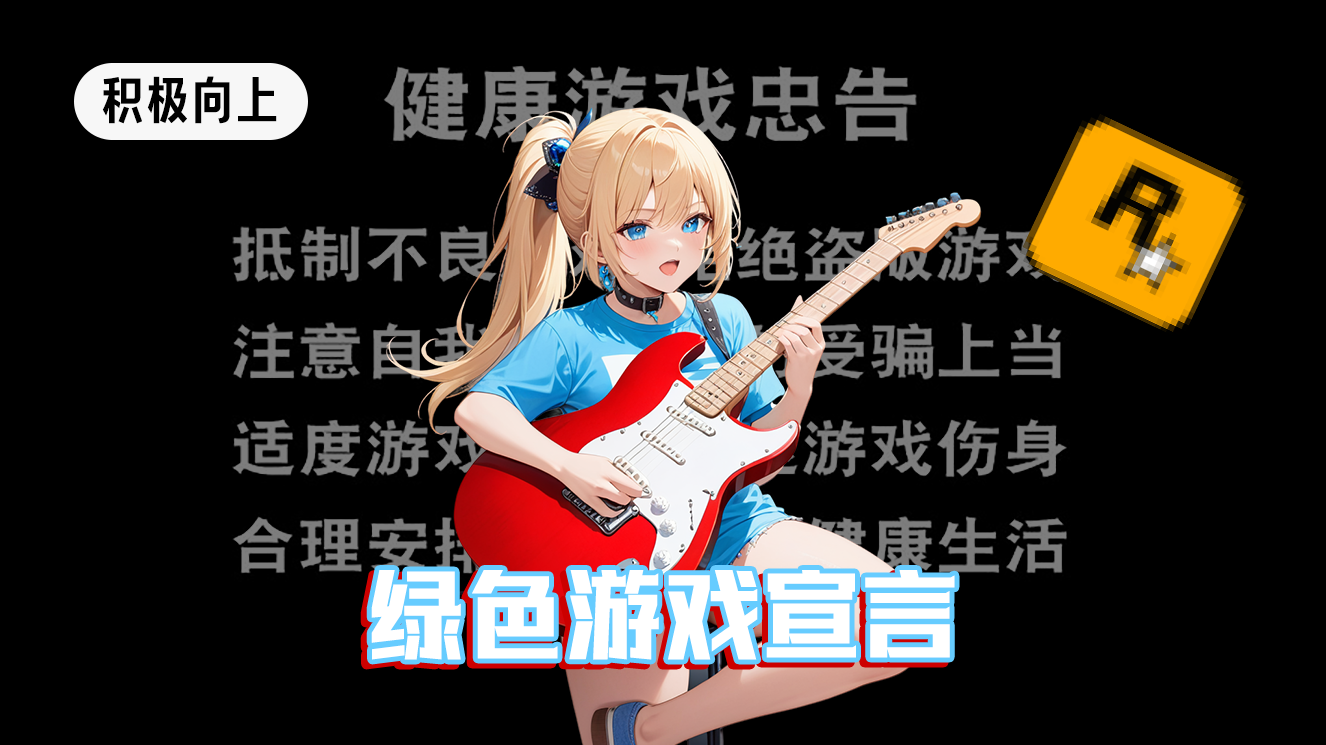
Using a screenshot as the background and adding text can achieve the effect of the original image.
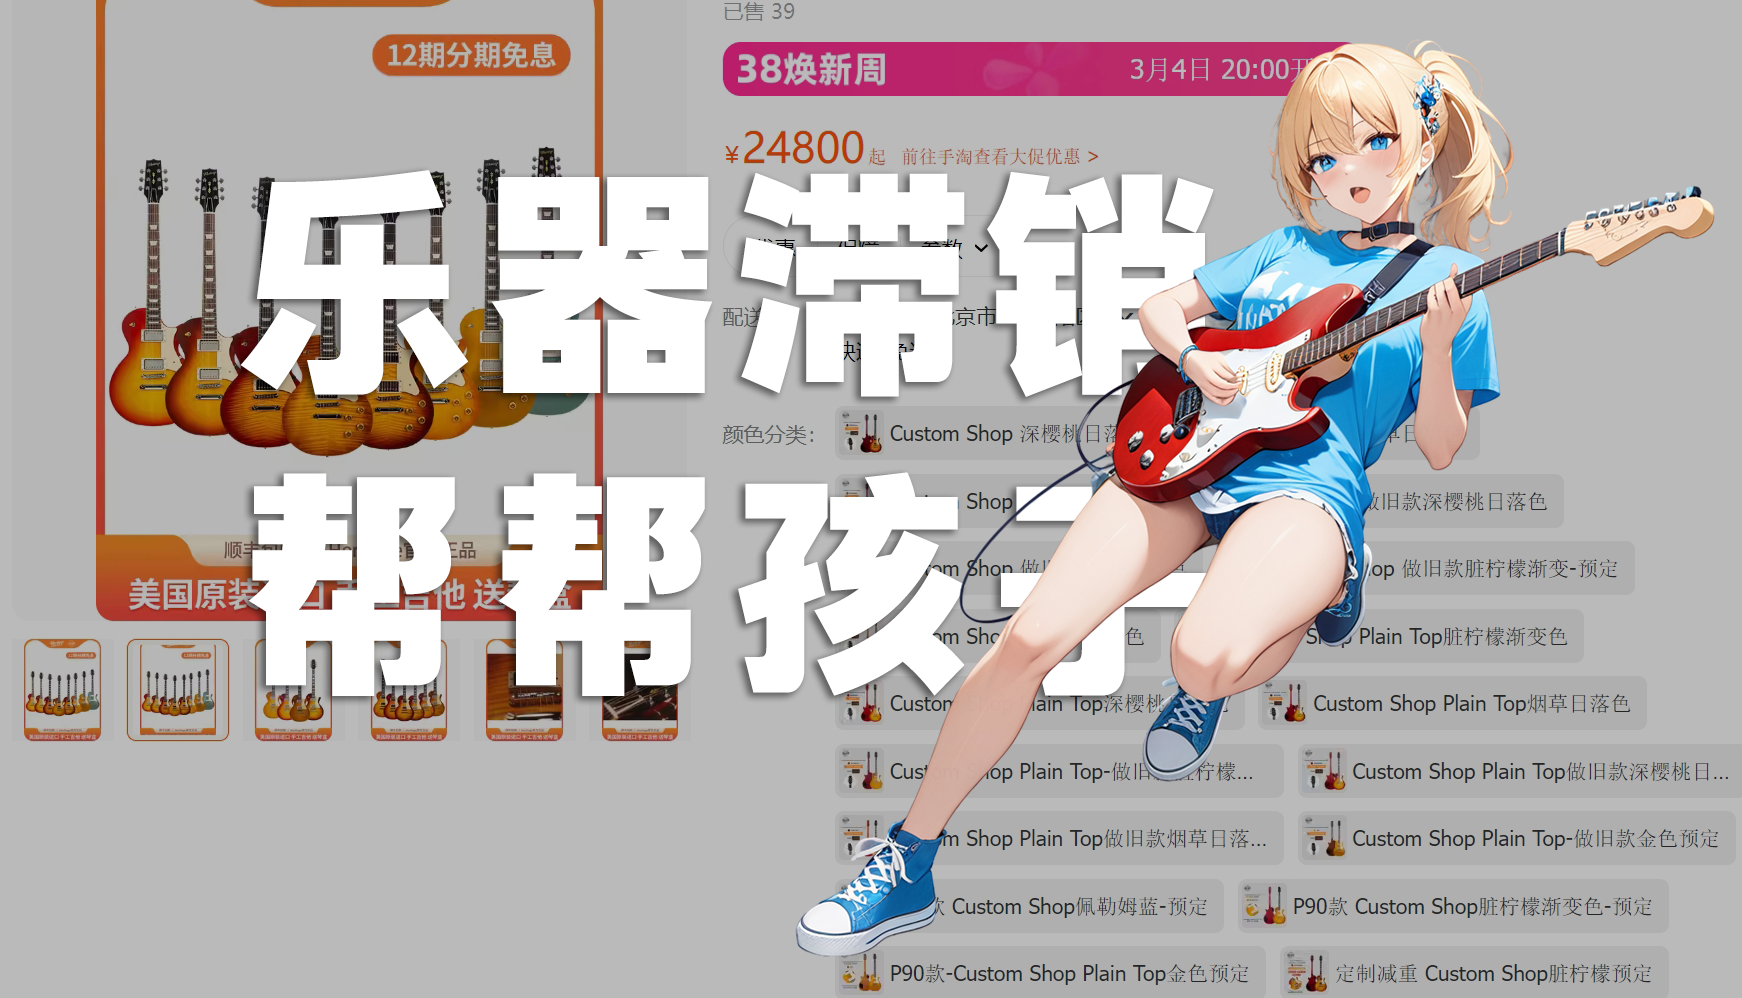
Another advantage of layering is that it can establish a spatial relationship between elements and text, for example:
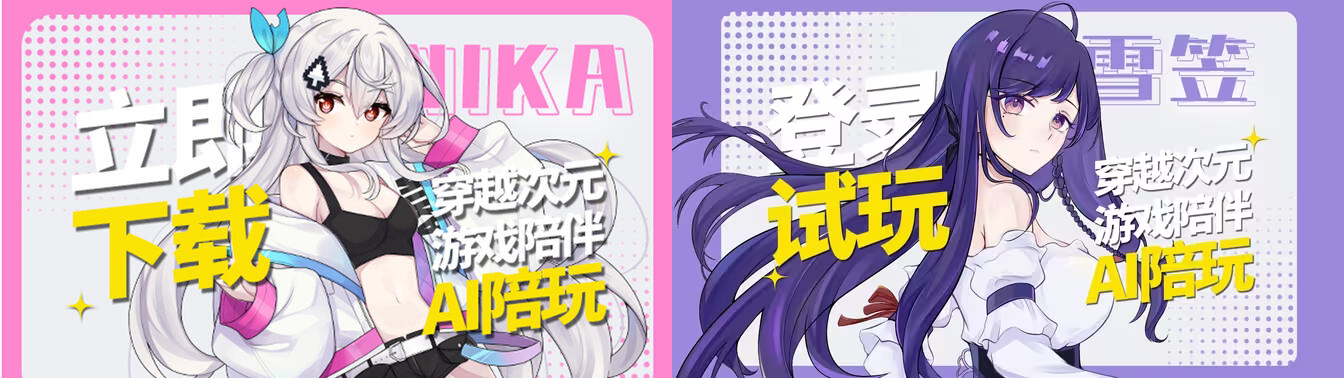
These two original images are likely not AIGC, but that doesn’t prevent us from replicating them as well.
For similar backgrounds, if you don’t have materials, you can also use AI to generate them, using the same method as generating characters. But some might say they don’t have a model for generating backgrounds.
That’s also simple. We can just find anyonline image designwebsite, such as Chuangkit, and filter its free WeChat Official Account cover templates.
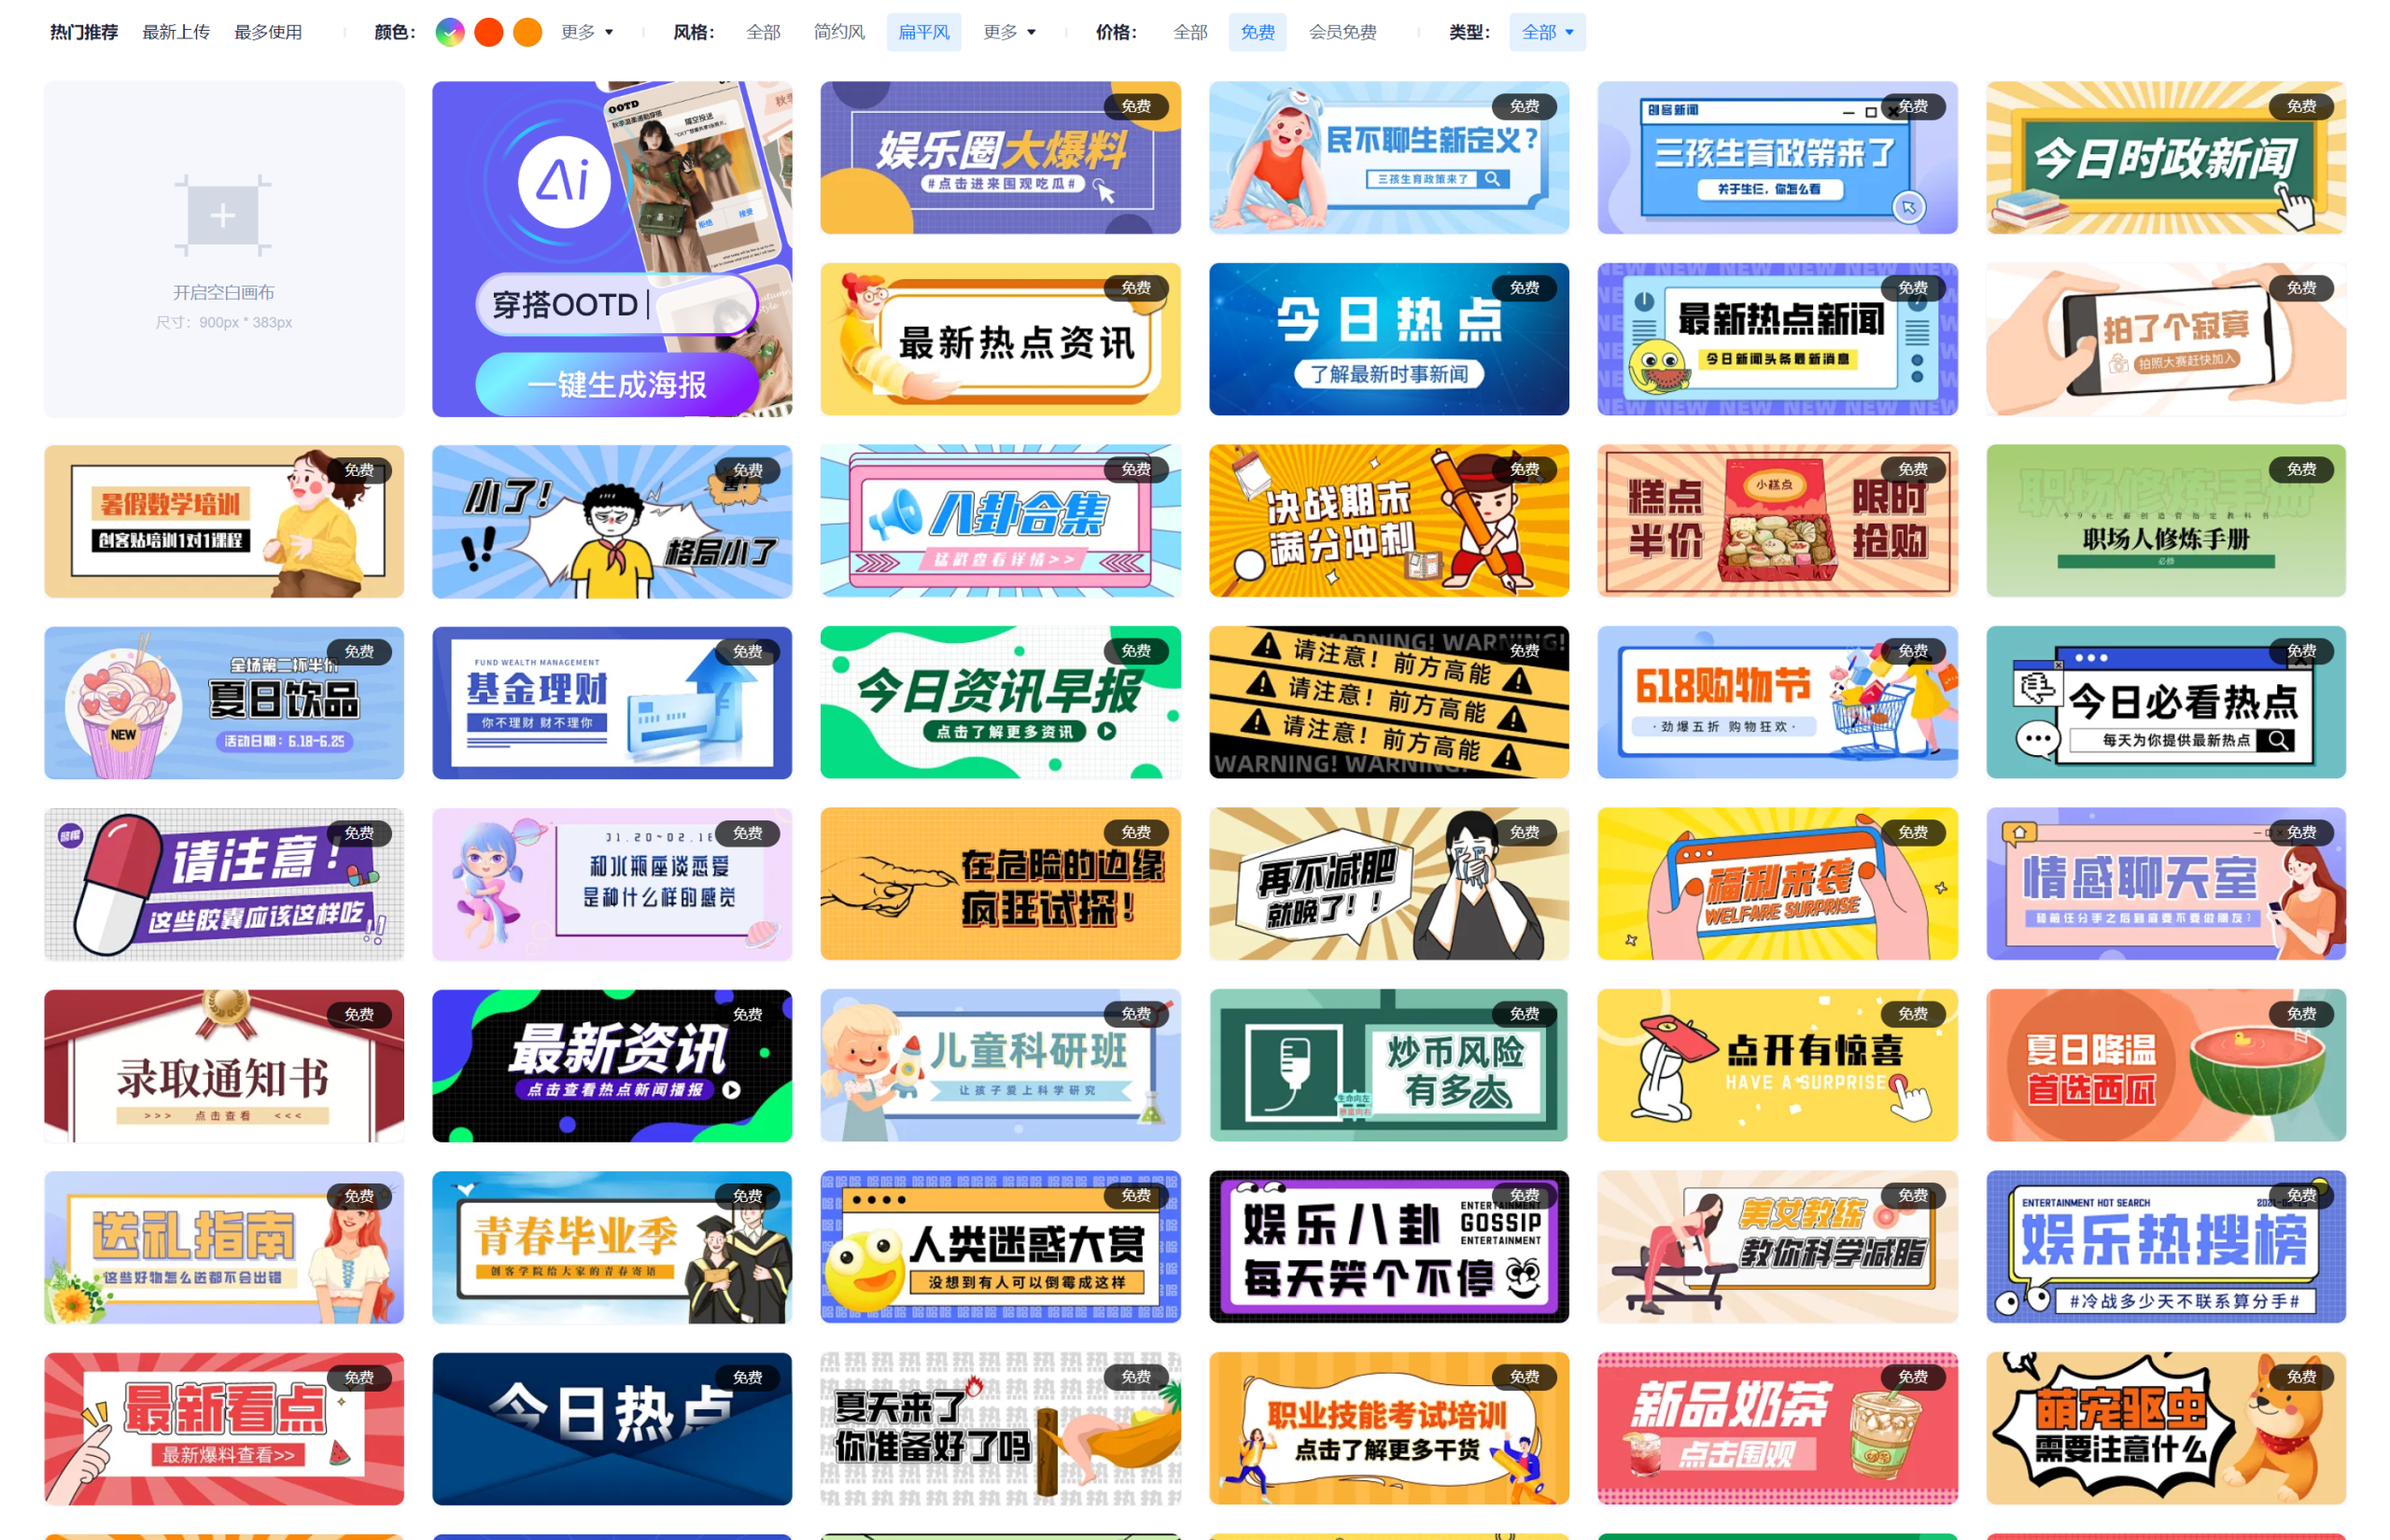
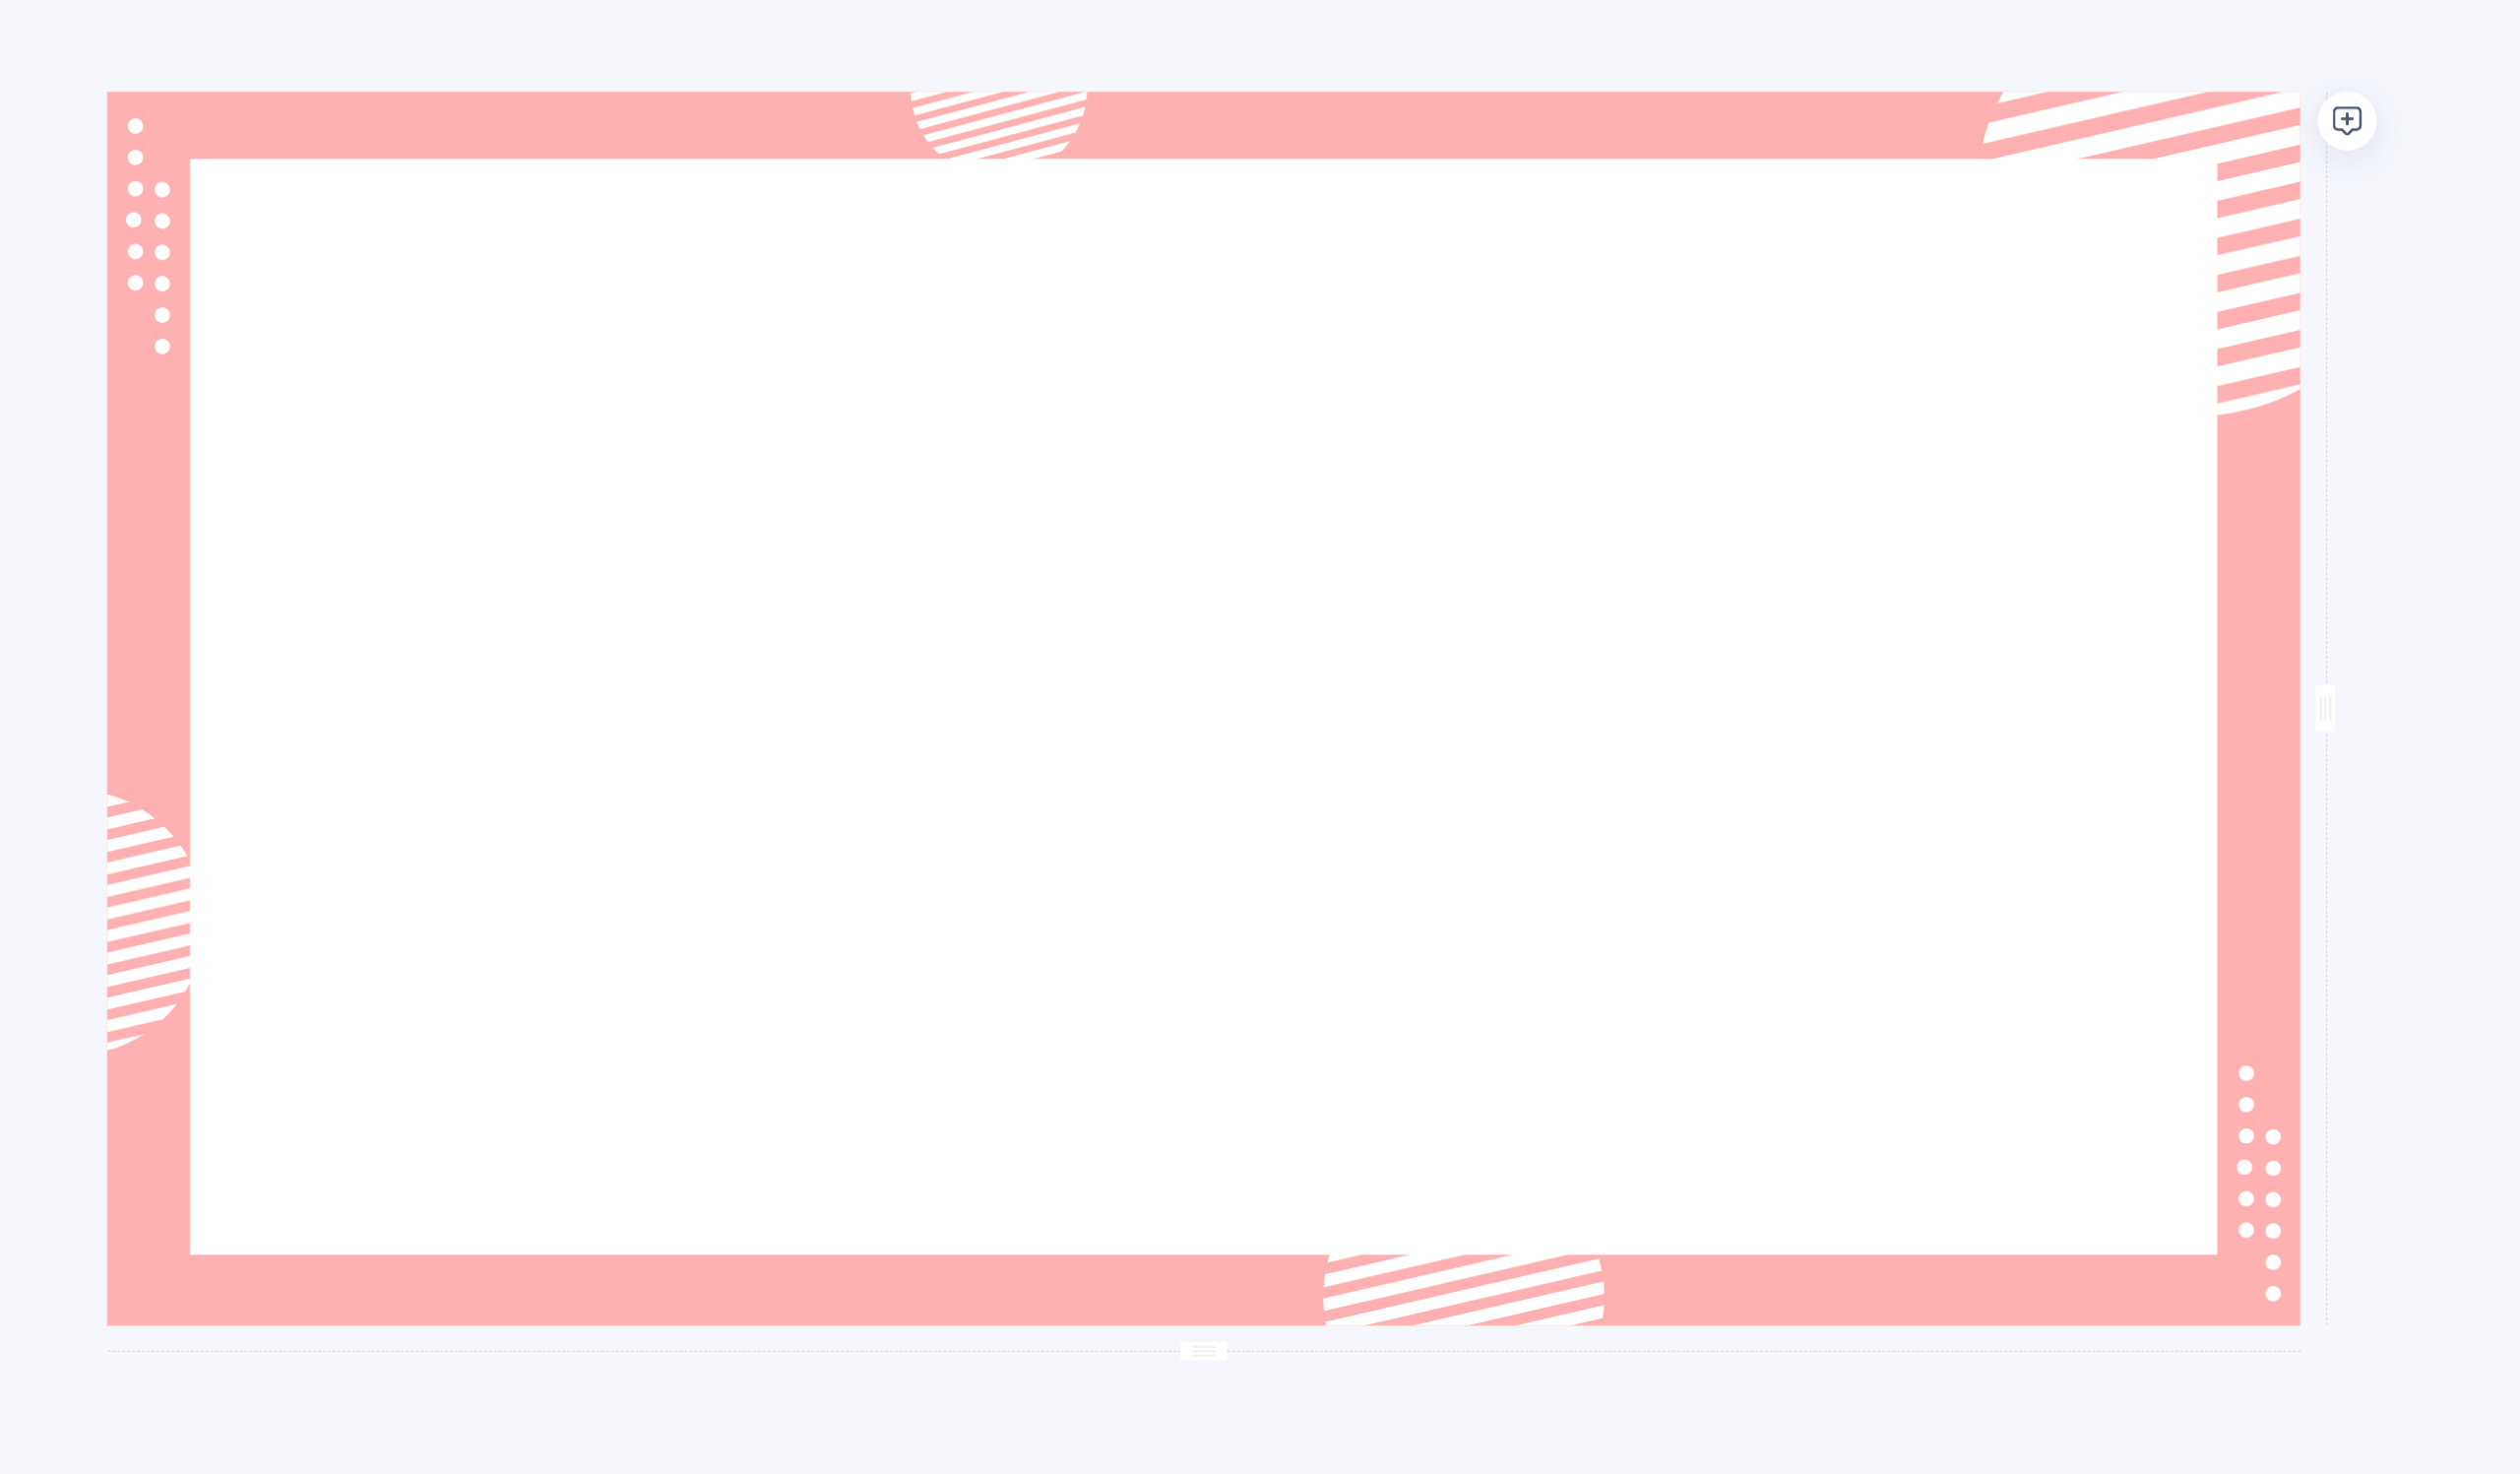
Select a template with a border and polka dot combination that closely matches the original image.
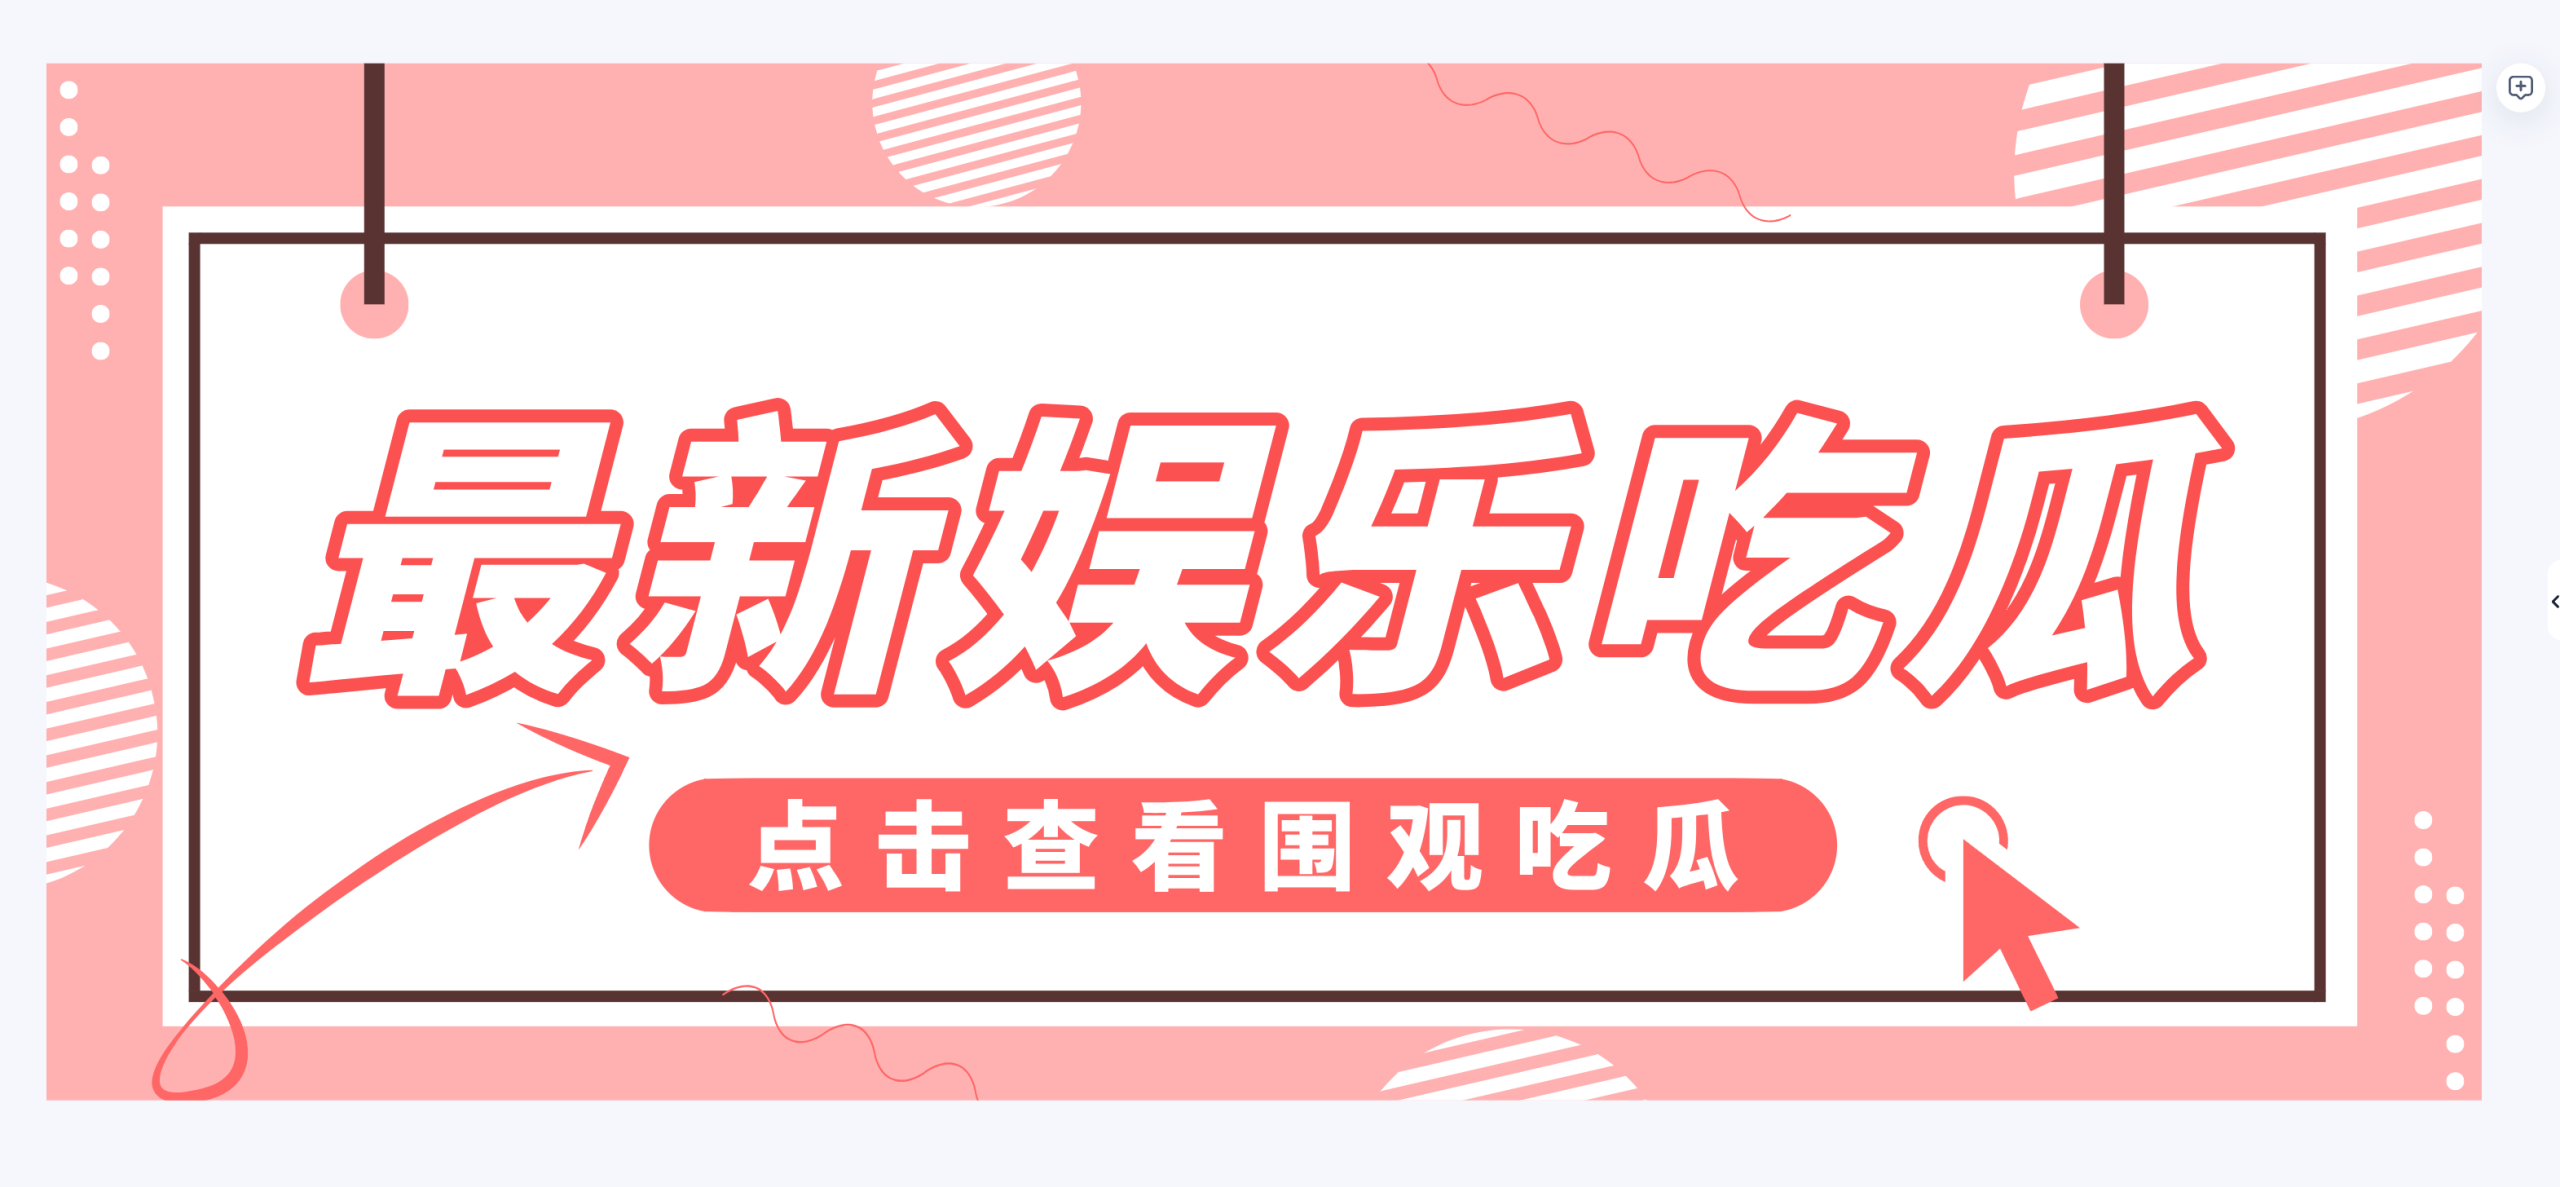
Delete the extra parts, leave only the background, and adjust the size—this gives us a border. Download it for later use.
As before, use Layer to generate a batch of PNG figures.
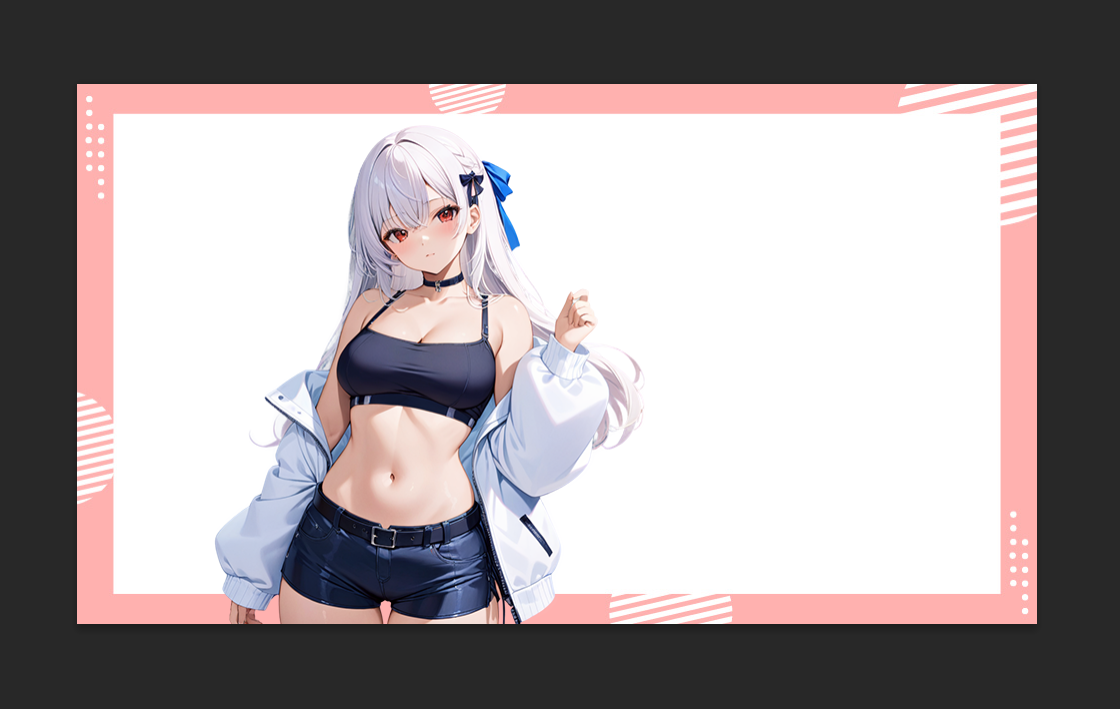
Combine them with the previous background and start adding text.
Of course, you can also directly upload the PNG file to Chuangkit to complete the background adjustment and text addition online.
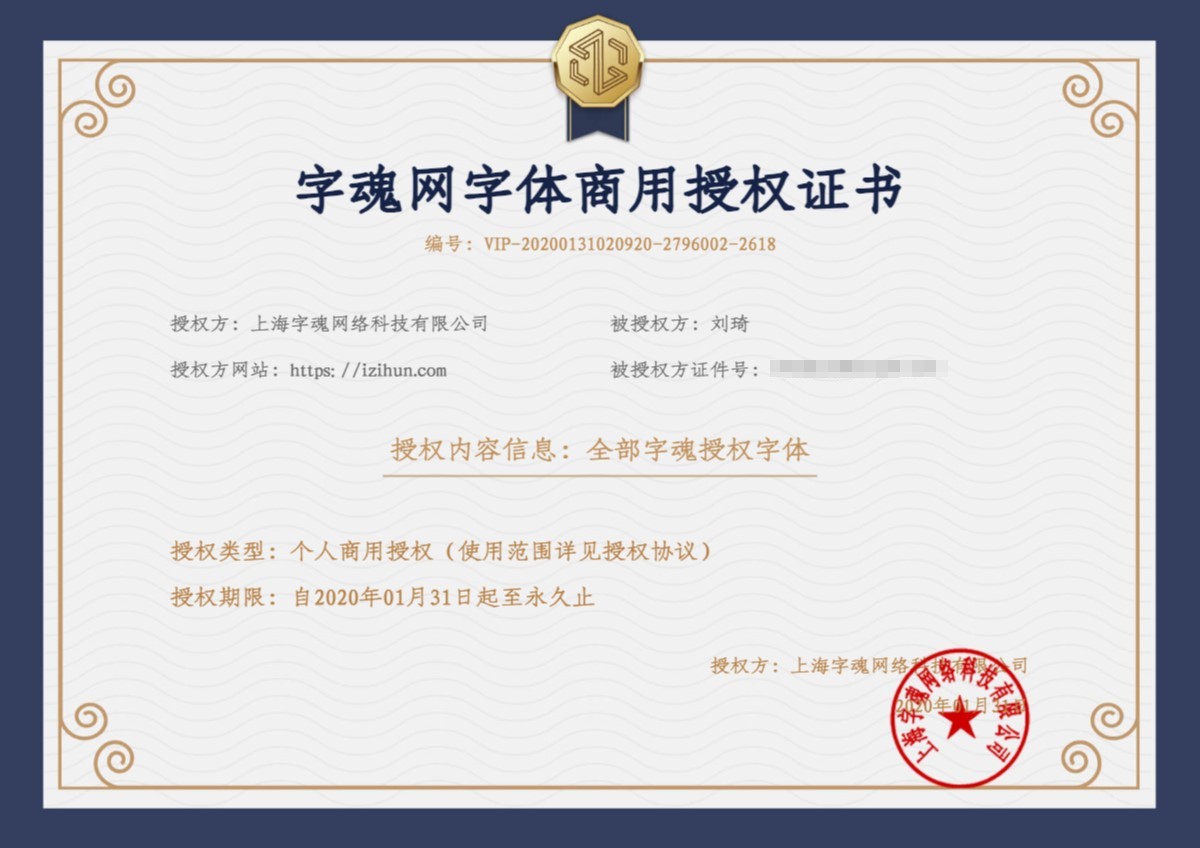
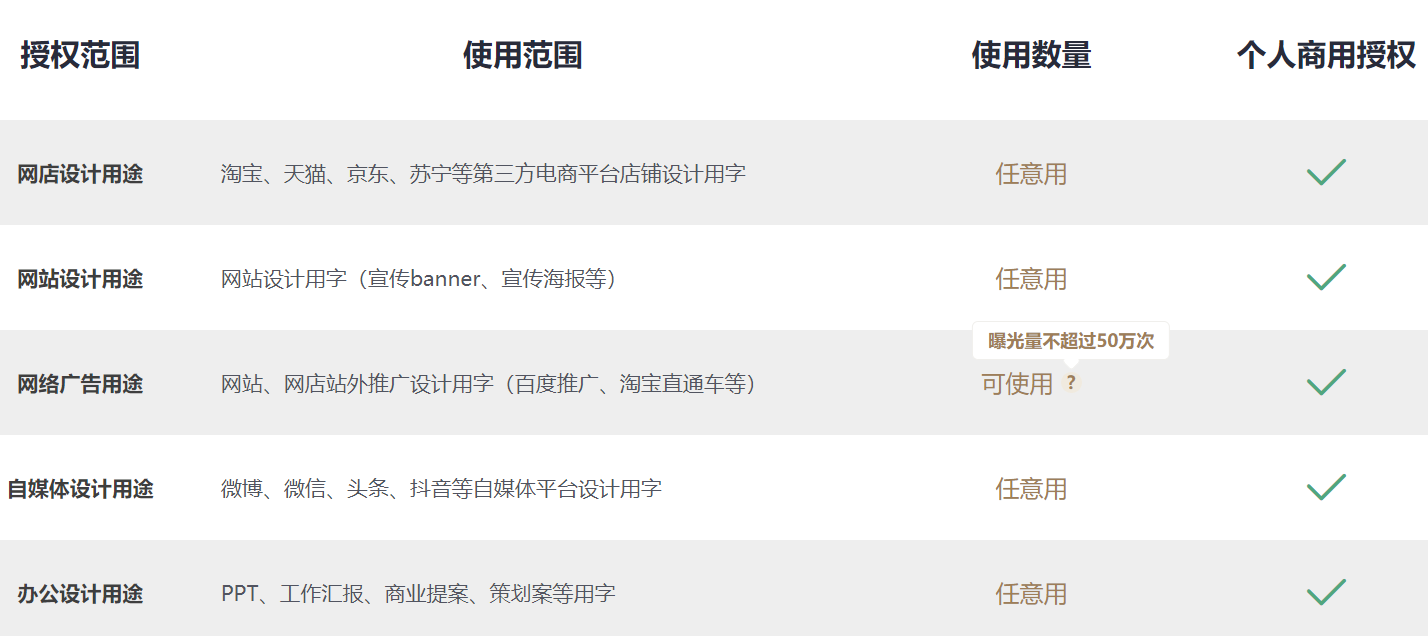
If you are using it only for personal operations or as a self-media, you can spend a few hundred yuan to purchase a personal license from websites like Zihun, which is much more convenient than searching everywhere online.
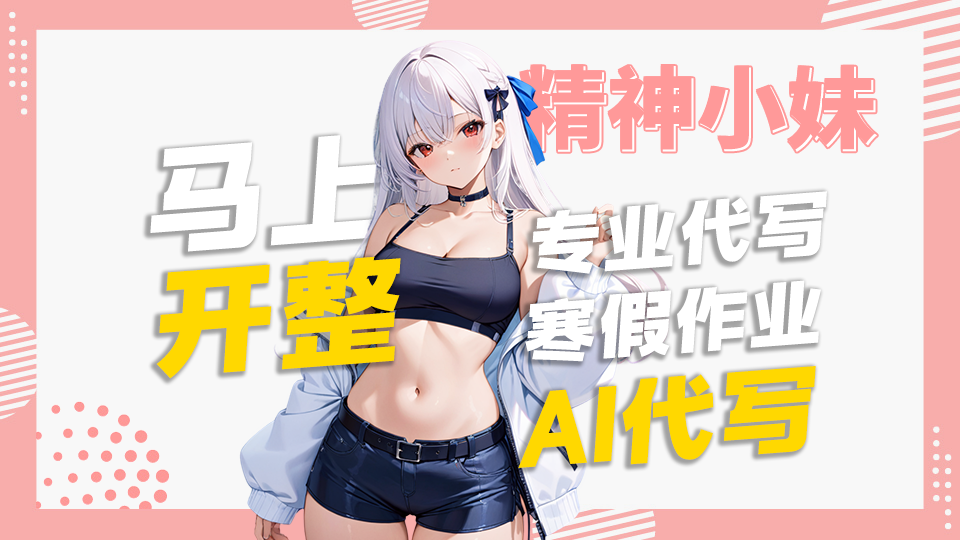
Adjust the character’s position, add the text in Photoshop, and the image is complete.
Easter egg: