1. Add a Residential Node.
Use the add node function to add a residential node.
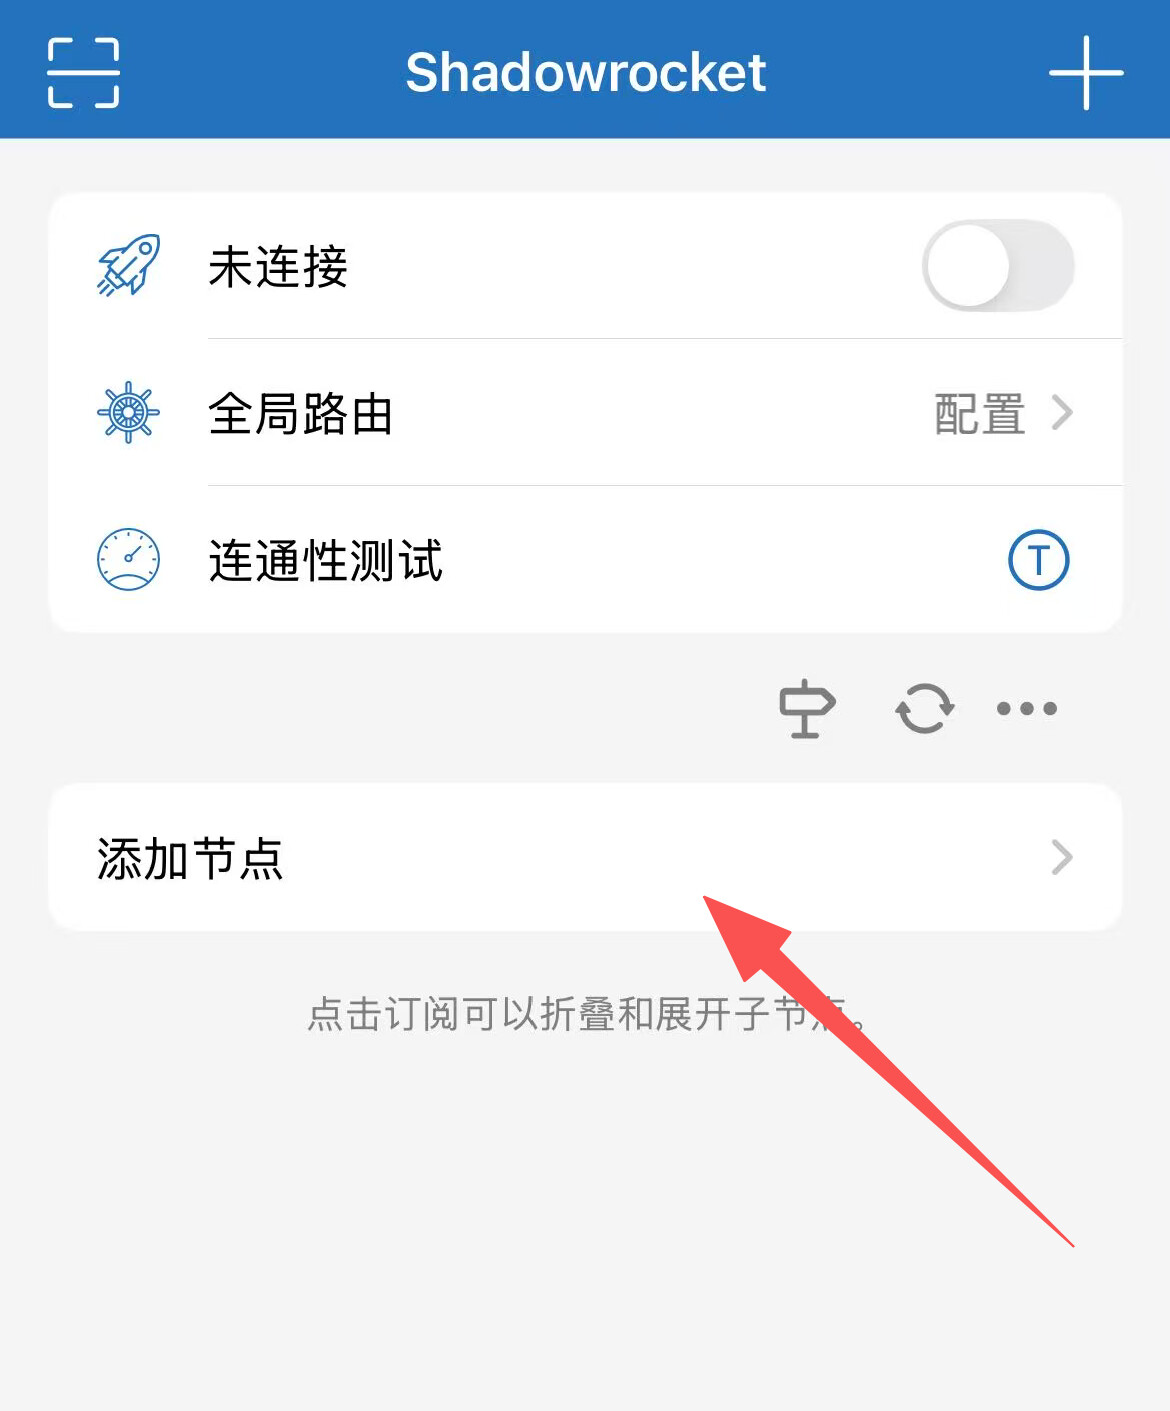
The residential node type is generally HTTP or SOCKS5, both are usually supported.
For example, if I now select SOCKS5, the following form appears.
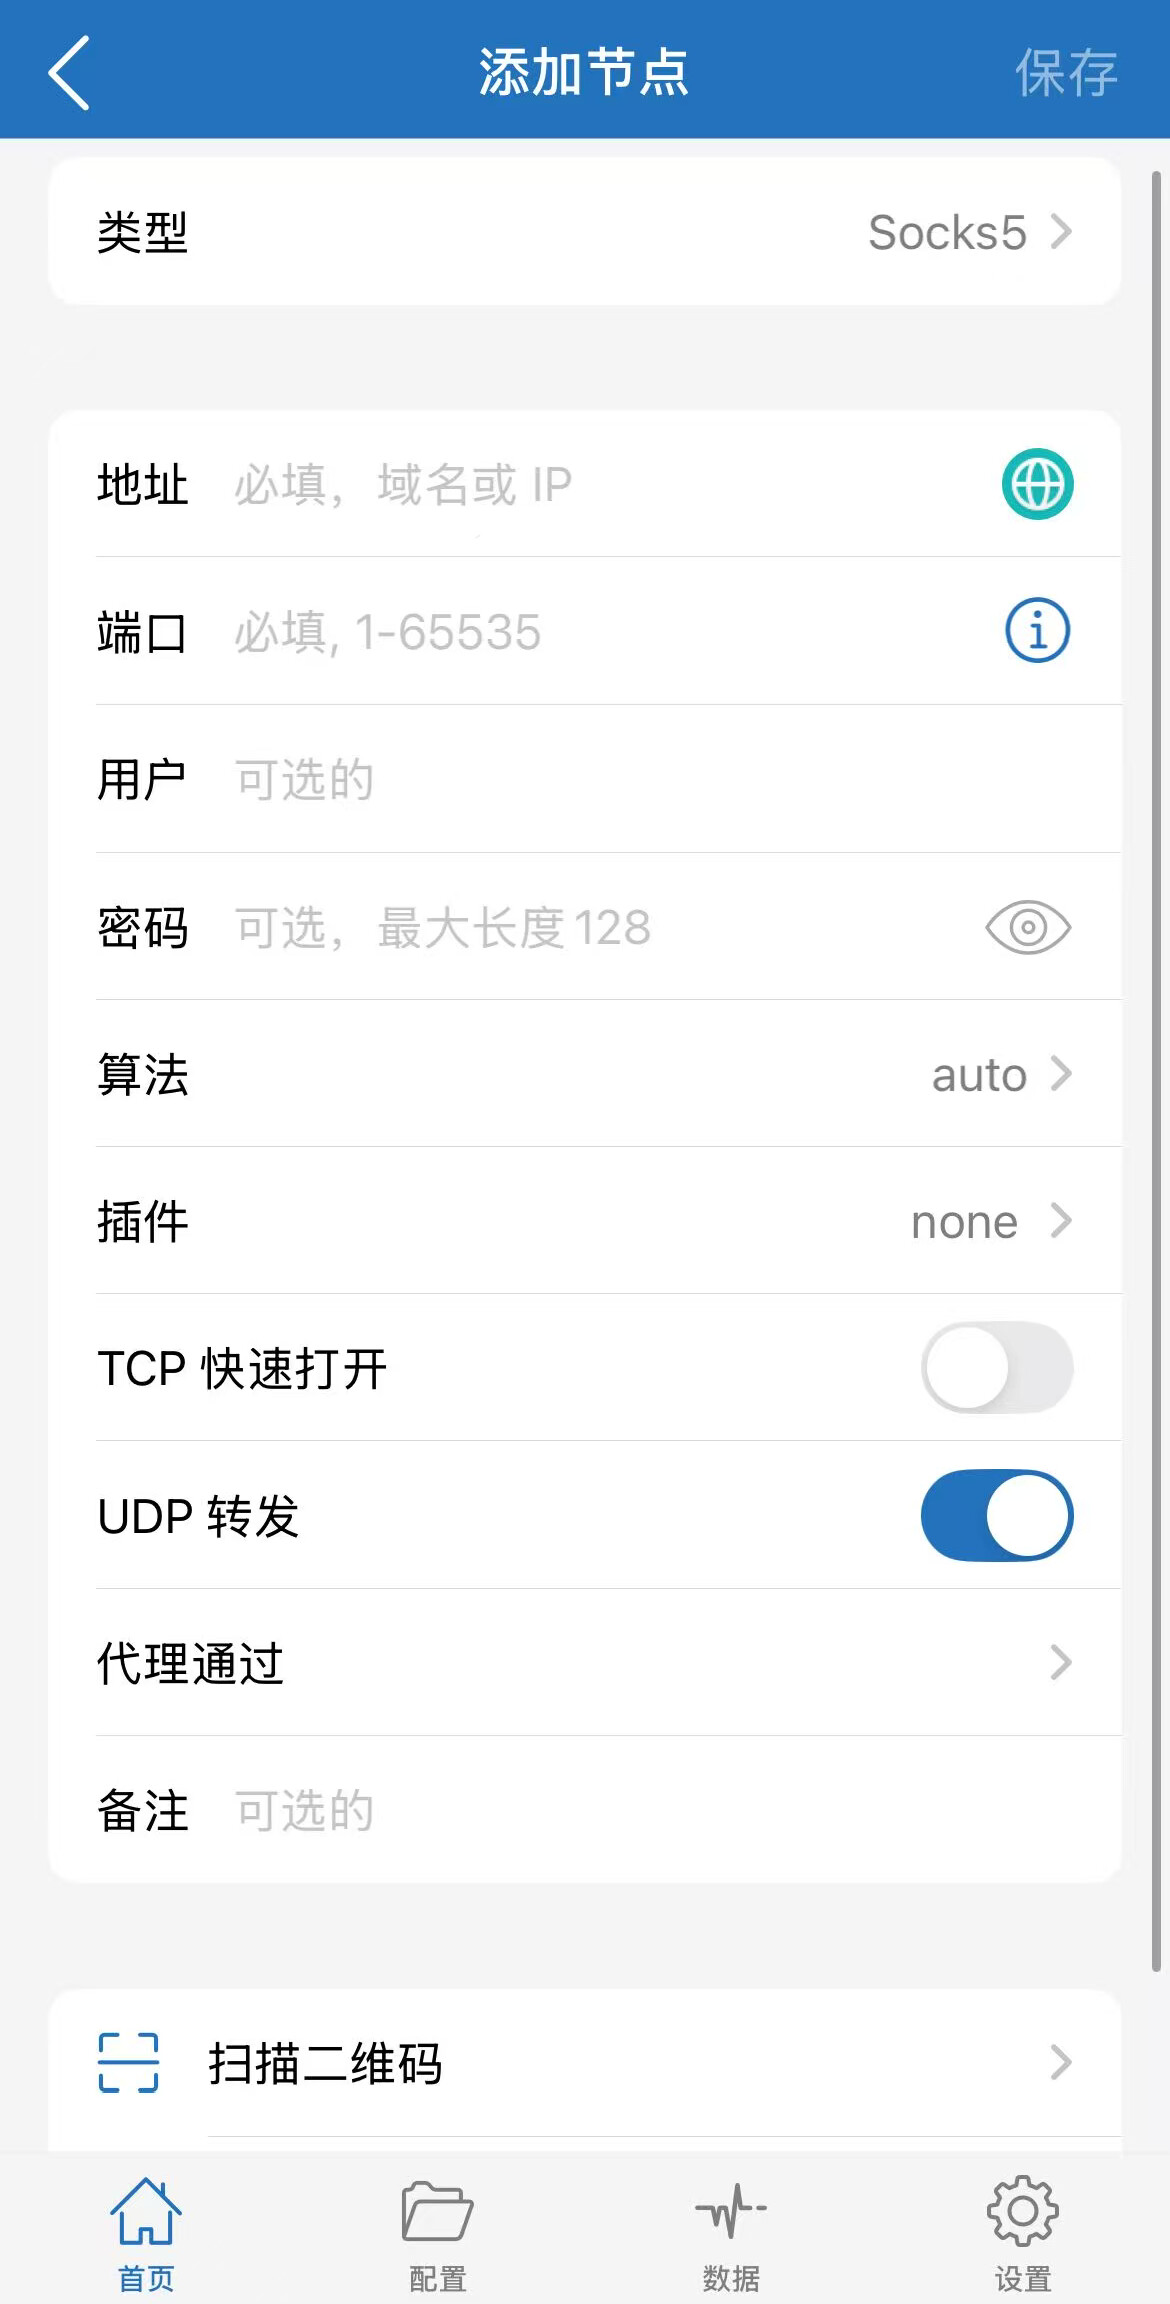
Taking Webshare as an example, you can see the IP address, port number, username, and password in the website backend. Fill these four items into the corresponding positions. Algorithm, plugin, and UDP forwarding can generally be left as default.
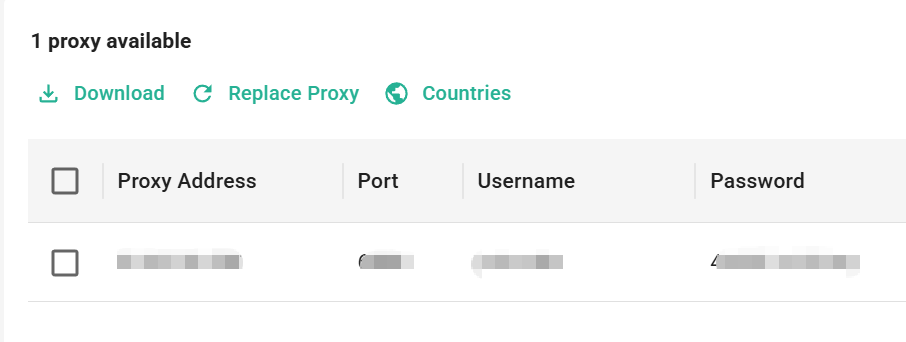
There is a lazy method here: you can have AI help you generate a QR code based on the information, then use the scan QR code function below. Scanning it will automatically input the details.
2. Configure Chain Proxy.
Click “Proxy Via”.
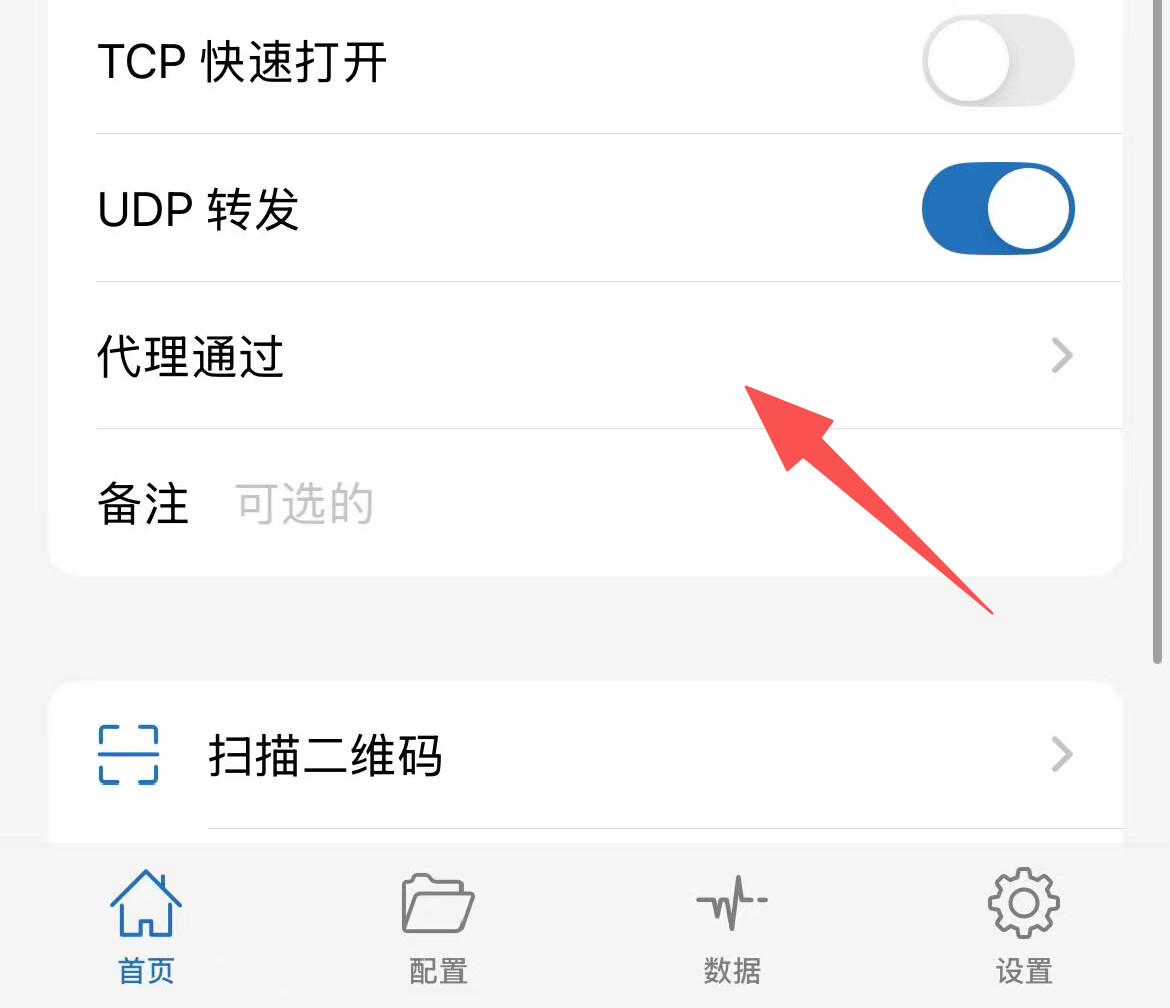
In “Proxy Via”, select the front-end node you want to use.
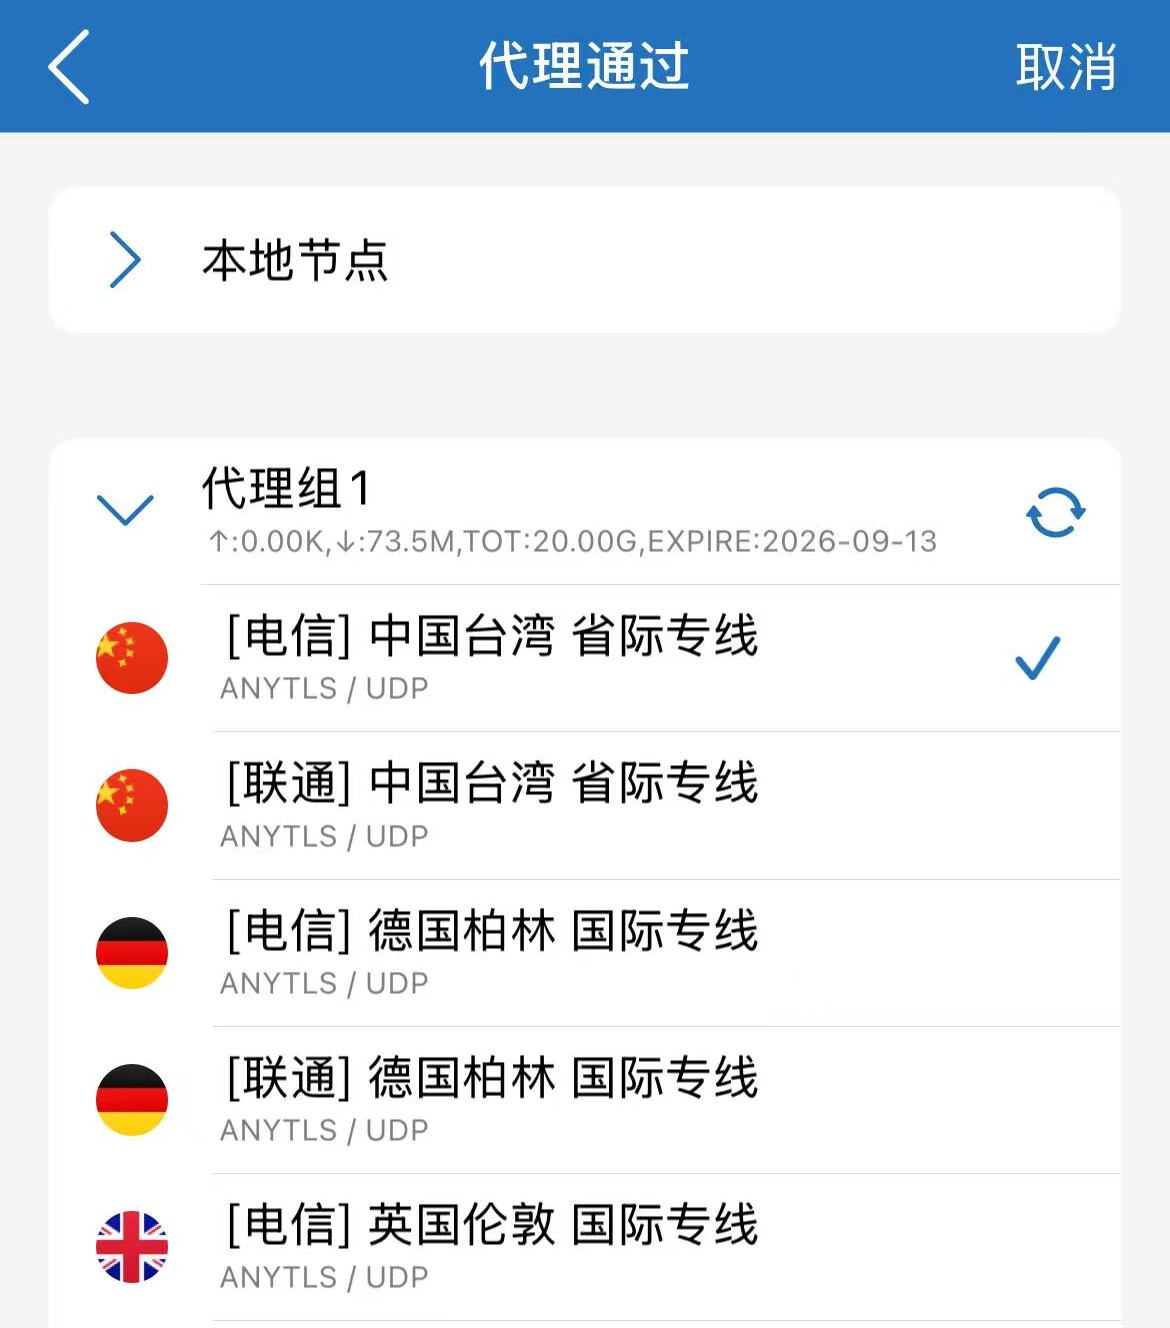
Return to the previous level’s edit node interface and click save.
Then go back to the home page and select the local residential node you added initially.
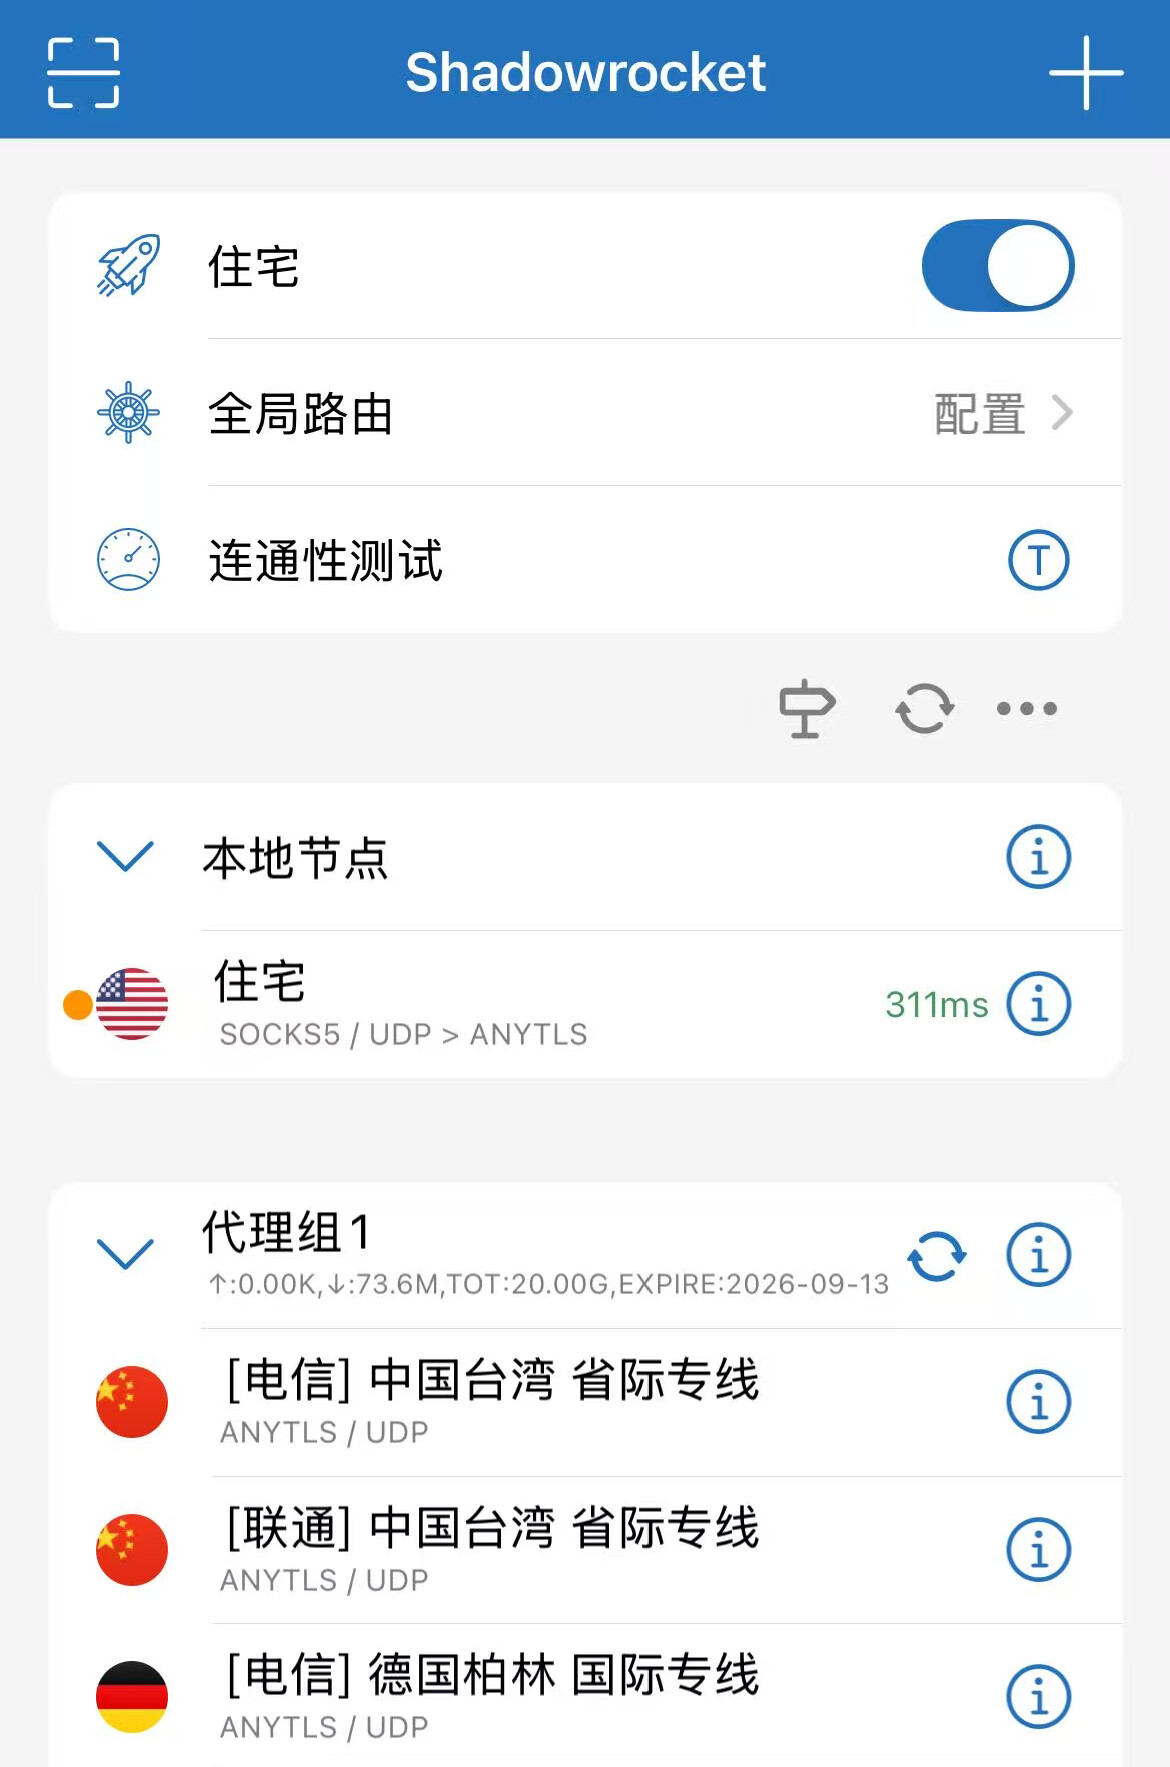
Then enable the proxy, and you’re all set.
Let’s test it.
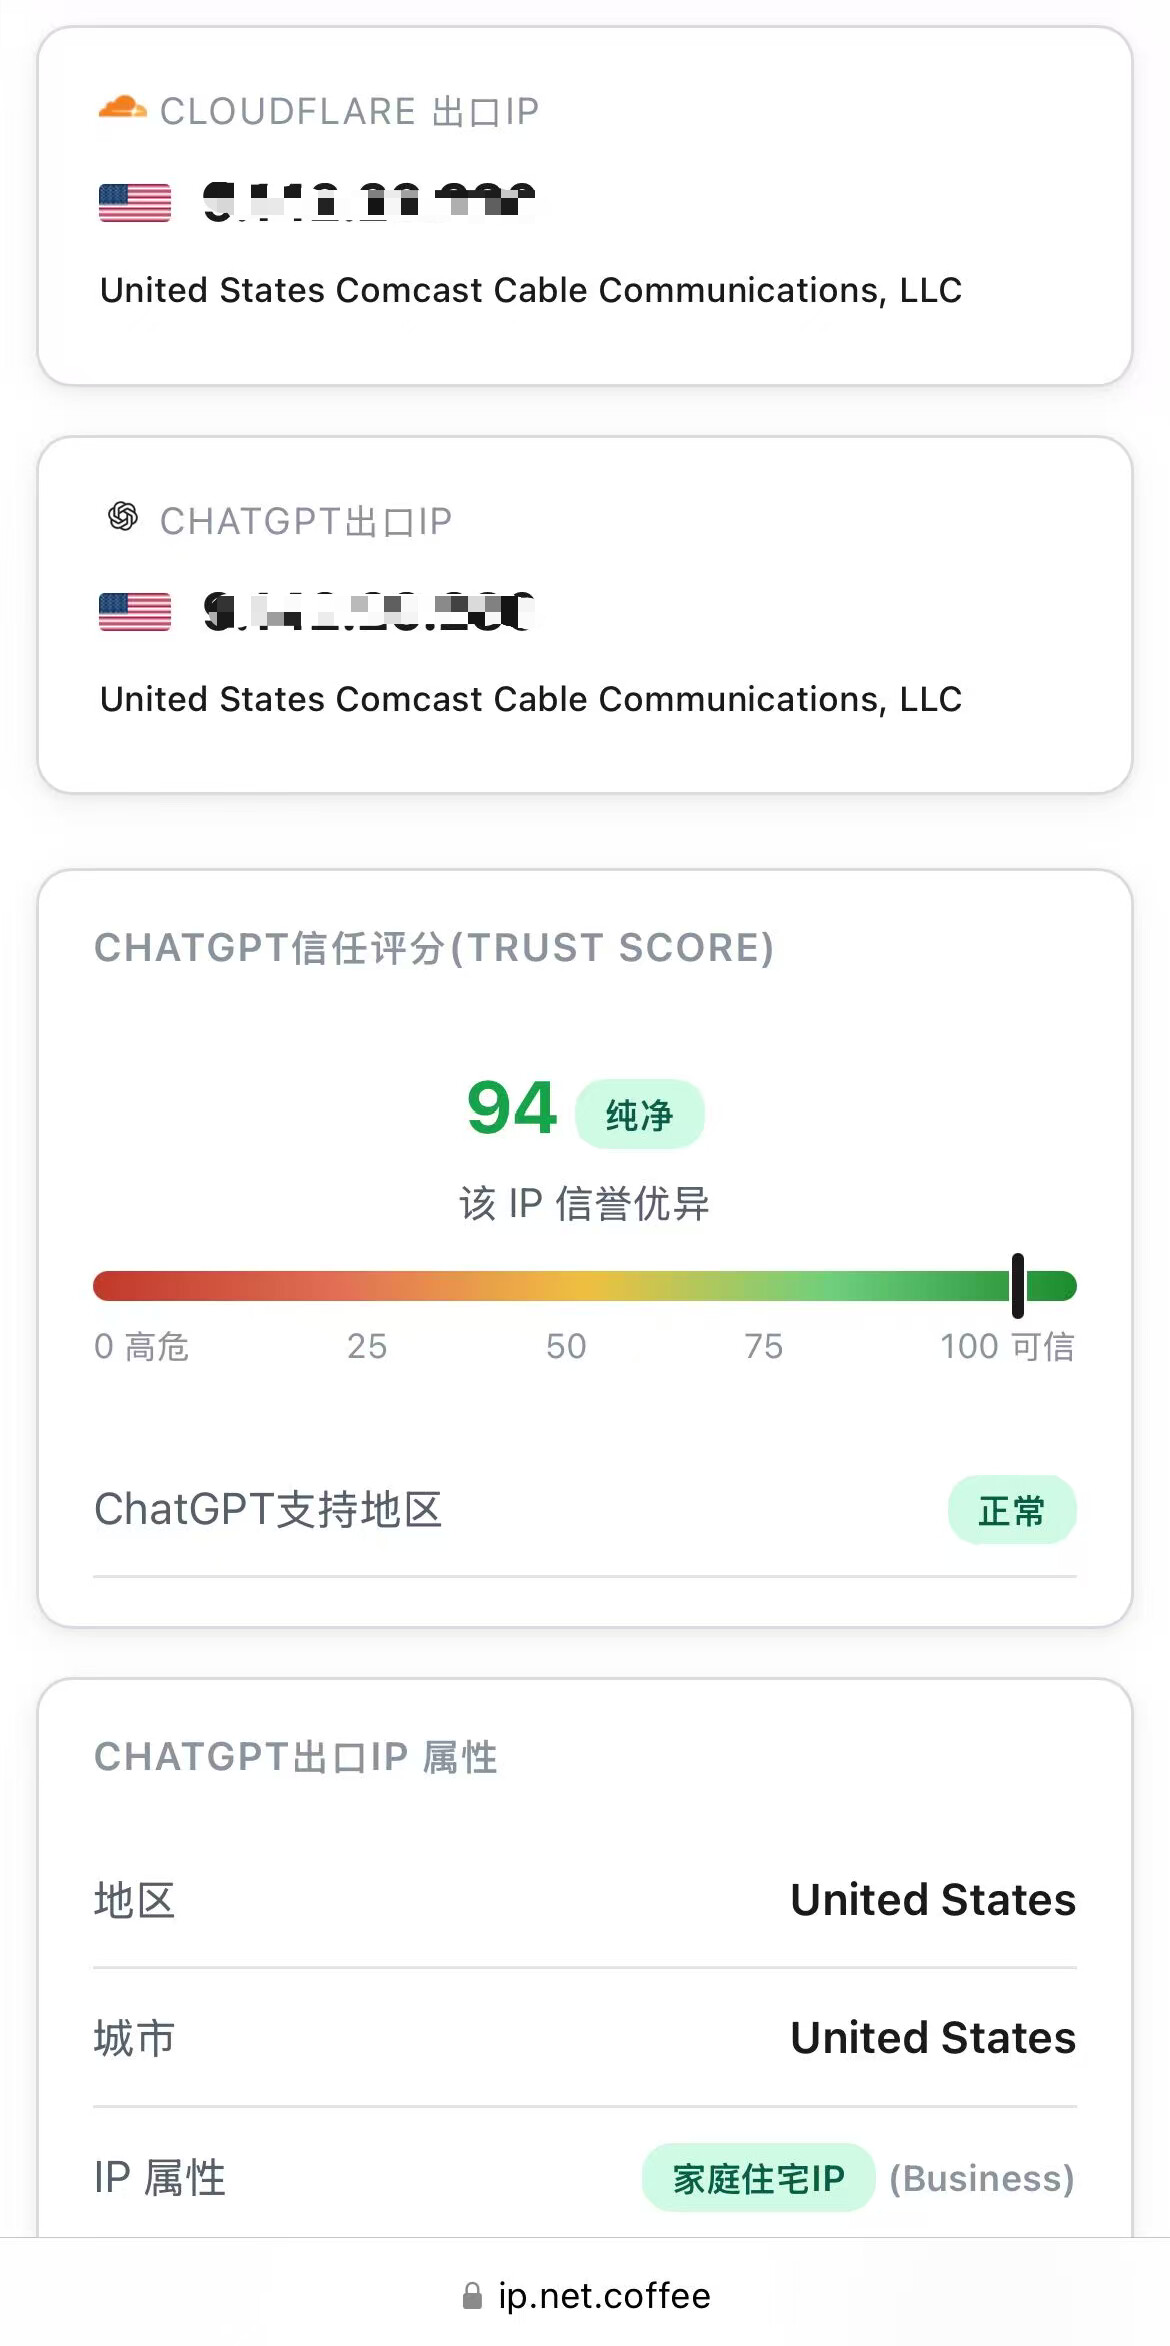
However.
This configuration brings up a problem. If I feel the front-end node isn’t performing well and want to switch to another one, I need to go back into this local node’s edit screen, click “Proxy Via” again, and then search for the desired node under the desired proxy group.
Every time you change one, you have to go through this process. It’s annoying and not elegant at all.
So, let’s be a bit more refined.
3. Create a Proxy Group.
First, go back to the home page, press and hold on a blank area, and drag down.
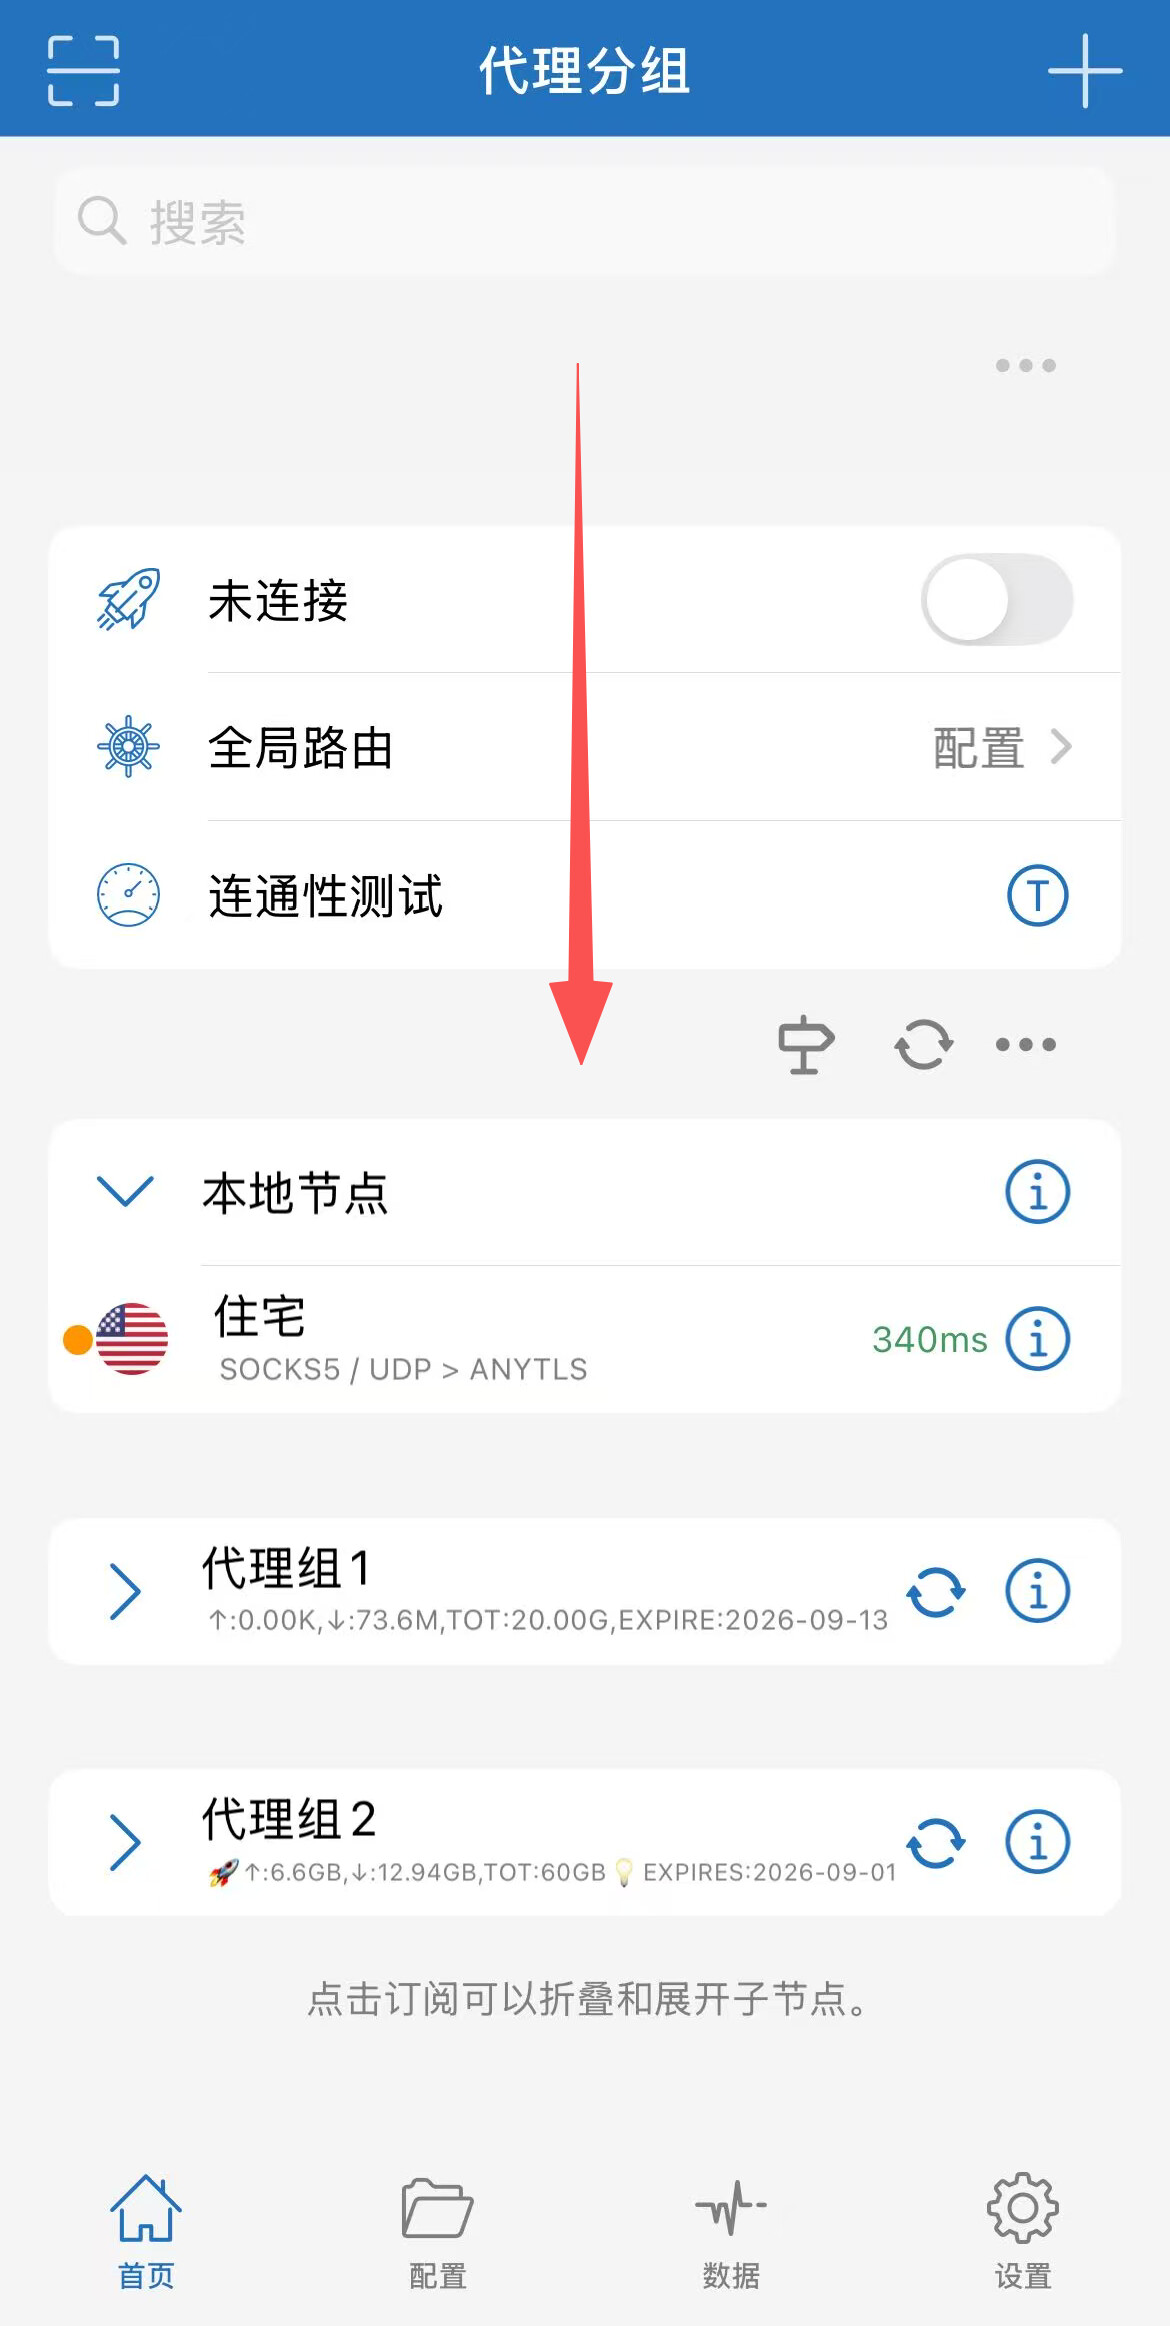
It’s like opening “Taobao Second Floor” in the Taobao app.
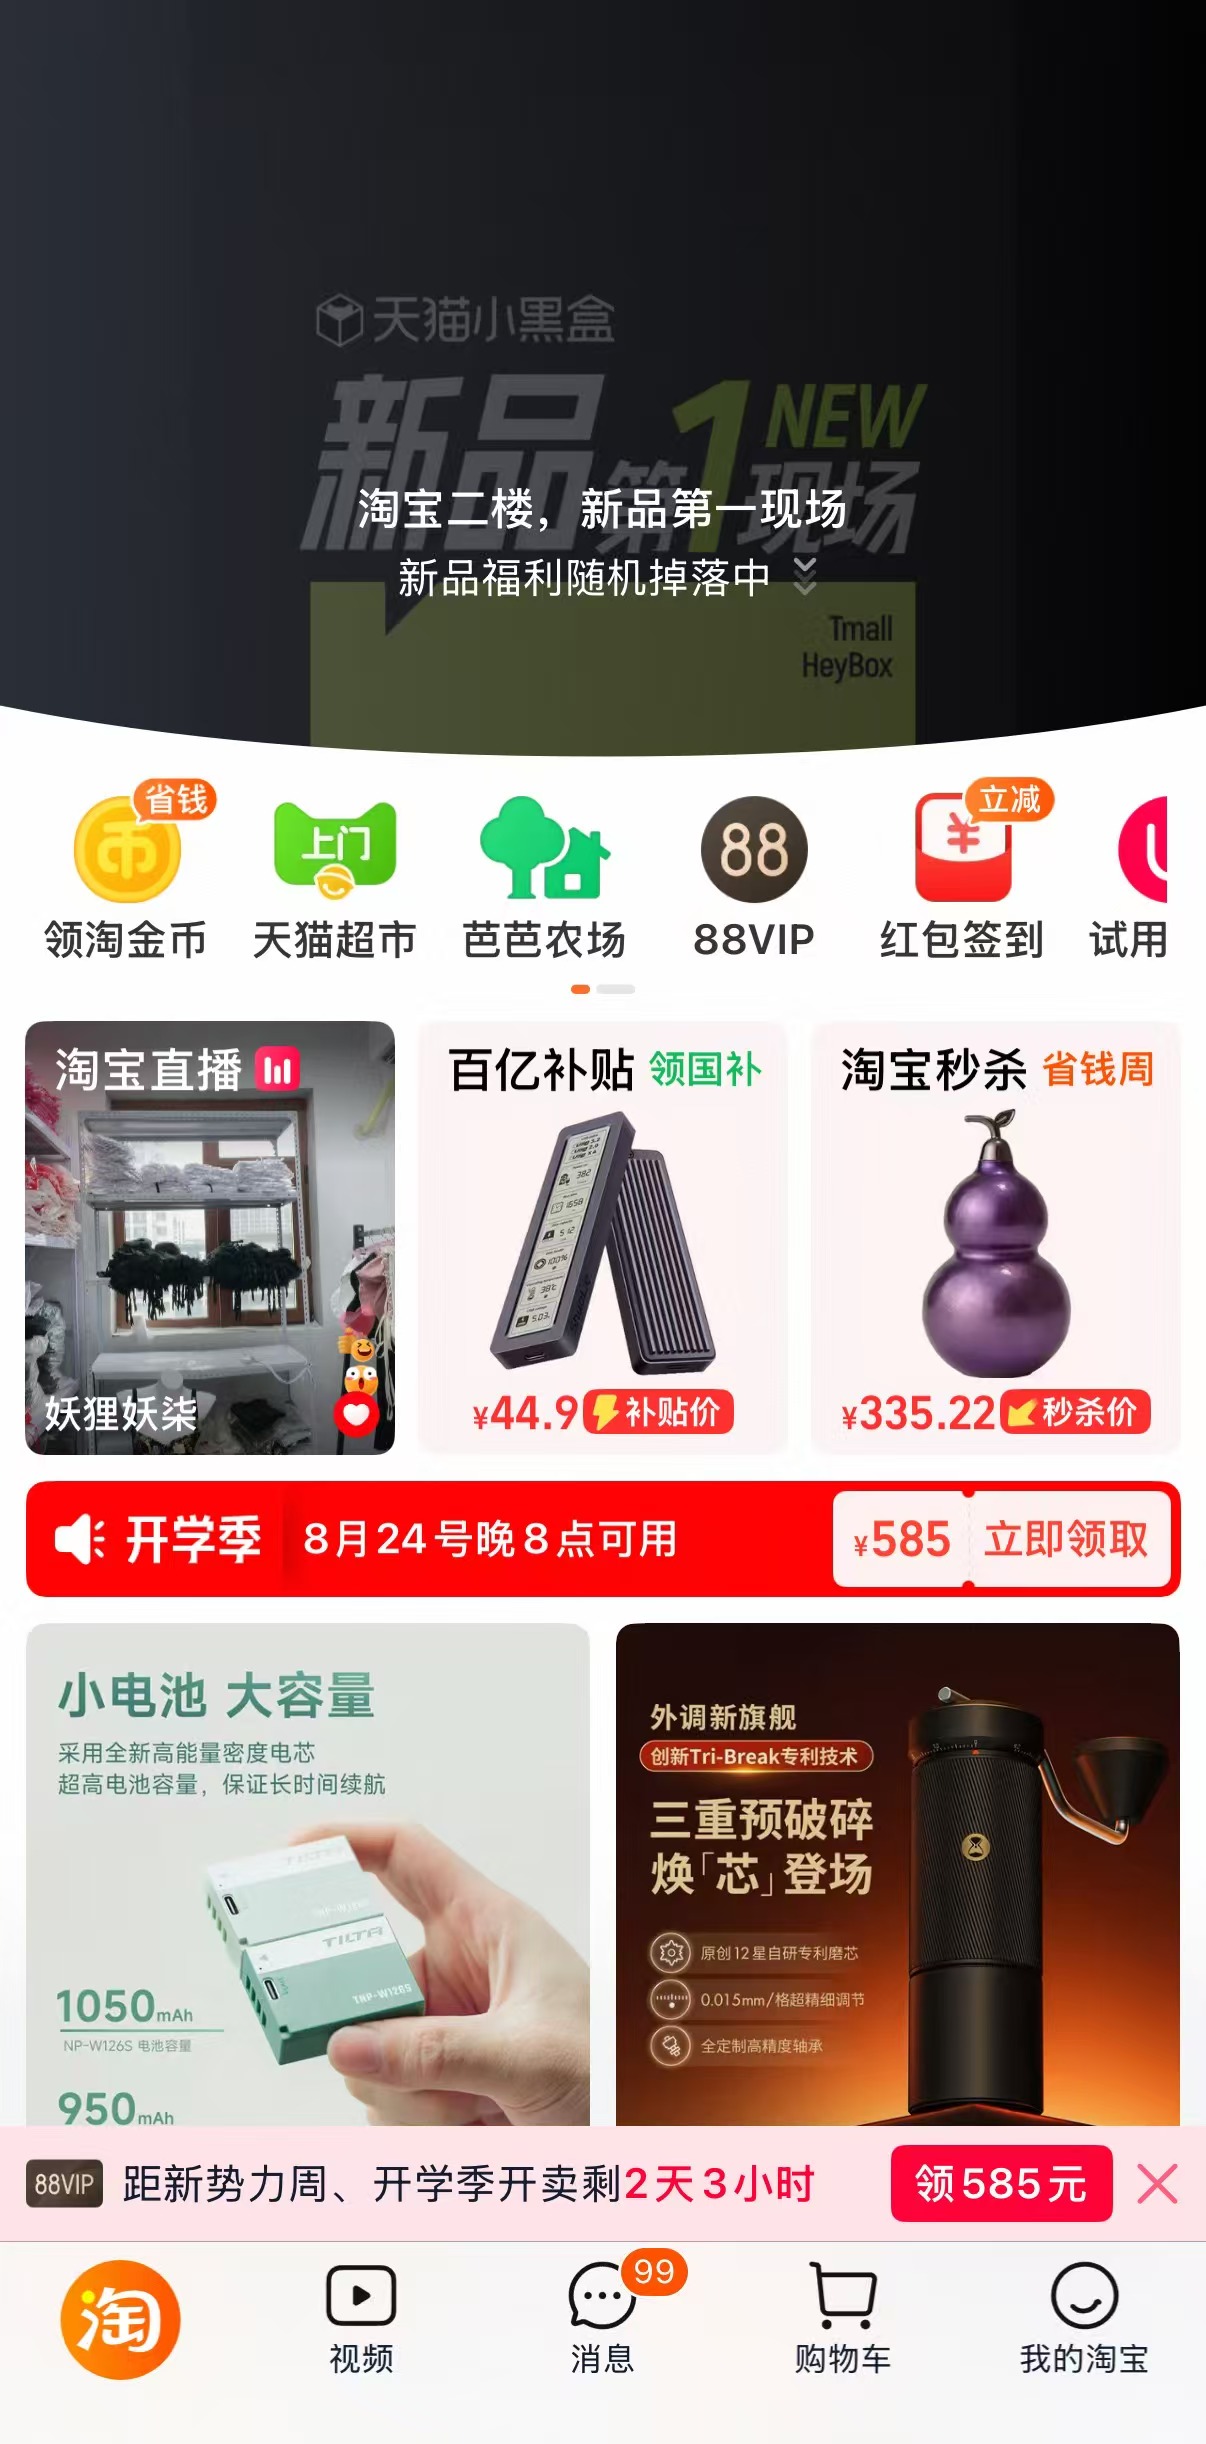
This enters the proxy group interface. Click the plus sign in the top right corner to add a group.
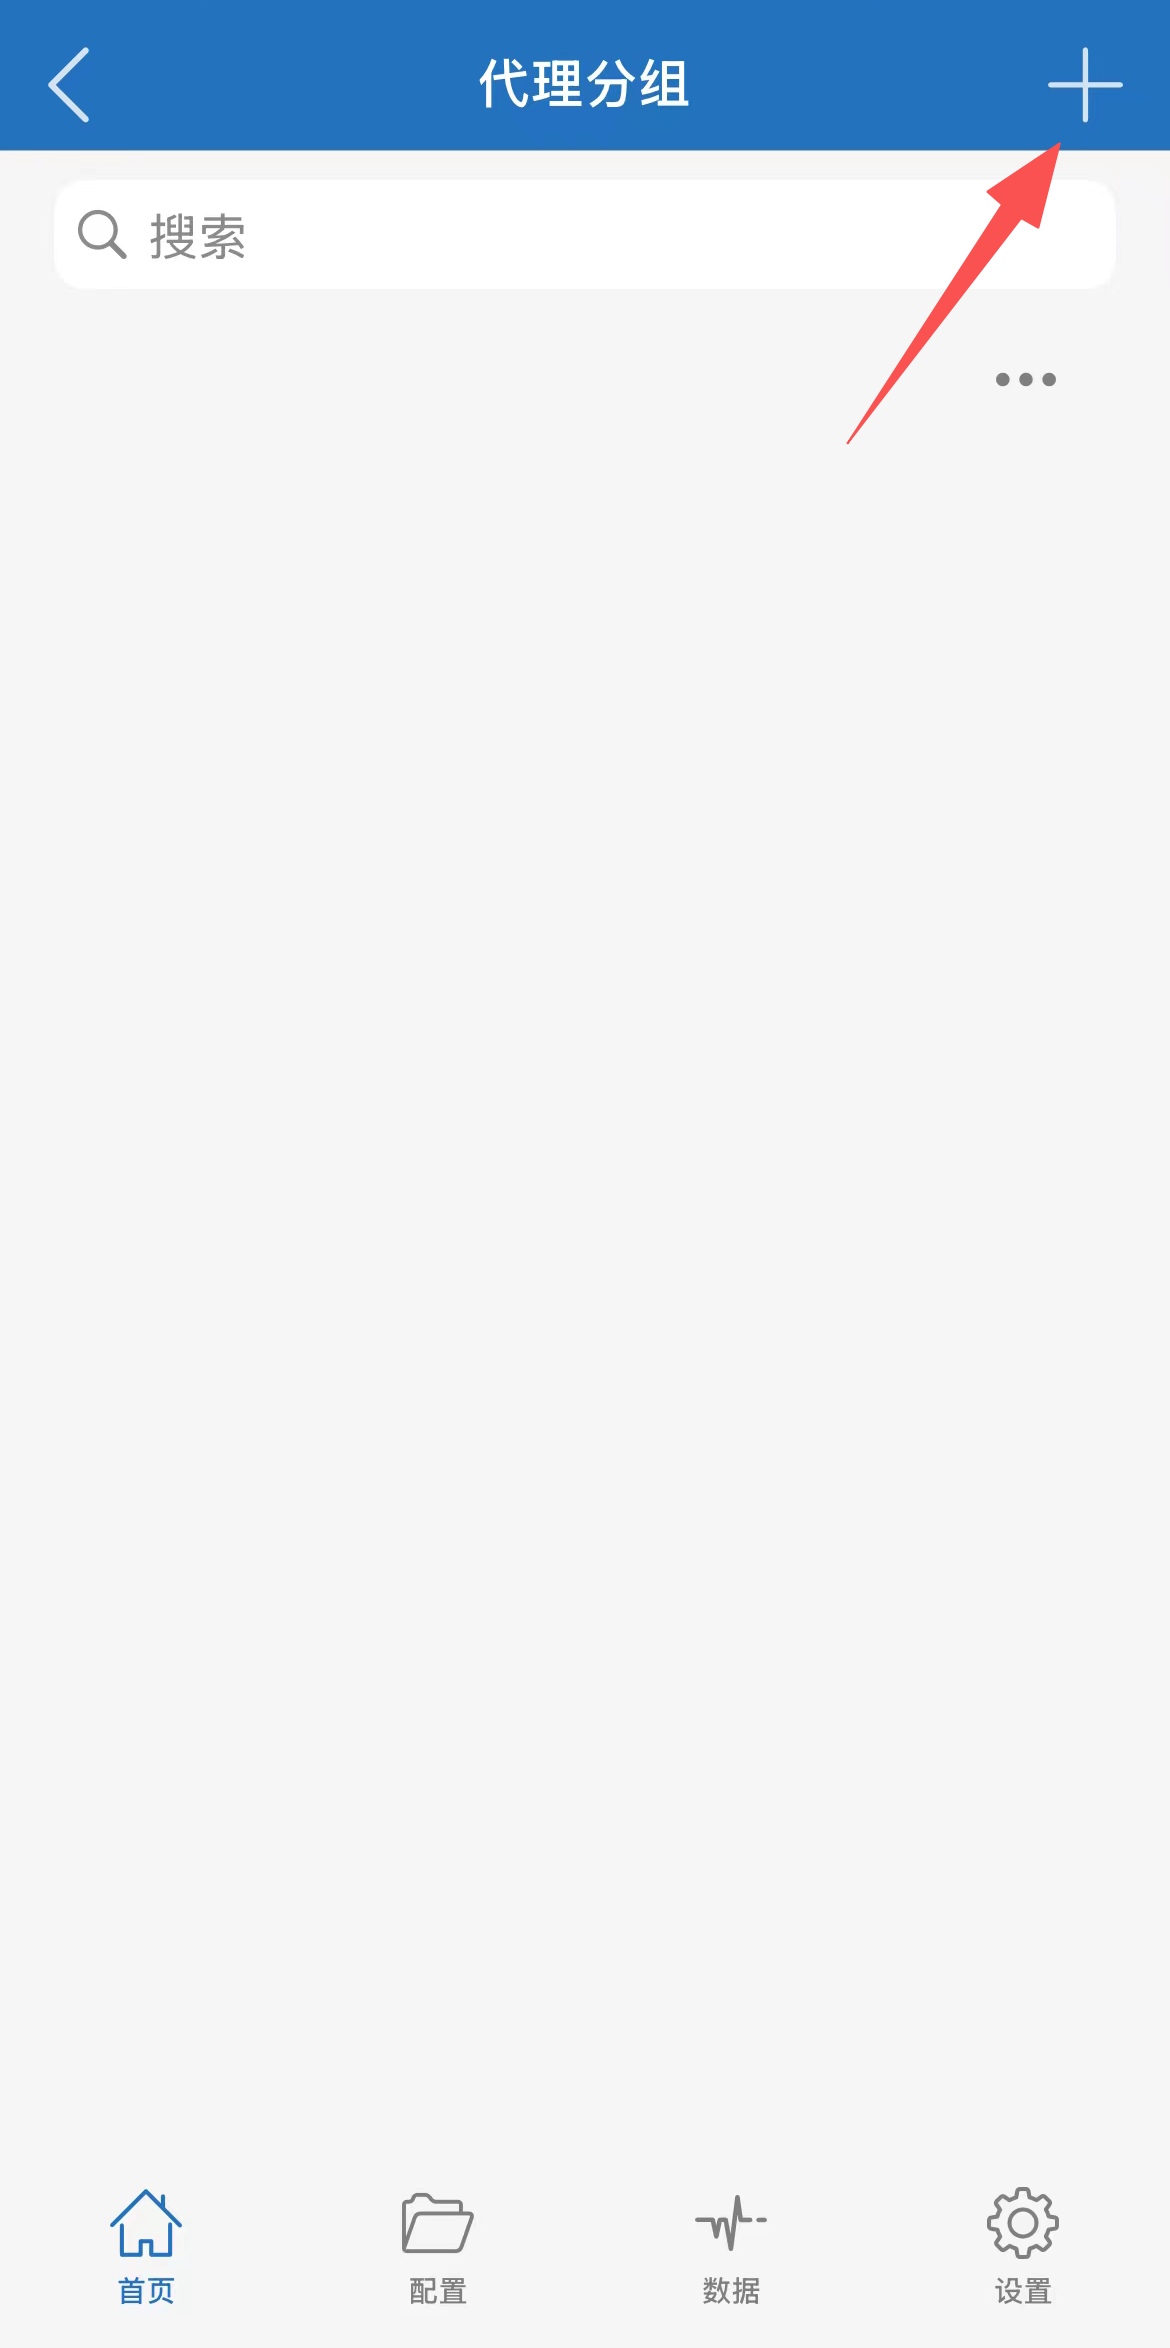
Turn on the subscription here, and a server node will appear below. Enter it.
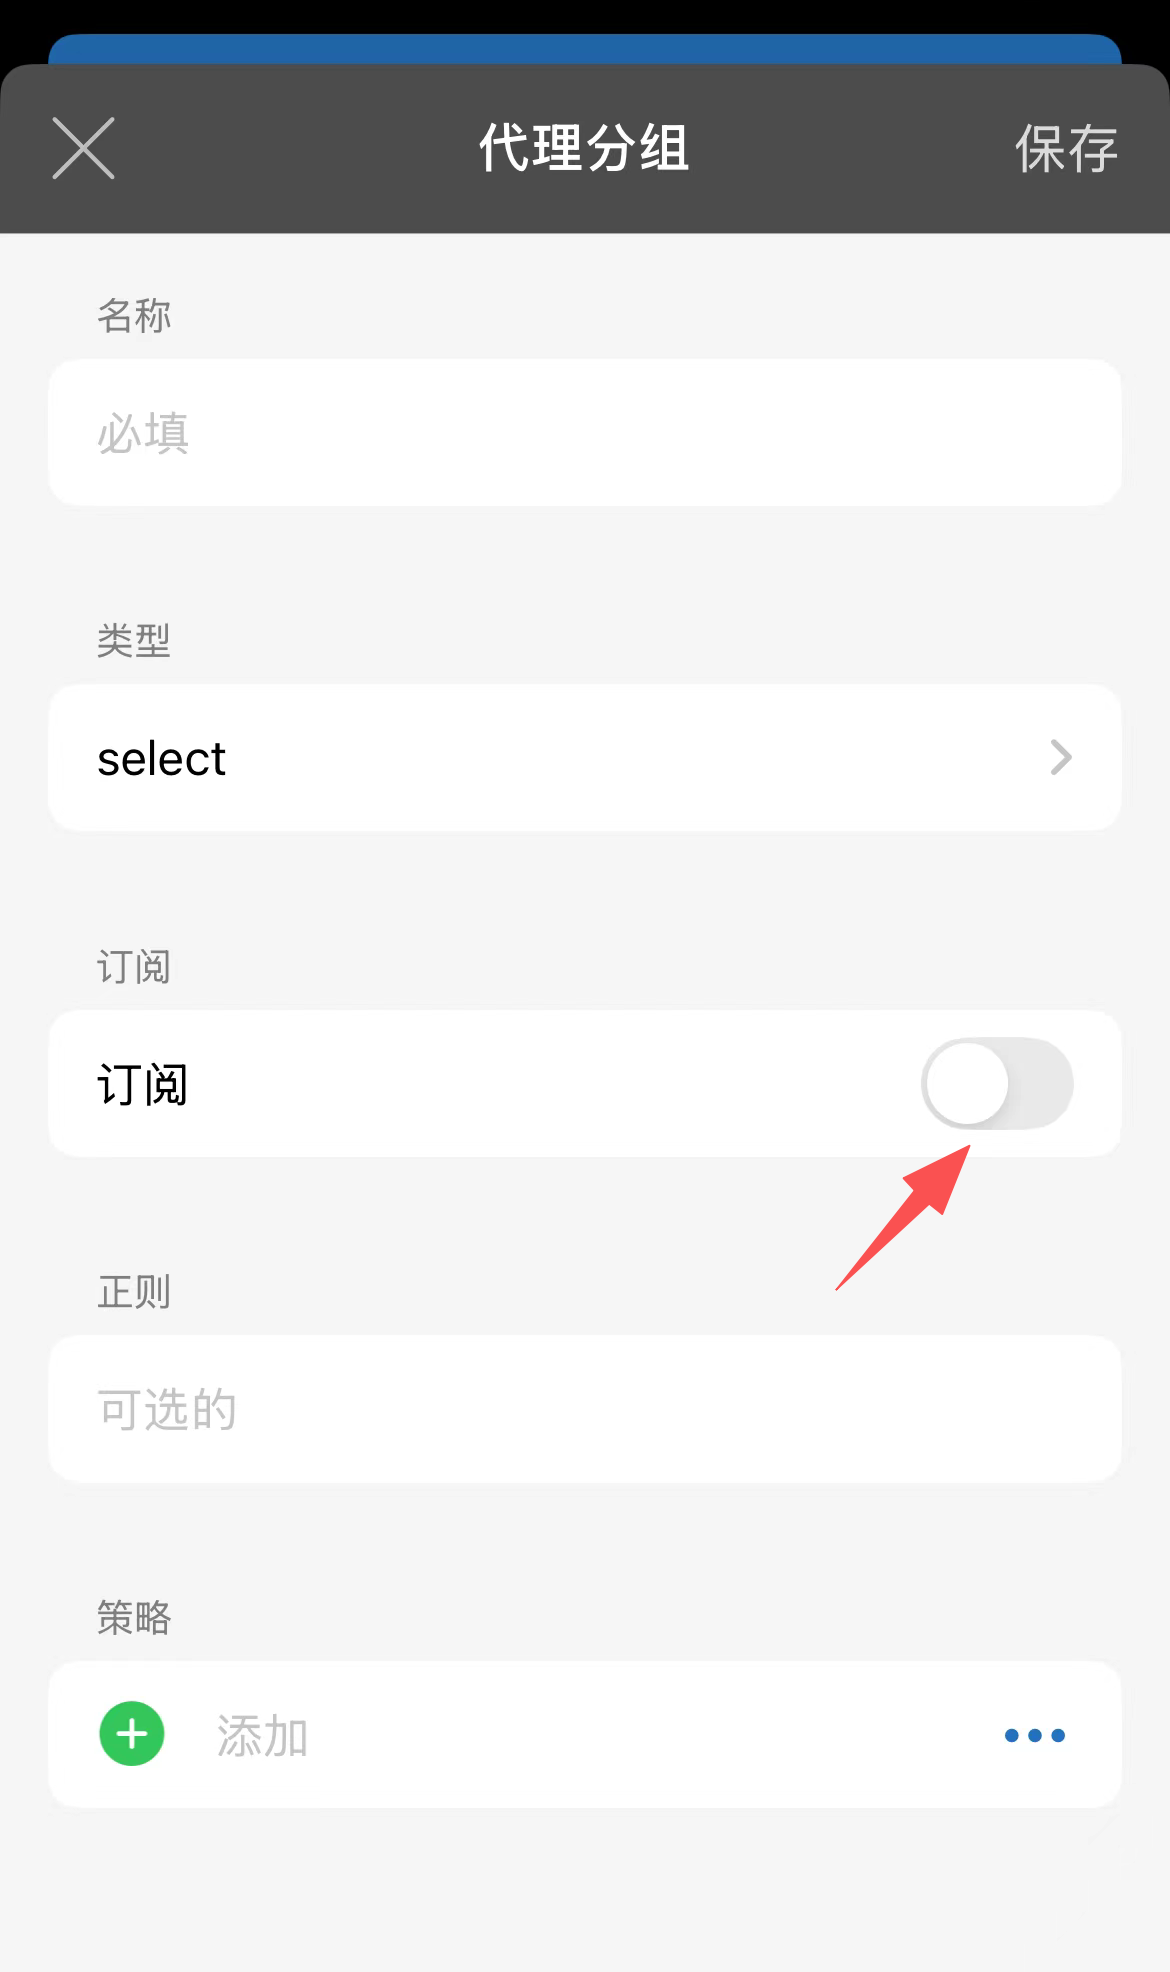
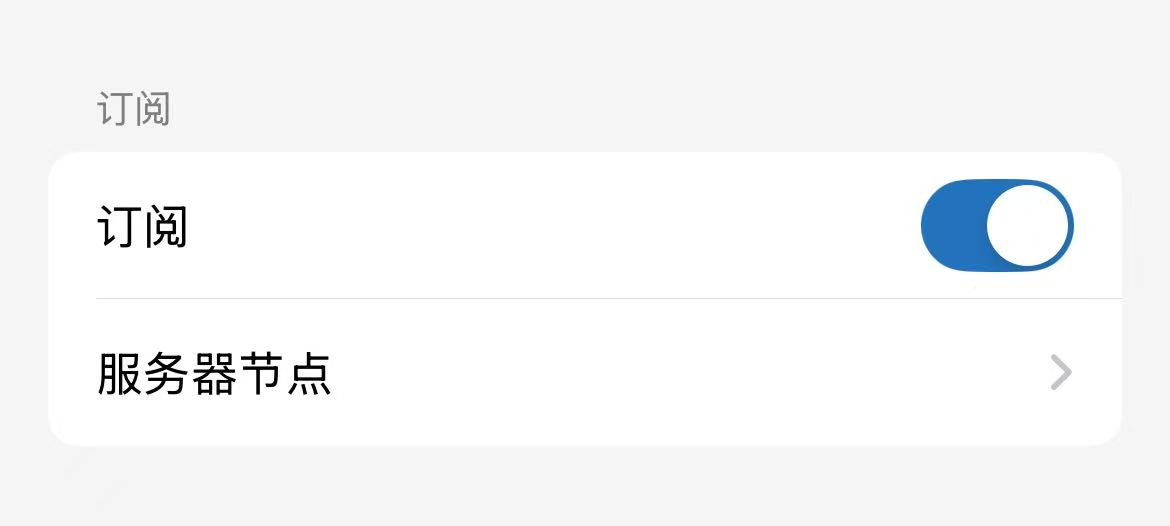
Select the nodes (or the entire proxy group) you wish to use as chain proxy front-end nodes.
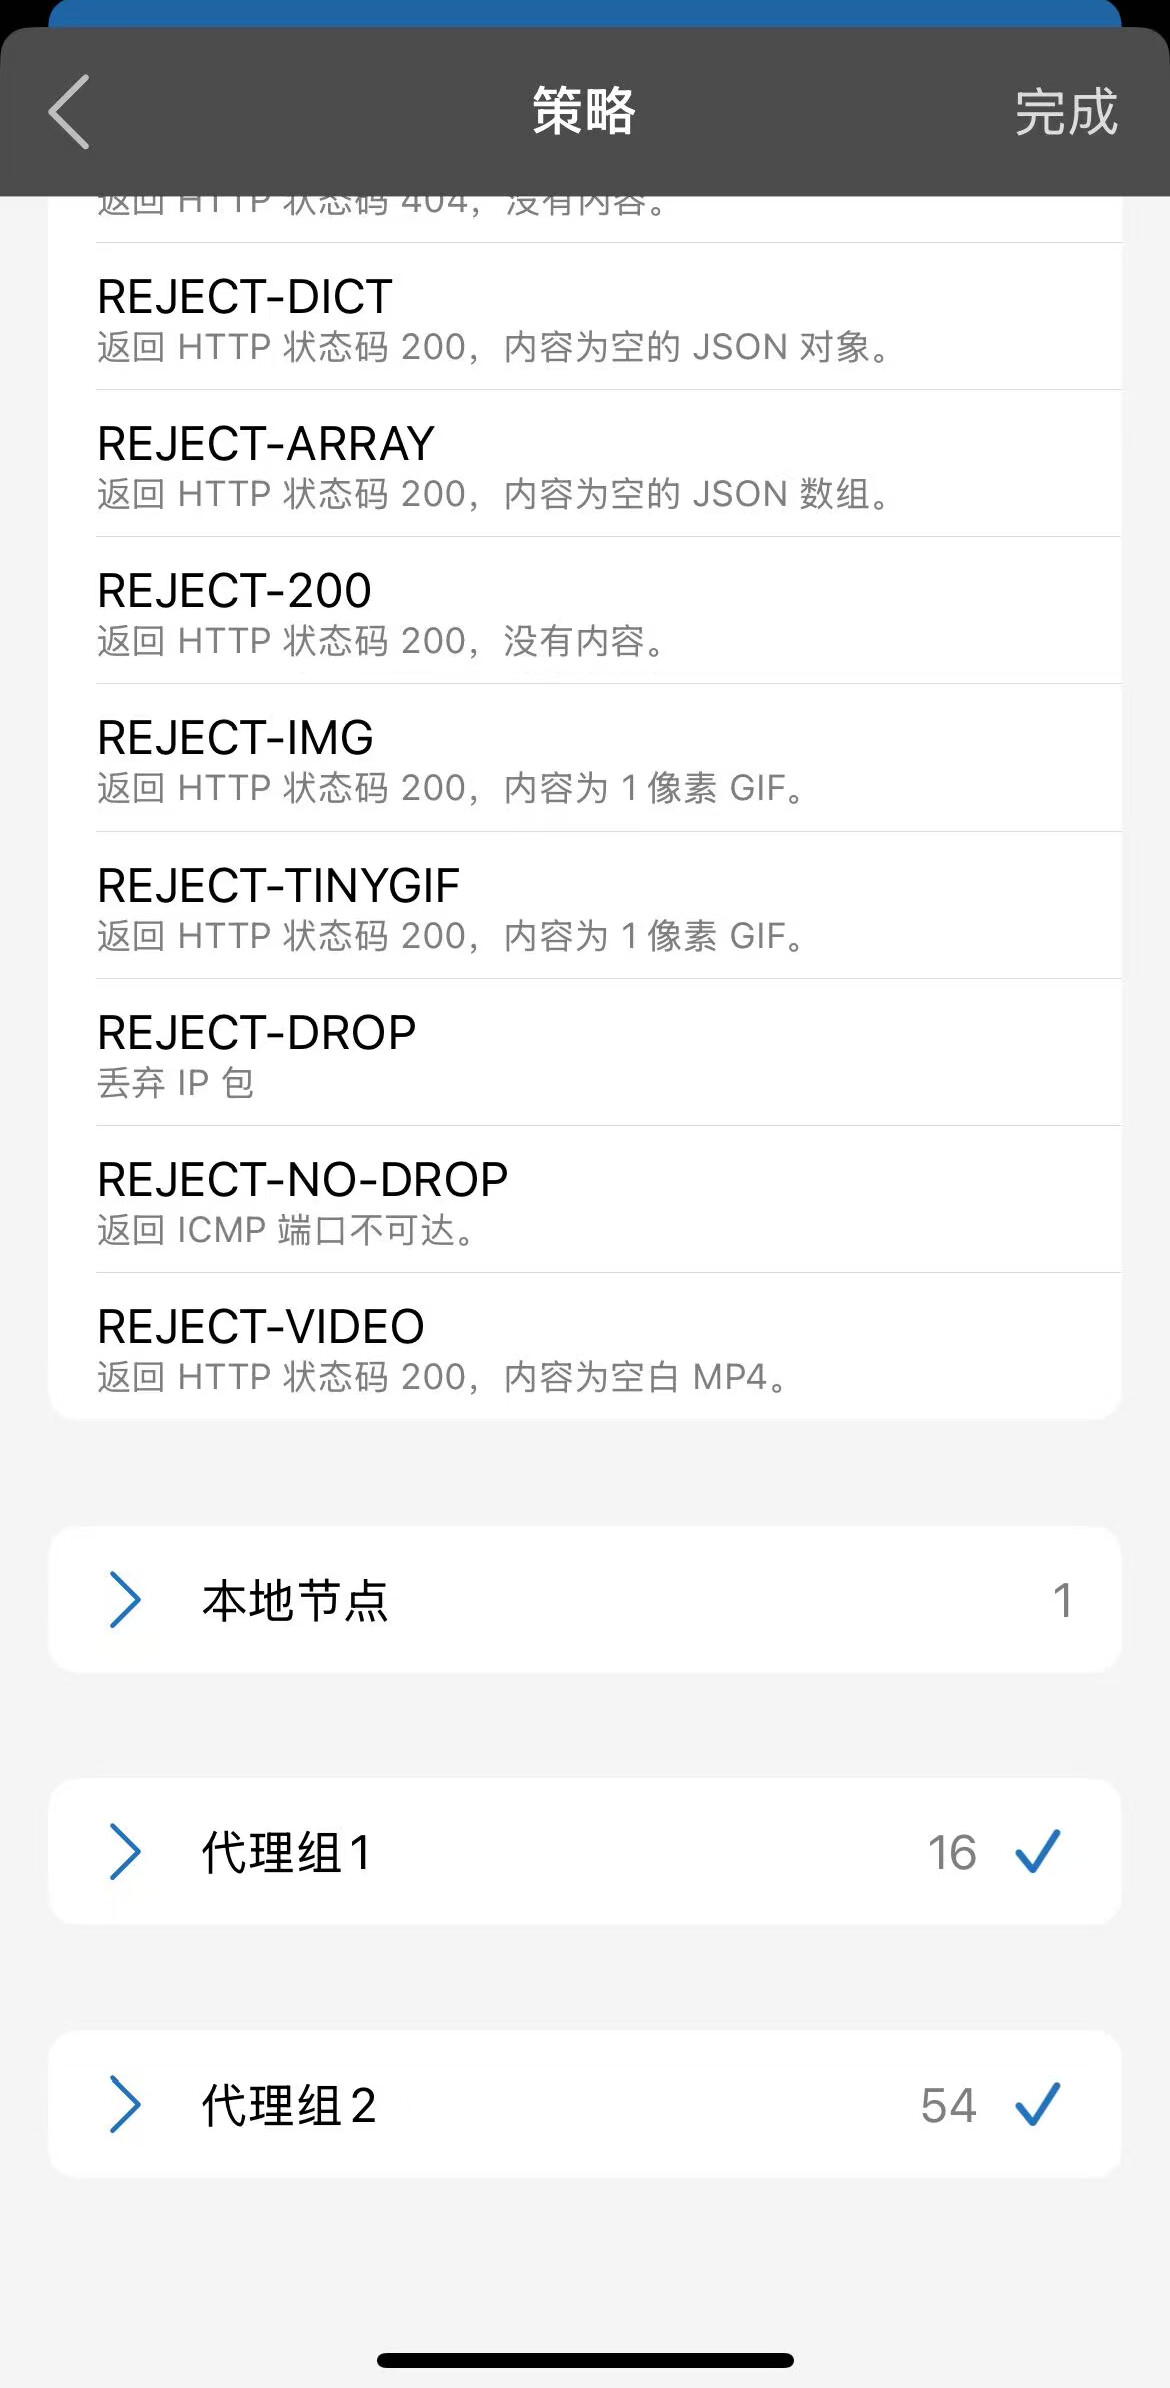
This point needs special mention.
Here you can directly select the entire proxy group, or you can select the required nodes one by one.
For example, suppose you usually hop between 8 different proxy services (“airports”).
You find that among all the routes from these 8 airports, there are a few particularly suitable for connecting to the US.
You can then select them one by one.
Moreover, this selection supports aggregation.
You can select routes across different airports, or directly add multiple entire airports.
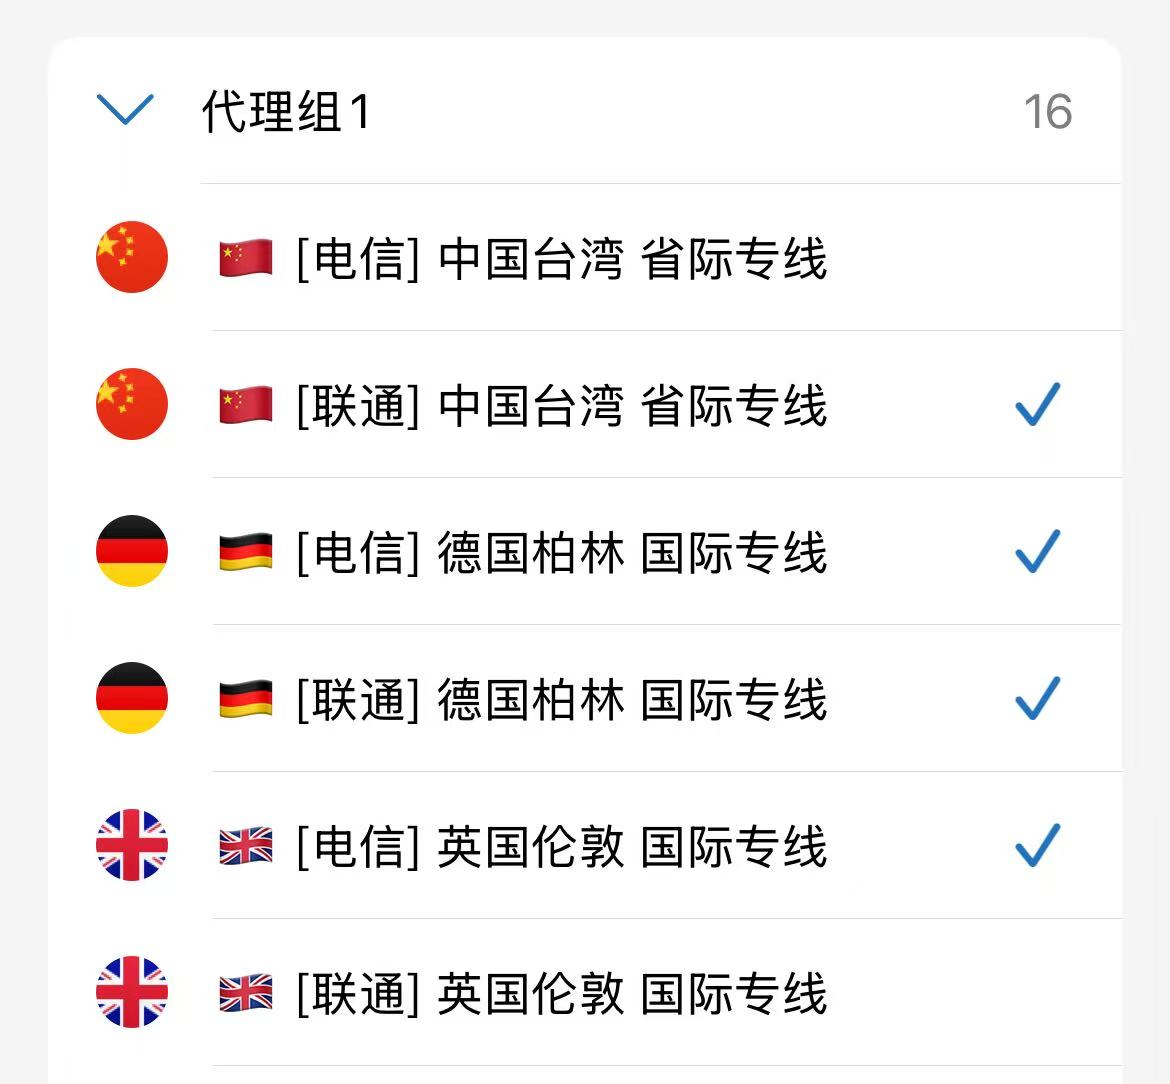
For example, if I select 9 from this bunch, these 9 become the nodes in the proxy group I’m creating now.
Next, you can choose a “Type”.
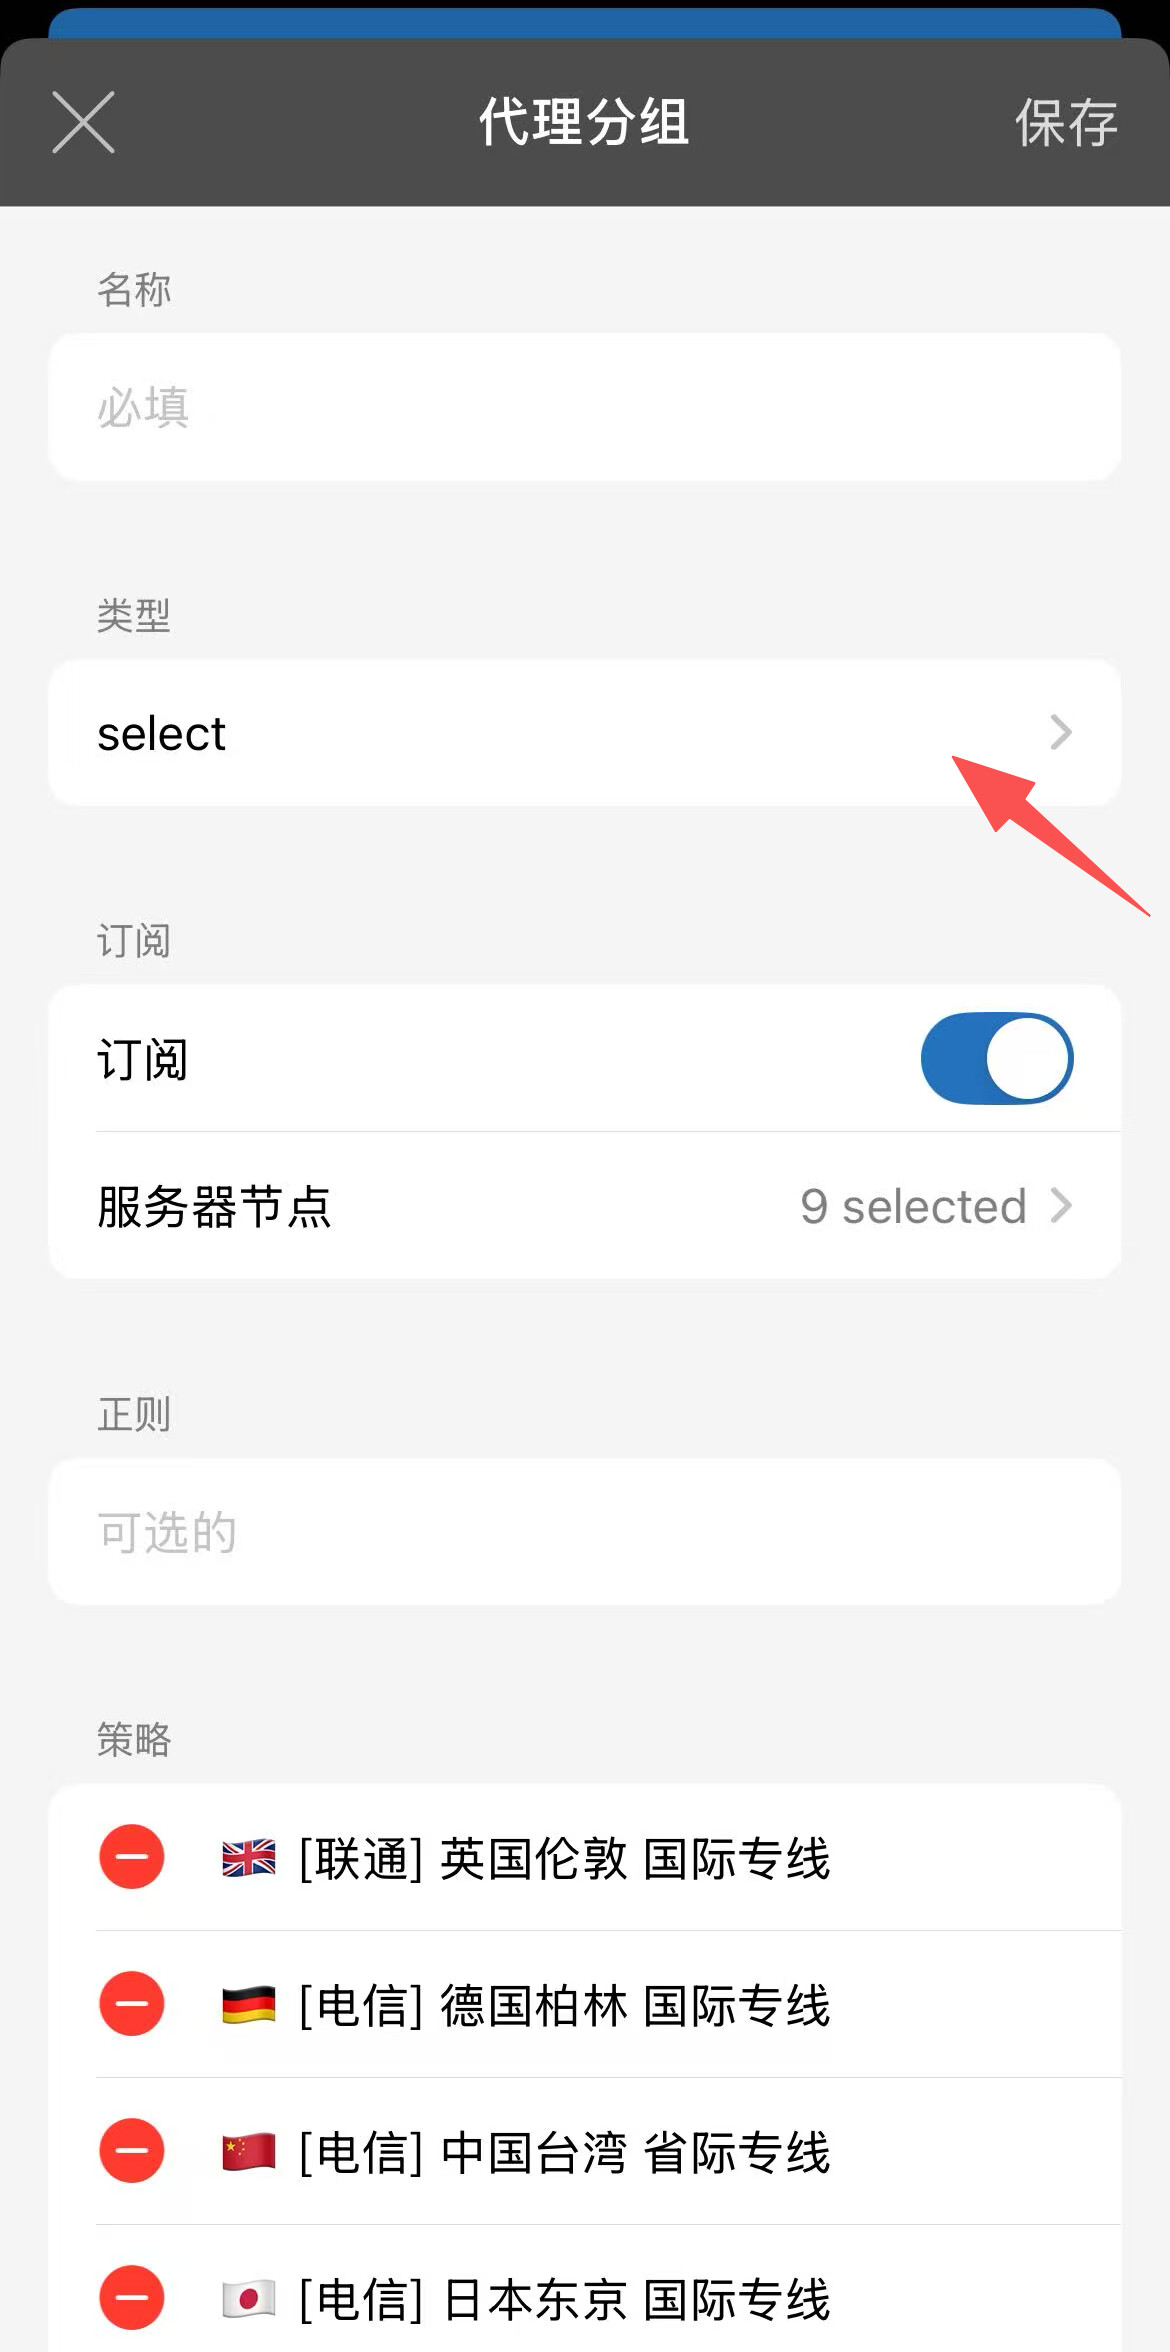
There are several types; generally, the first three are more commonly used.
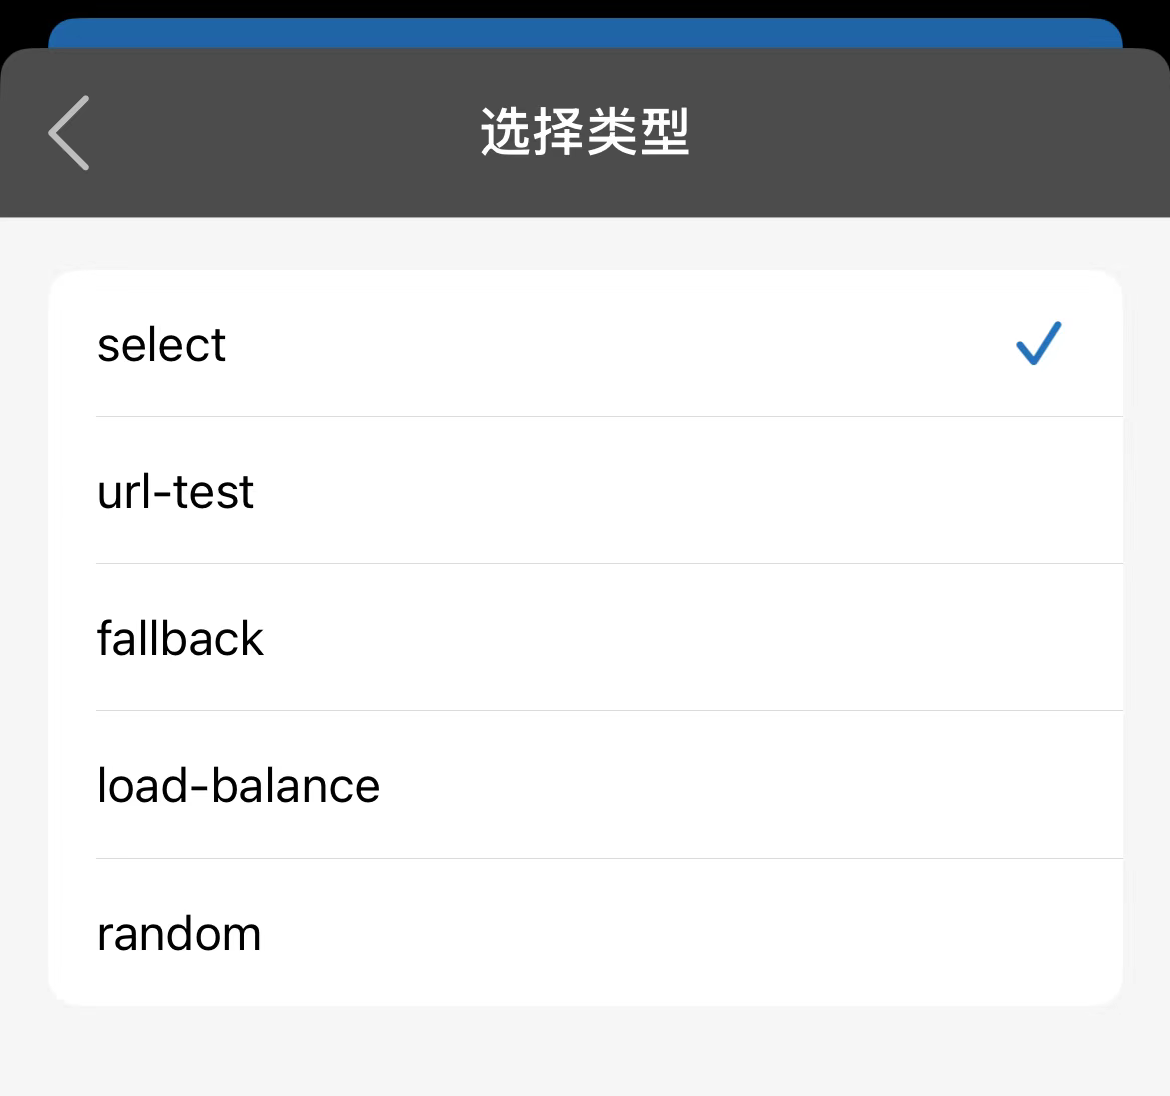
The first, select, is manual selection; whichever is selected is used.
The second, url-test, is automatic speed testing; it switches to the node with the lowest latency.
The third, fallback, is automatic fallback. If the selected node is unavailable, it automatically chooses the node at the top of the added list that was last detected as normal, following the list order.
Although the list sorting can be a bit annoying, I generally choose to use fallback.
But since the exit node remains unchanged, if the airport is good, using url-test is also fine.
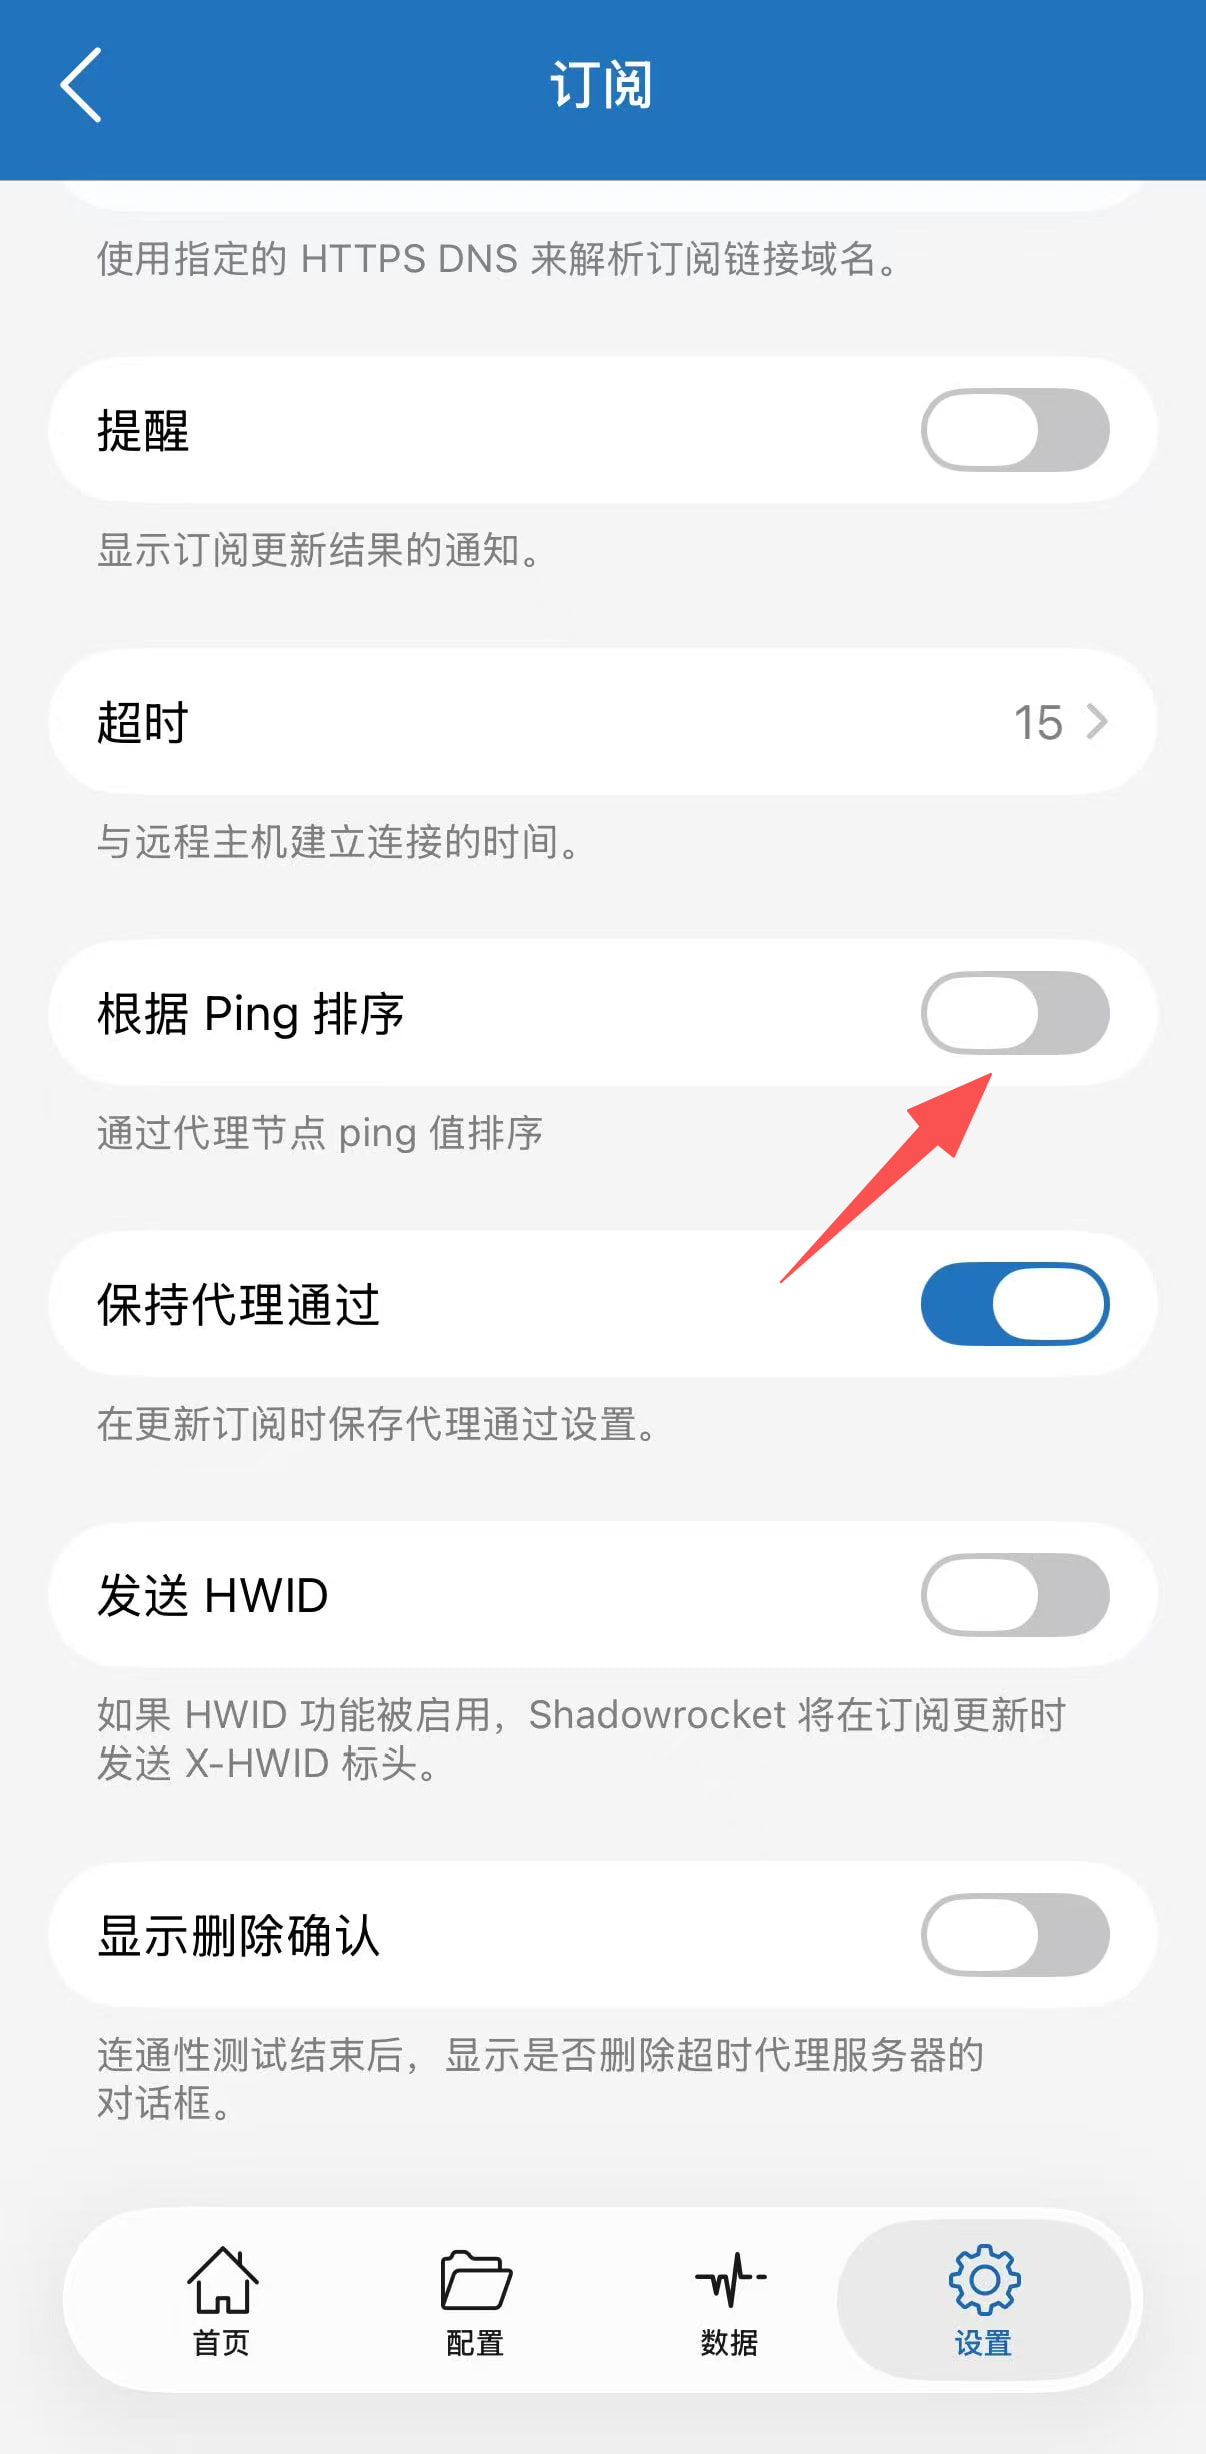
Additionally, under Settings → Subscription, there is a “Sort by Ping” option. Enabling this allows nodes to be automatically sorted by Ping value. If you don’t want to filter and directly add all nodes from all proxy groups at once, you can also use this function with fallback.
Go back to the original proxy group and scroll to the bottom.
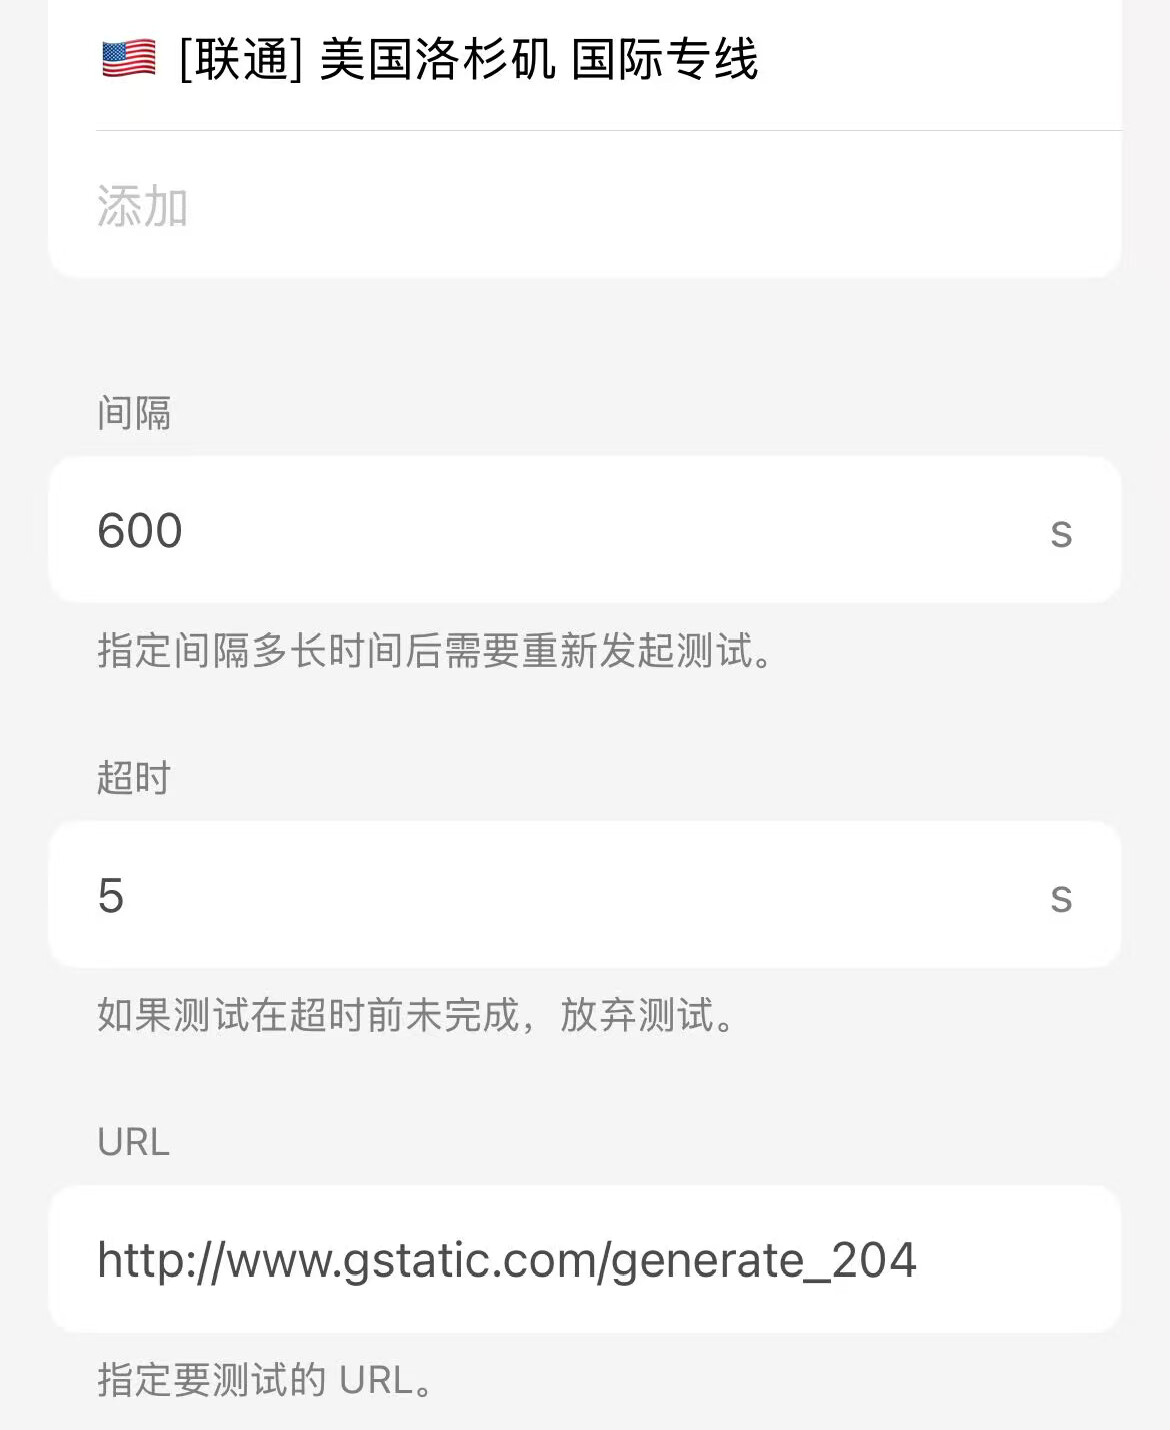
The three fields below are related to speed testing. Interval and Timeout generally don’t need to be changed.
I personally feel changing the URL to Cloudflare’s is more practical.
https://cp.cloudflare.com/generate_204
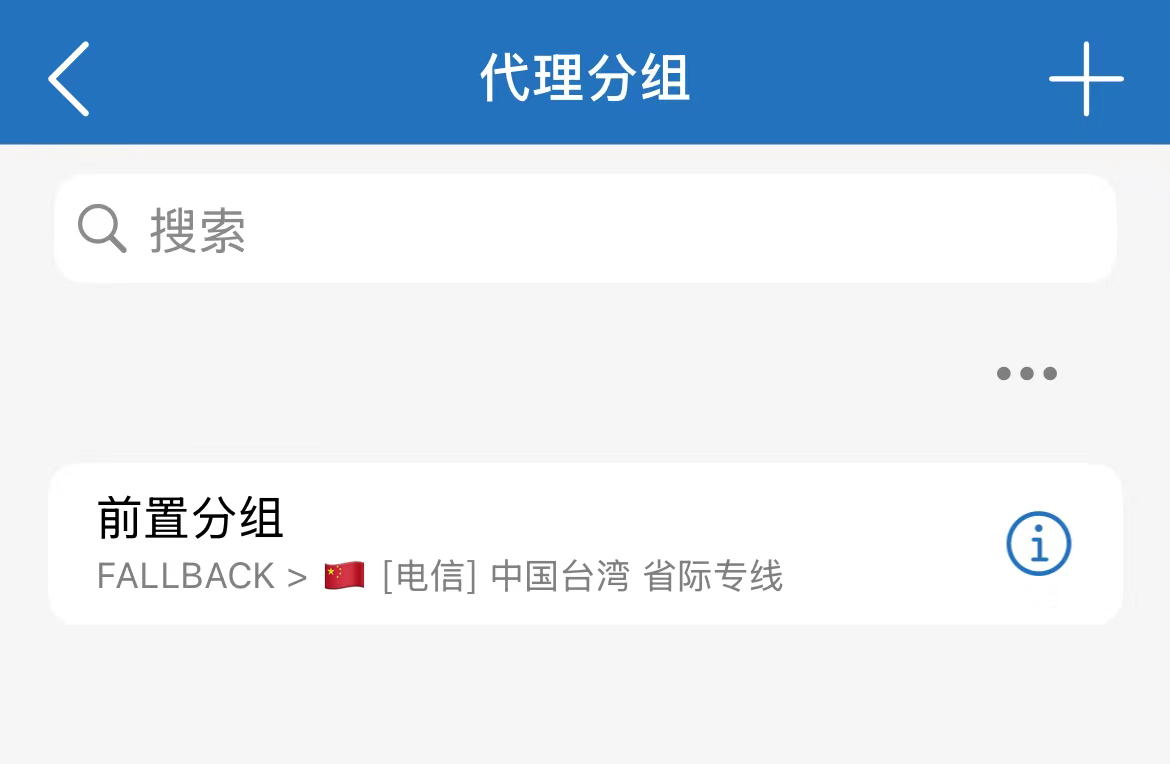
Then go back and name this group “Front-end Group”, and save it.
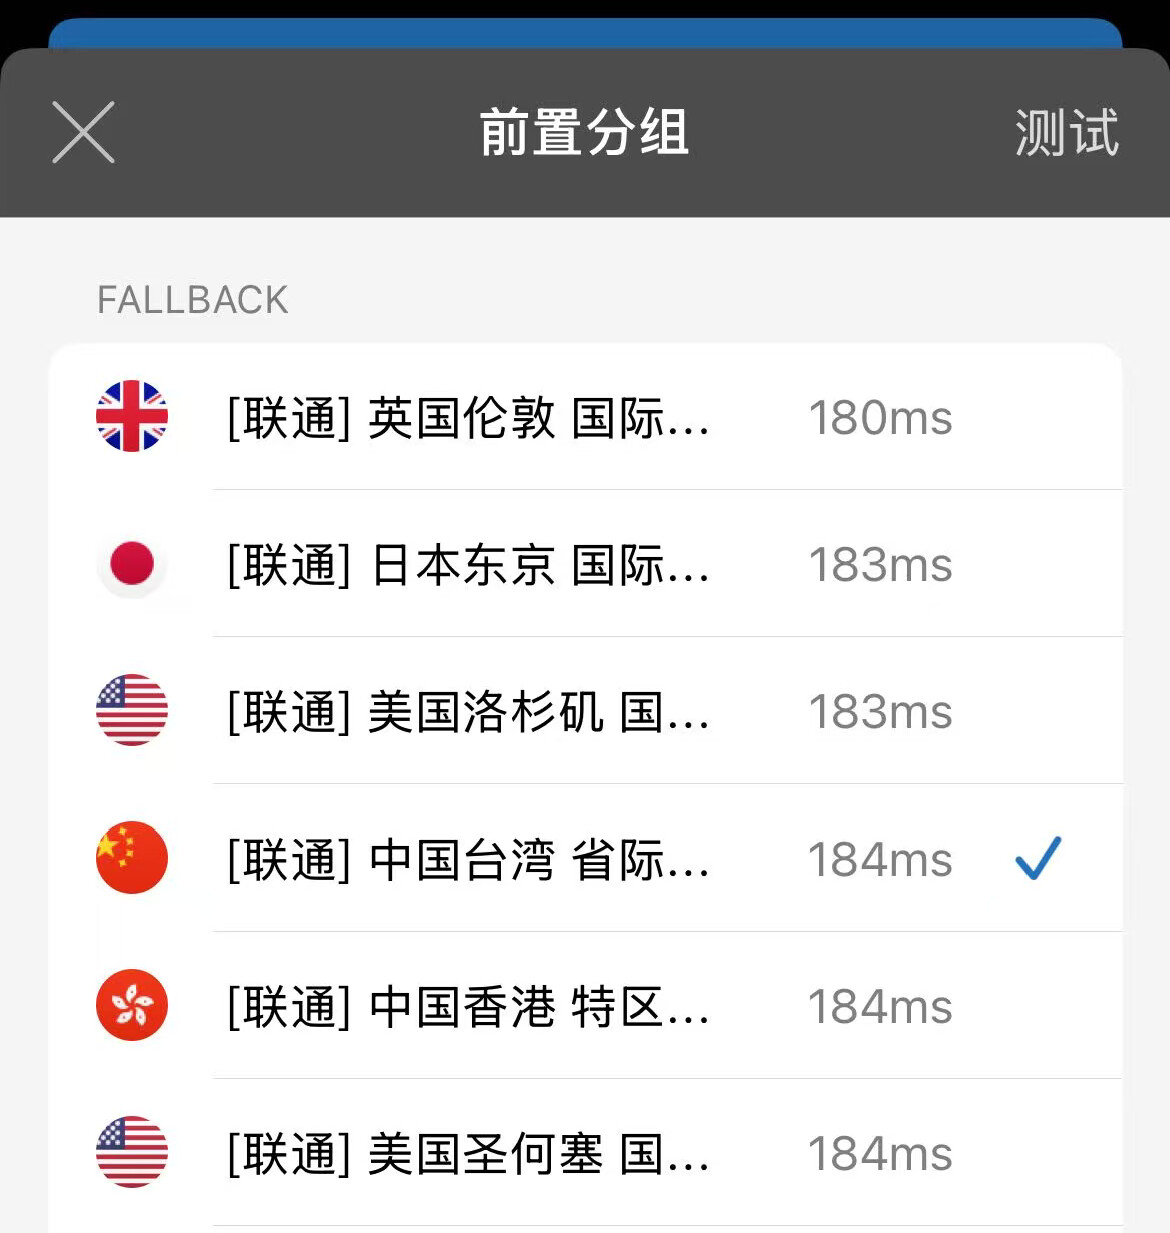
Then click into this group to complete speed testing and node selection.
4. Configure Chain Proxy Again
Now go back to the “Proxy Via” section in the residential node edit.
You will find that above the original nodes, there is now an optional “Front-end Group”.
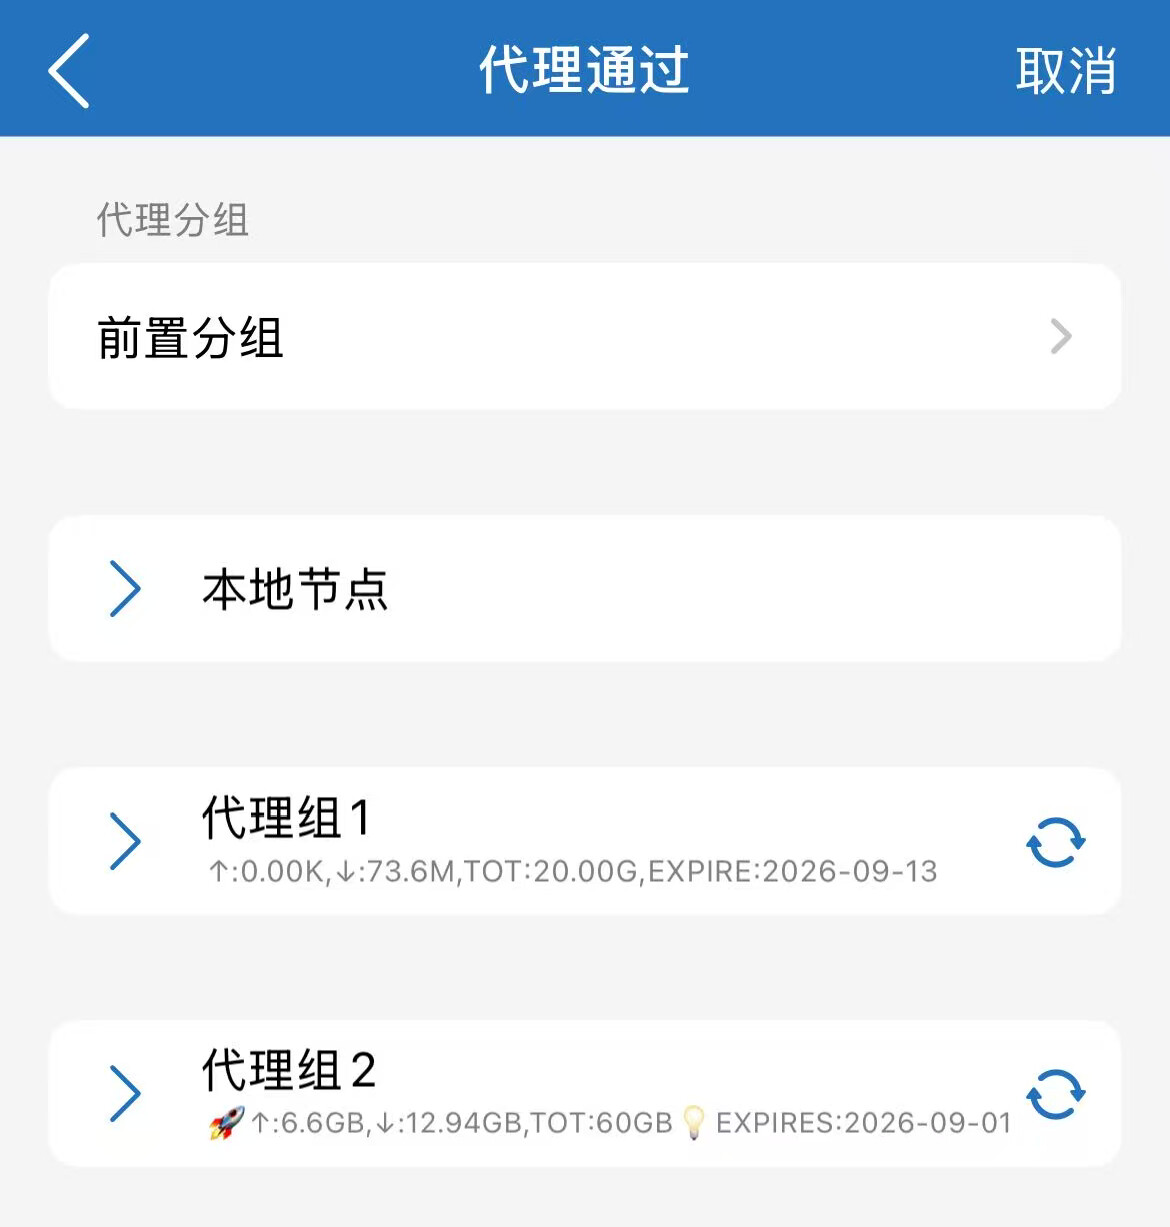
Select the Front-end Group, and you can use this entire proxy group as the front-end.
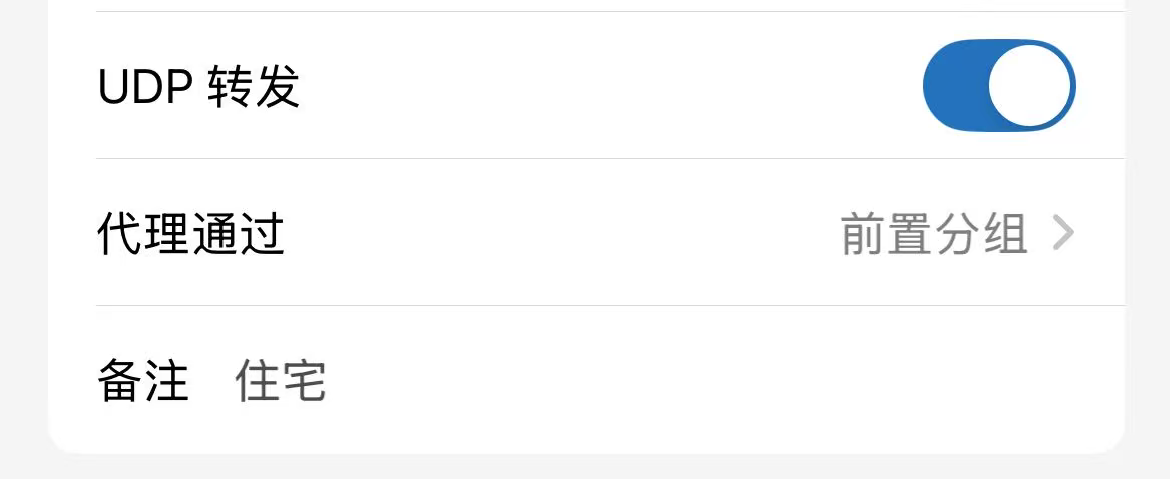
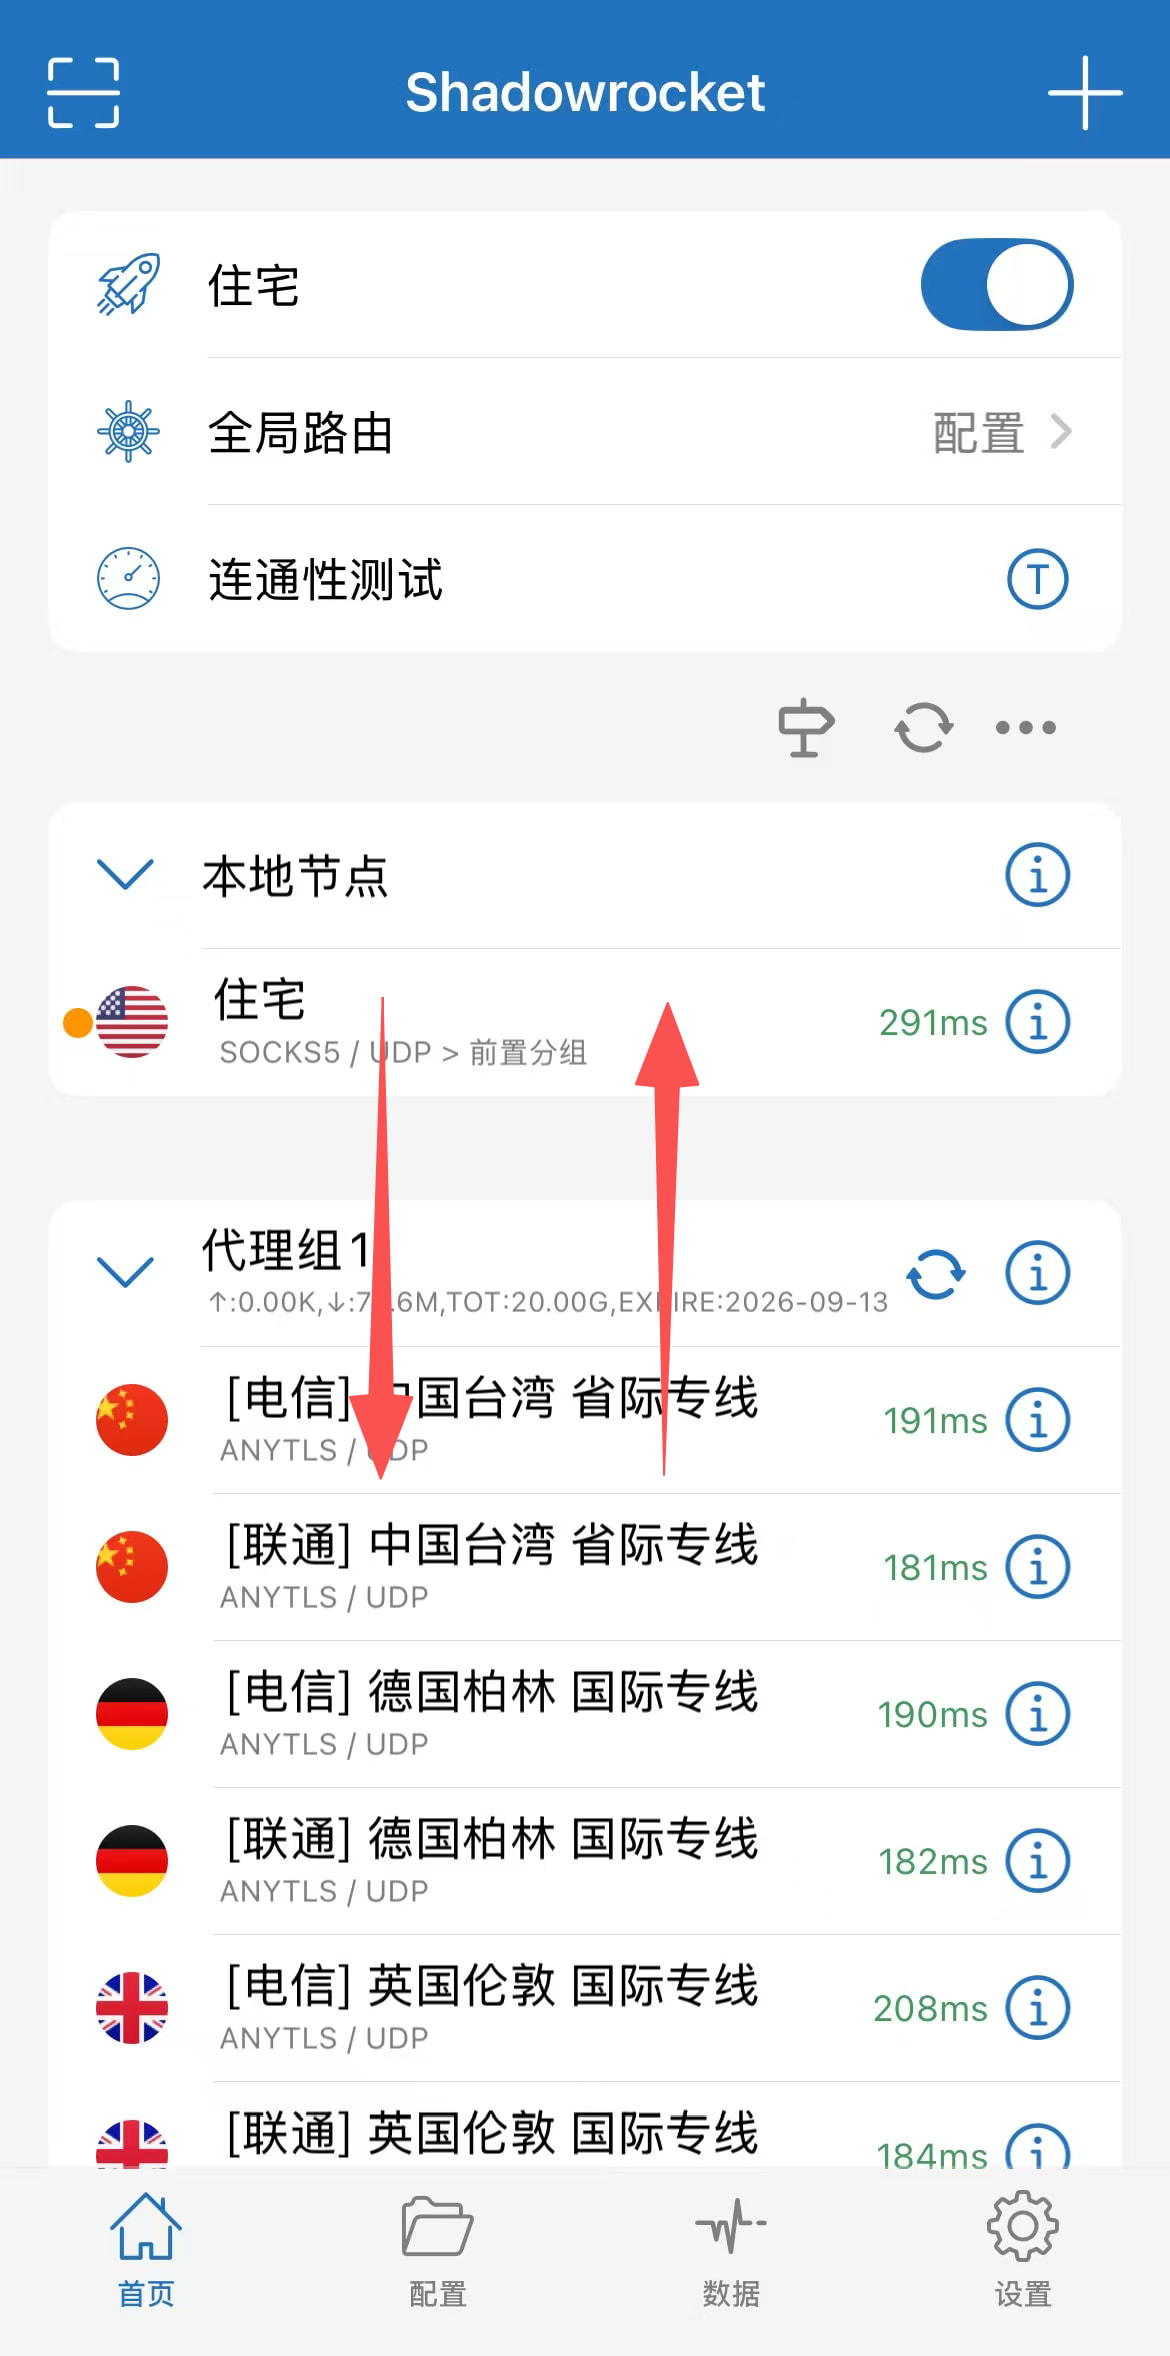
Now, when you need to adjust the front-end node,
just press and drag the screen down to open the proxy group interface,
and switch nodes within the Front-end Group.
Of course, if your airport nodes are relatively stable,
you can directly choose url-test, and the software will automatically switch to the fastest front-end node for you.
However, one thing to note: the “fastest” here refers to the fastest connection to the speed test URL,
which is the default gstatic or the modified cloudflare we just changed.
It serves as a reference but does not necessarily mean it’s the fastest to your residential broadband node.
5. Configure Rules
Now, we have solved the awkward problem of having to go into node edit to test and switch front-end nodes.
But it still probably can’t be called elegant.
Because ShadowRocket’s default basic分流 rules generally only simply distinguish between proxy and direct based on GEOIP.
That is to say, when accessing Baidu, there’s no problem; it can achieve automatic direct connection without going through the proxy. But accessing most foreign websites will go through the proxy. If you keep selecting this residential node, that means it will go through the chain proxy via your residential node.
This leads to two negative effects.
The first negative effect: because both necessary and unnecessary traffic goes through the chain proxy, the overall internet experience becomes laggy.
The second negative effect: if your residential broadband node has a data limit, it will consume data in both necessary and unnecessary situations.
Then, you have to jump back and forth between these two sides, which is quite awkward.
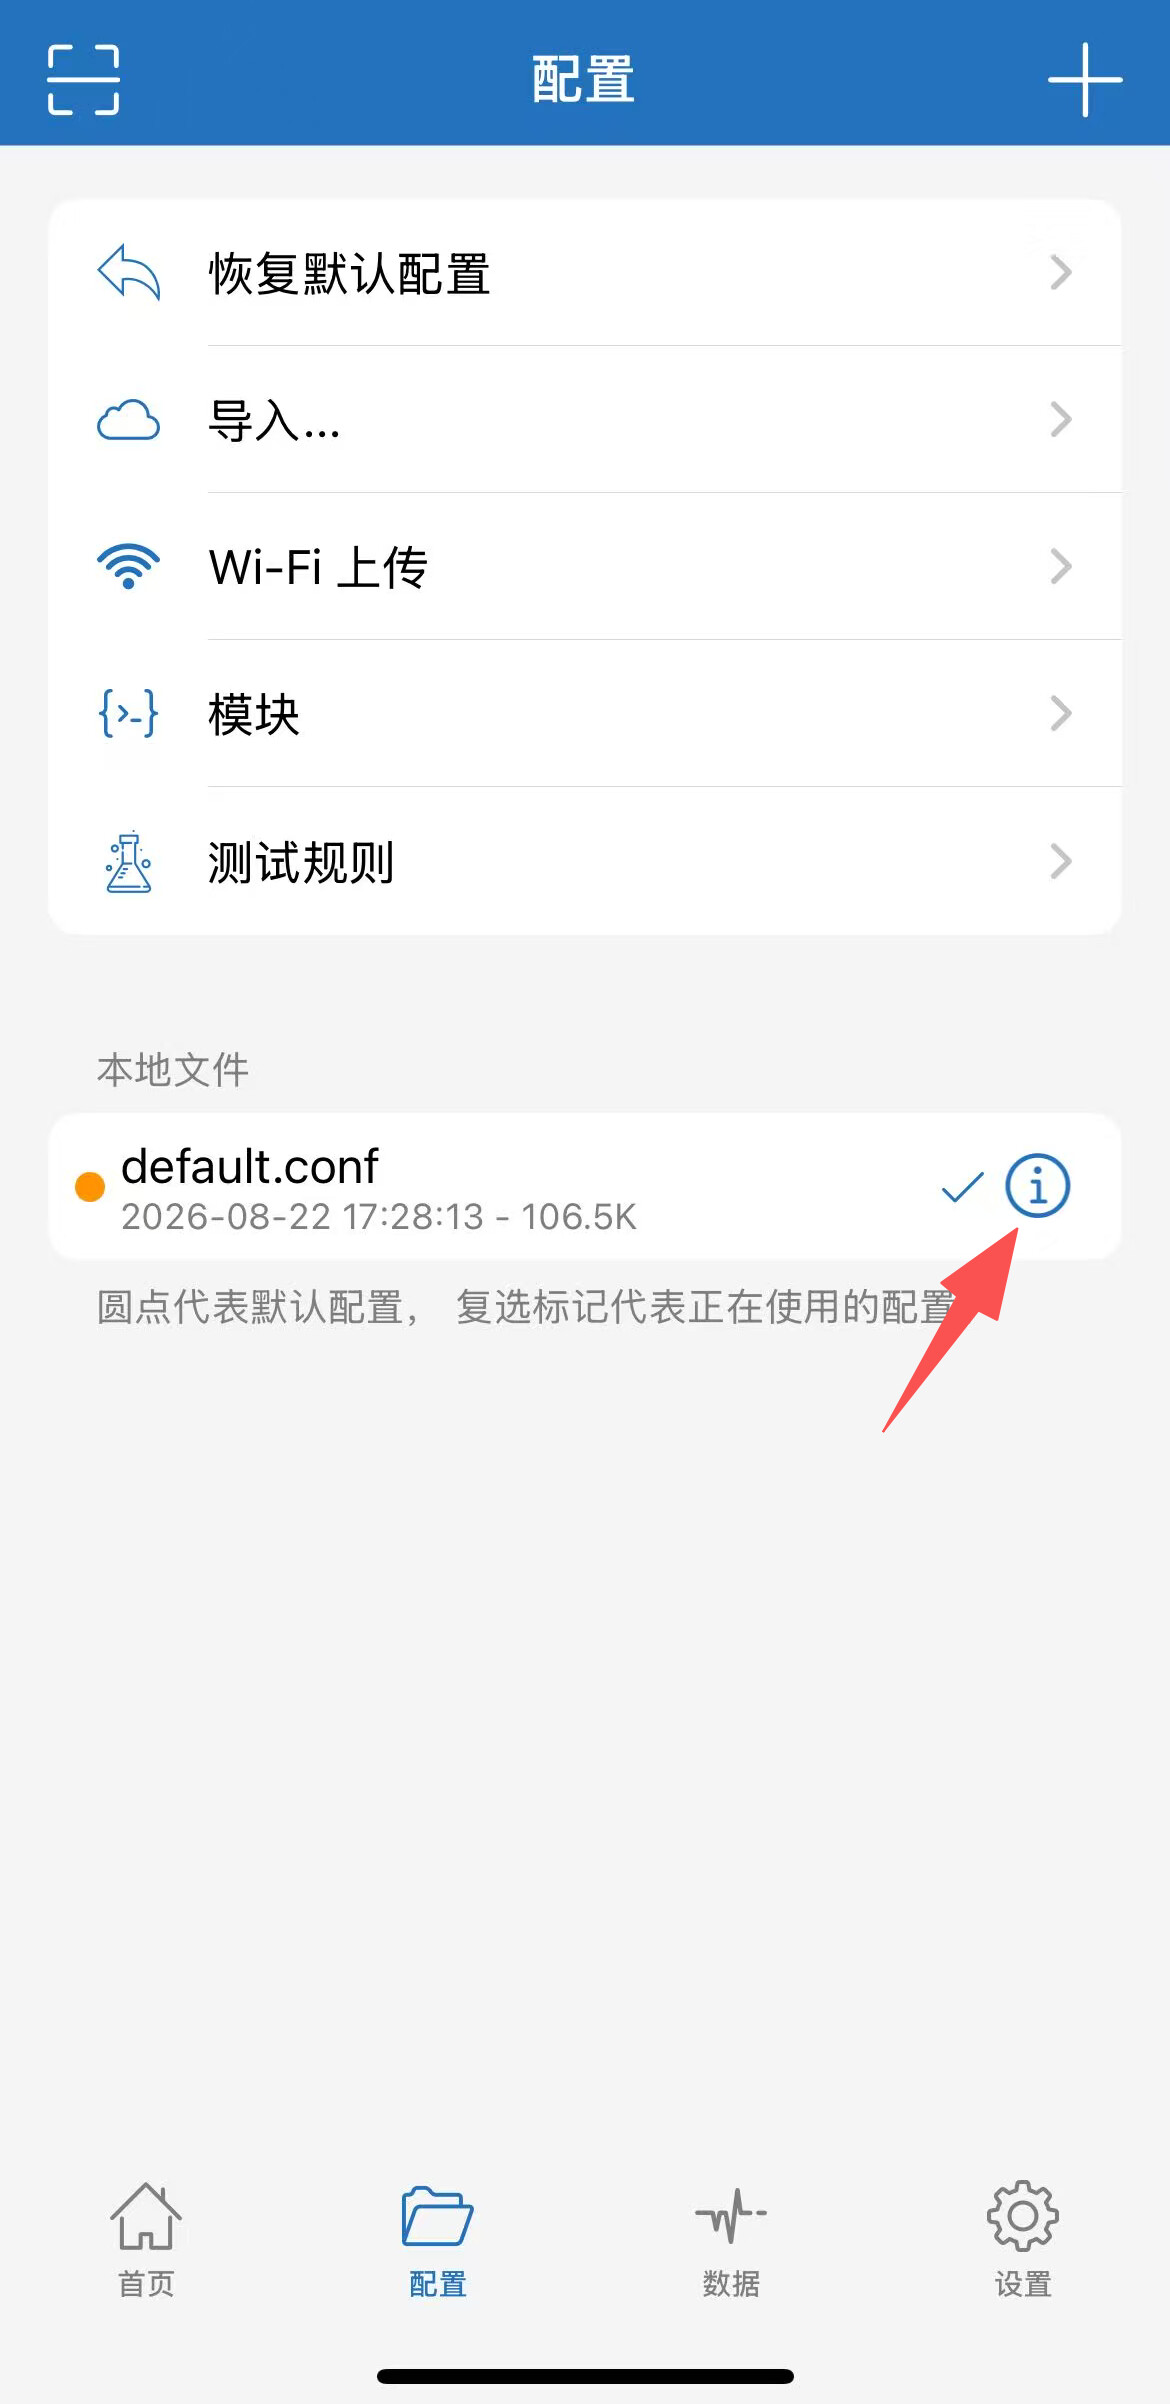
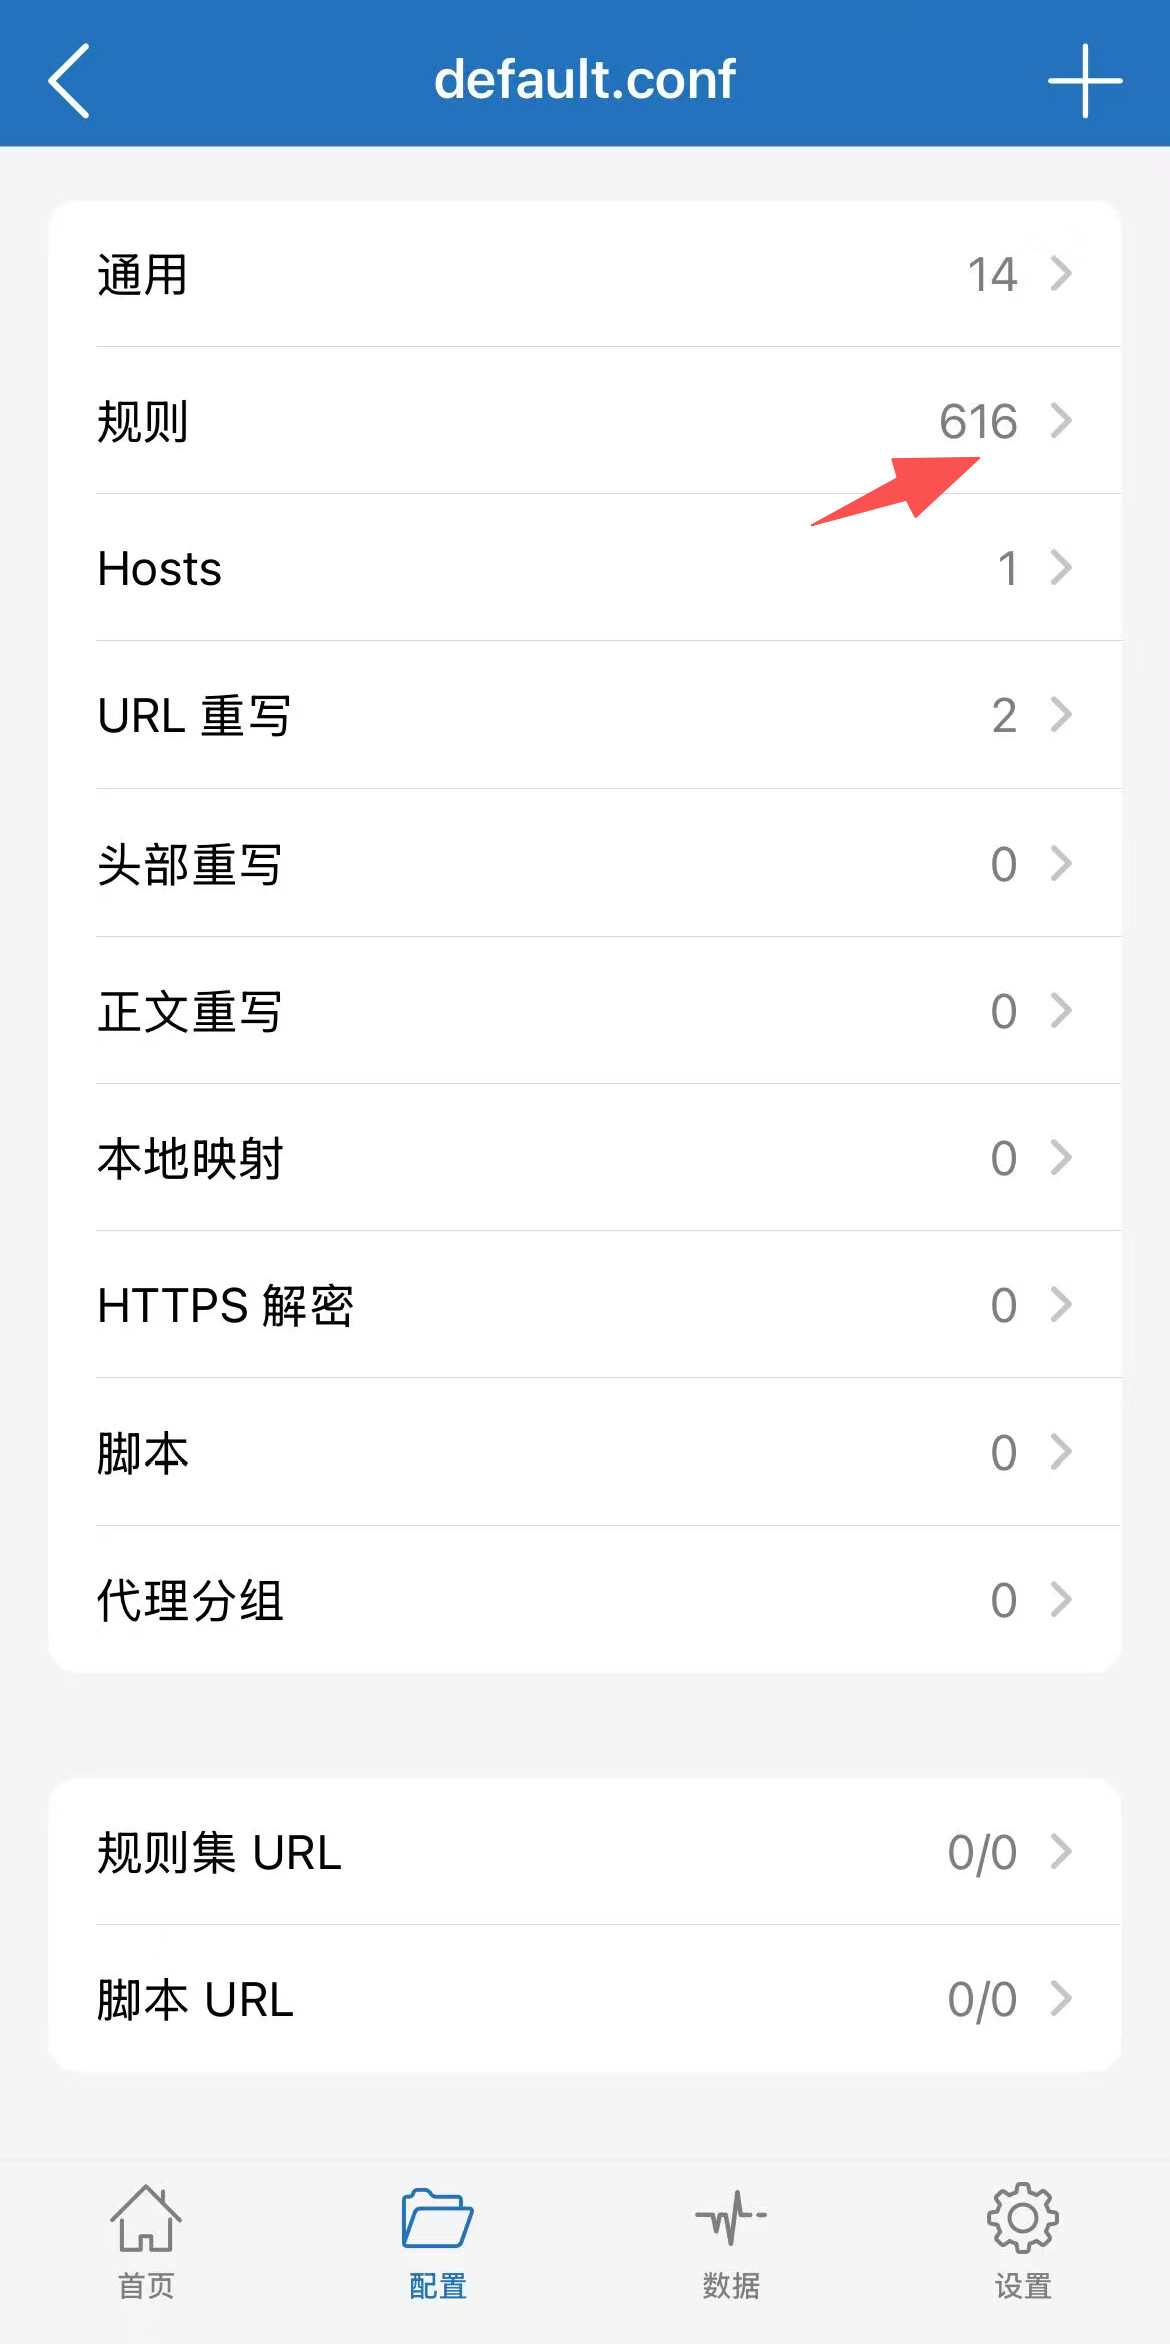
So, to be more elegant, let’s go to the configuration interface.
Click this ⓘ to edit rules.
Enter the rules interface, click the plus sign in the top right corner to add a rule.
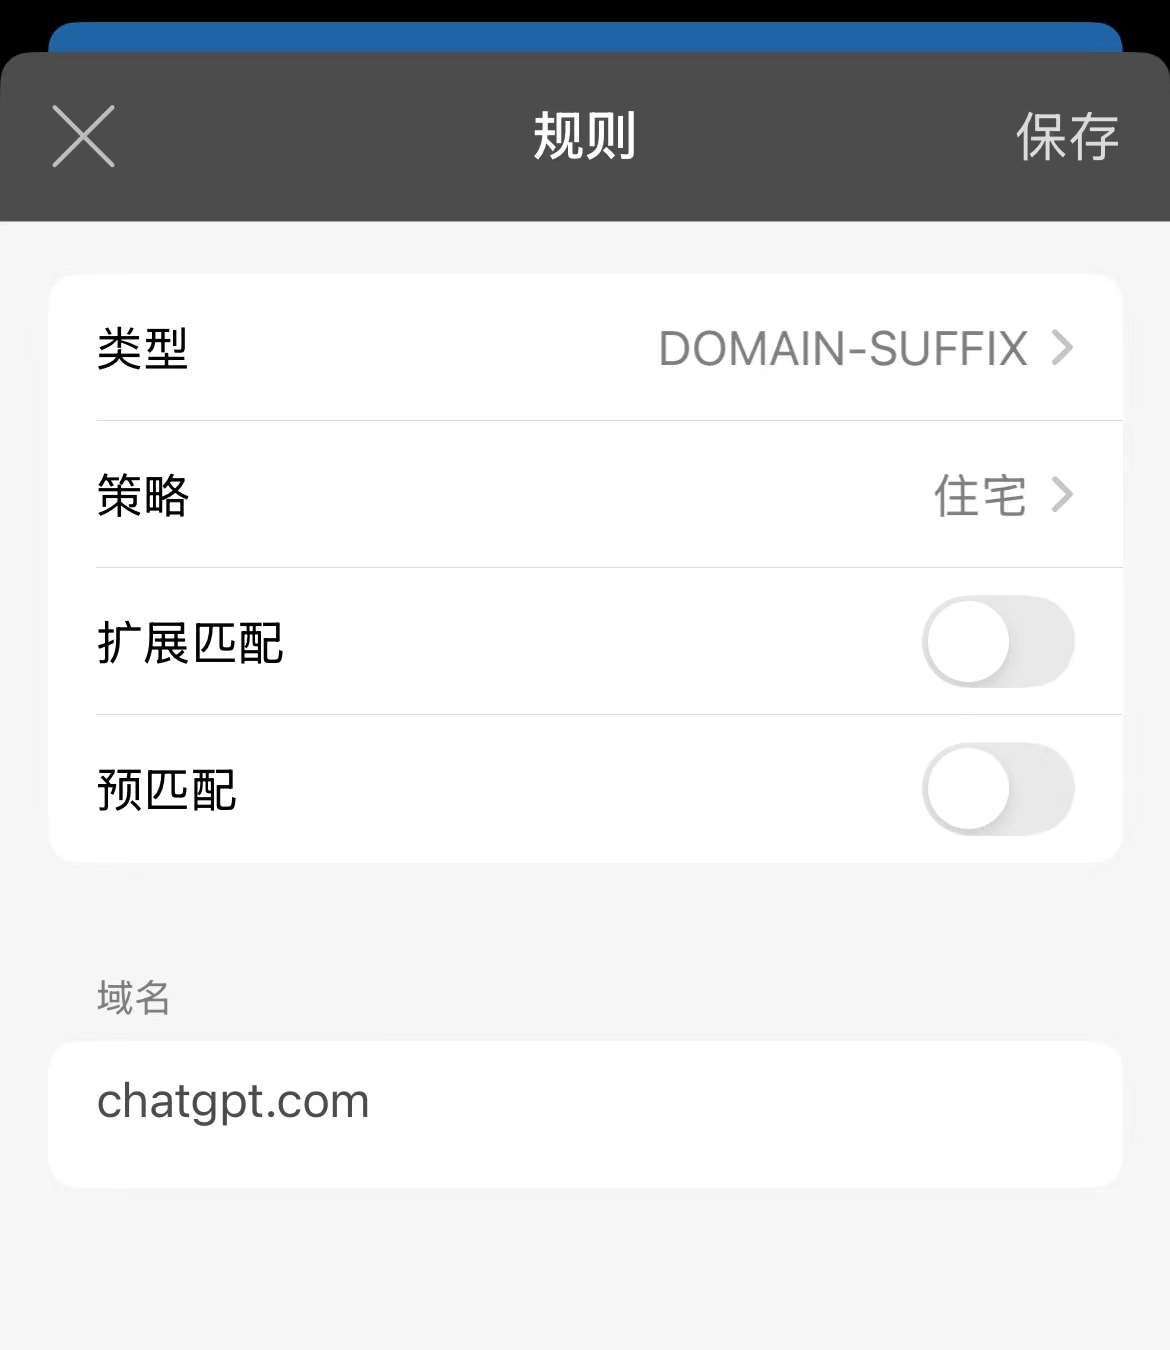
The type can generally be chosen as domain suffix or keyword matching. There are many details here, so I won’t expand on them.
I’ll directly use DOMAIN-SUFFIX to match domain suffixes. Fill the domain suffixes that need to go through the chain proxy into the domain field.
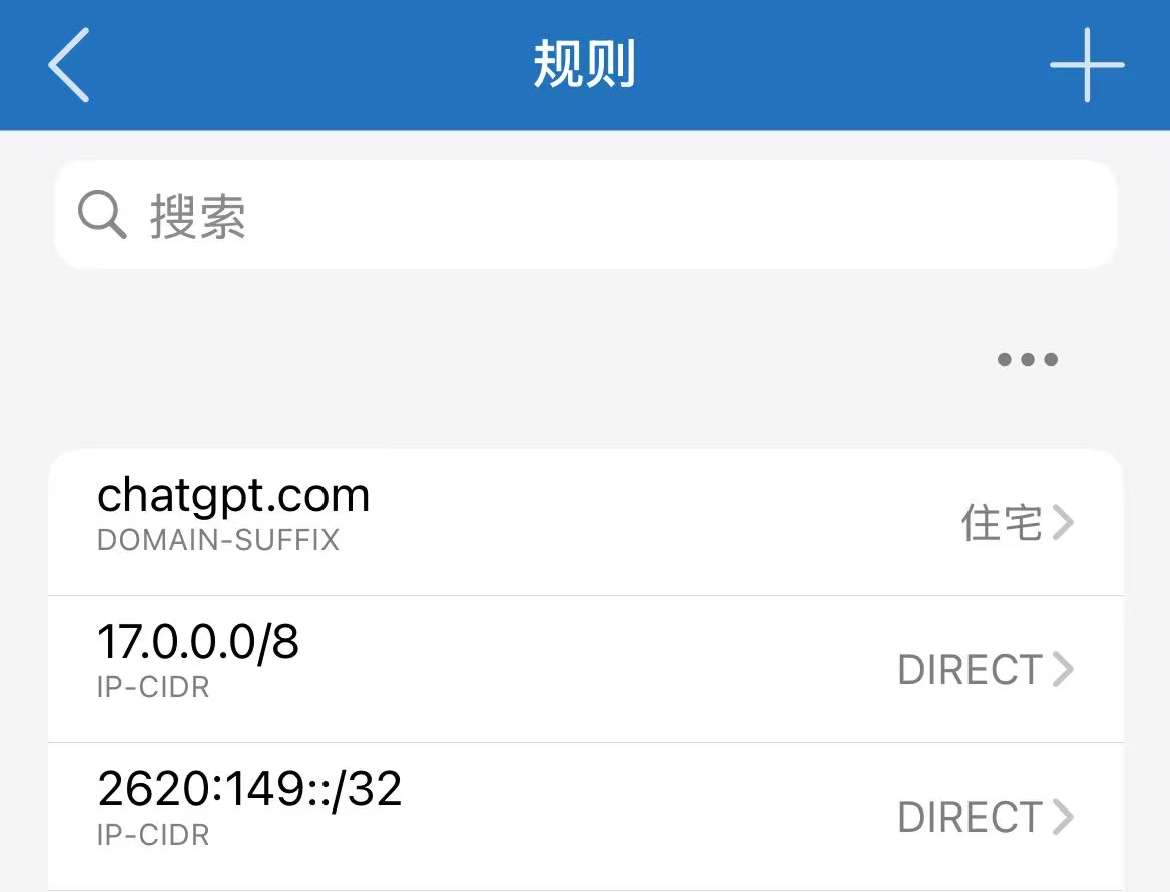
For example, I fill in chatgpt.com here, then set the policy to the residential node we added, and save.
Now ChatGPT will be automatically routed to the residential node.
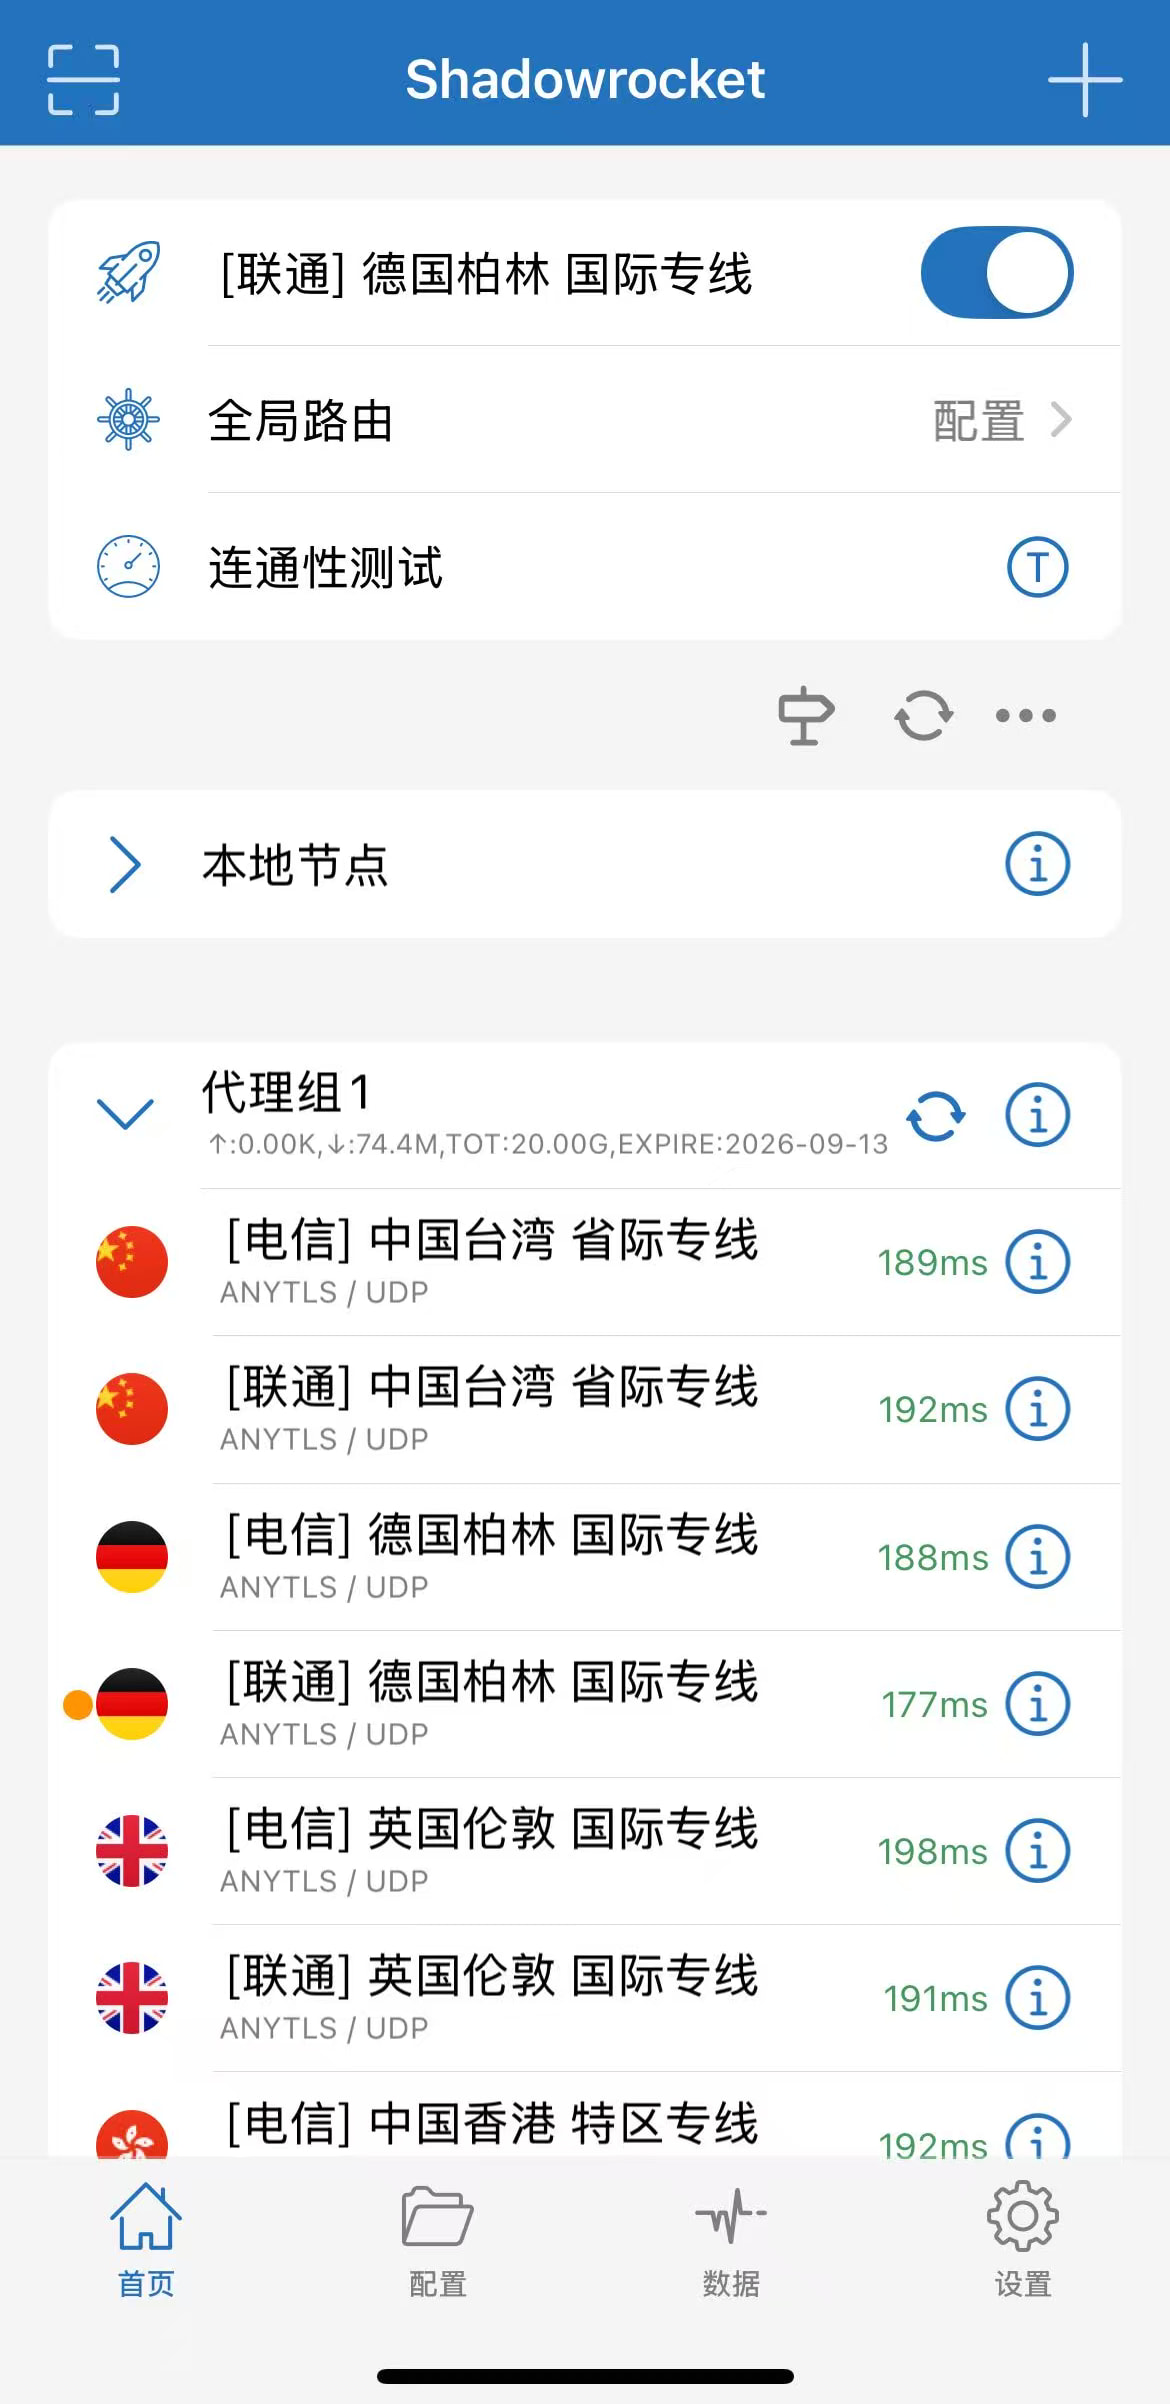
Go back to the home page.
Now the node doesn’t need to be the residential one; select the node you wish to use for your常规 proxy.
Go to a website to test.
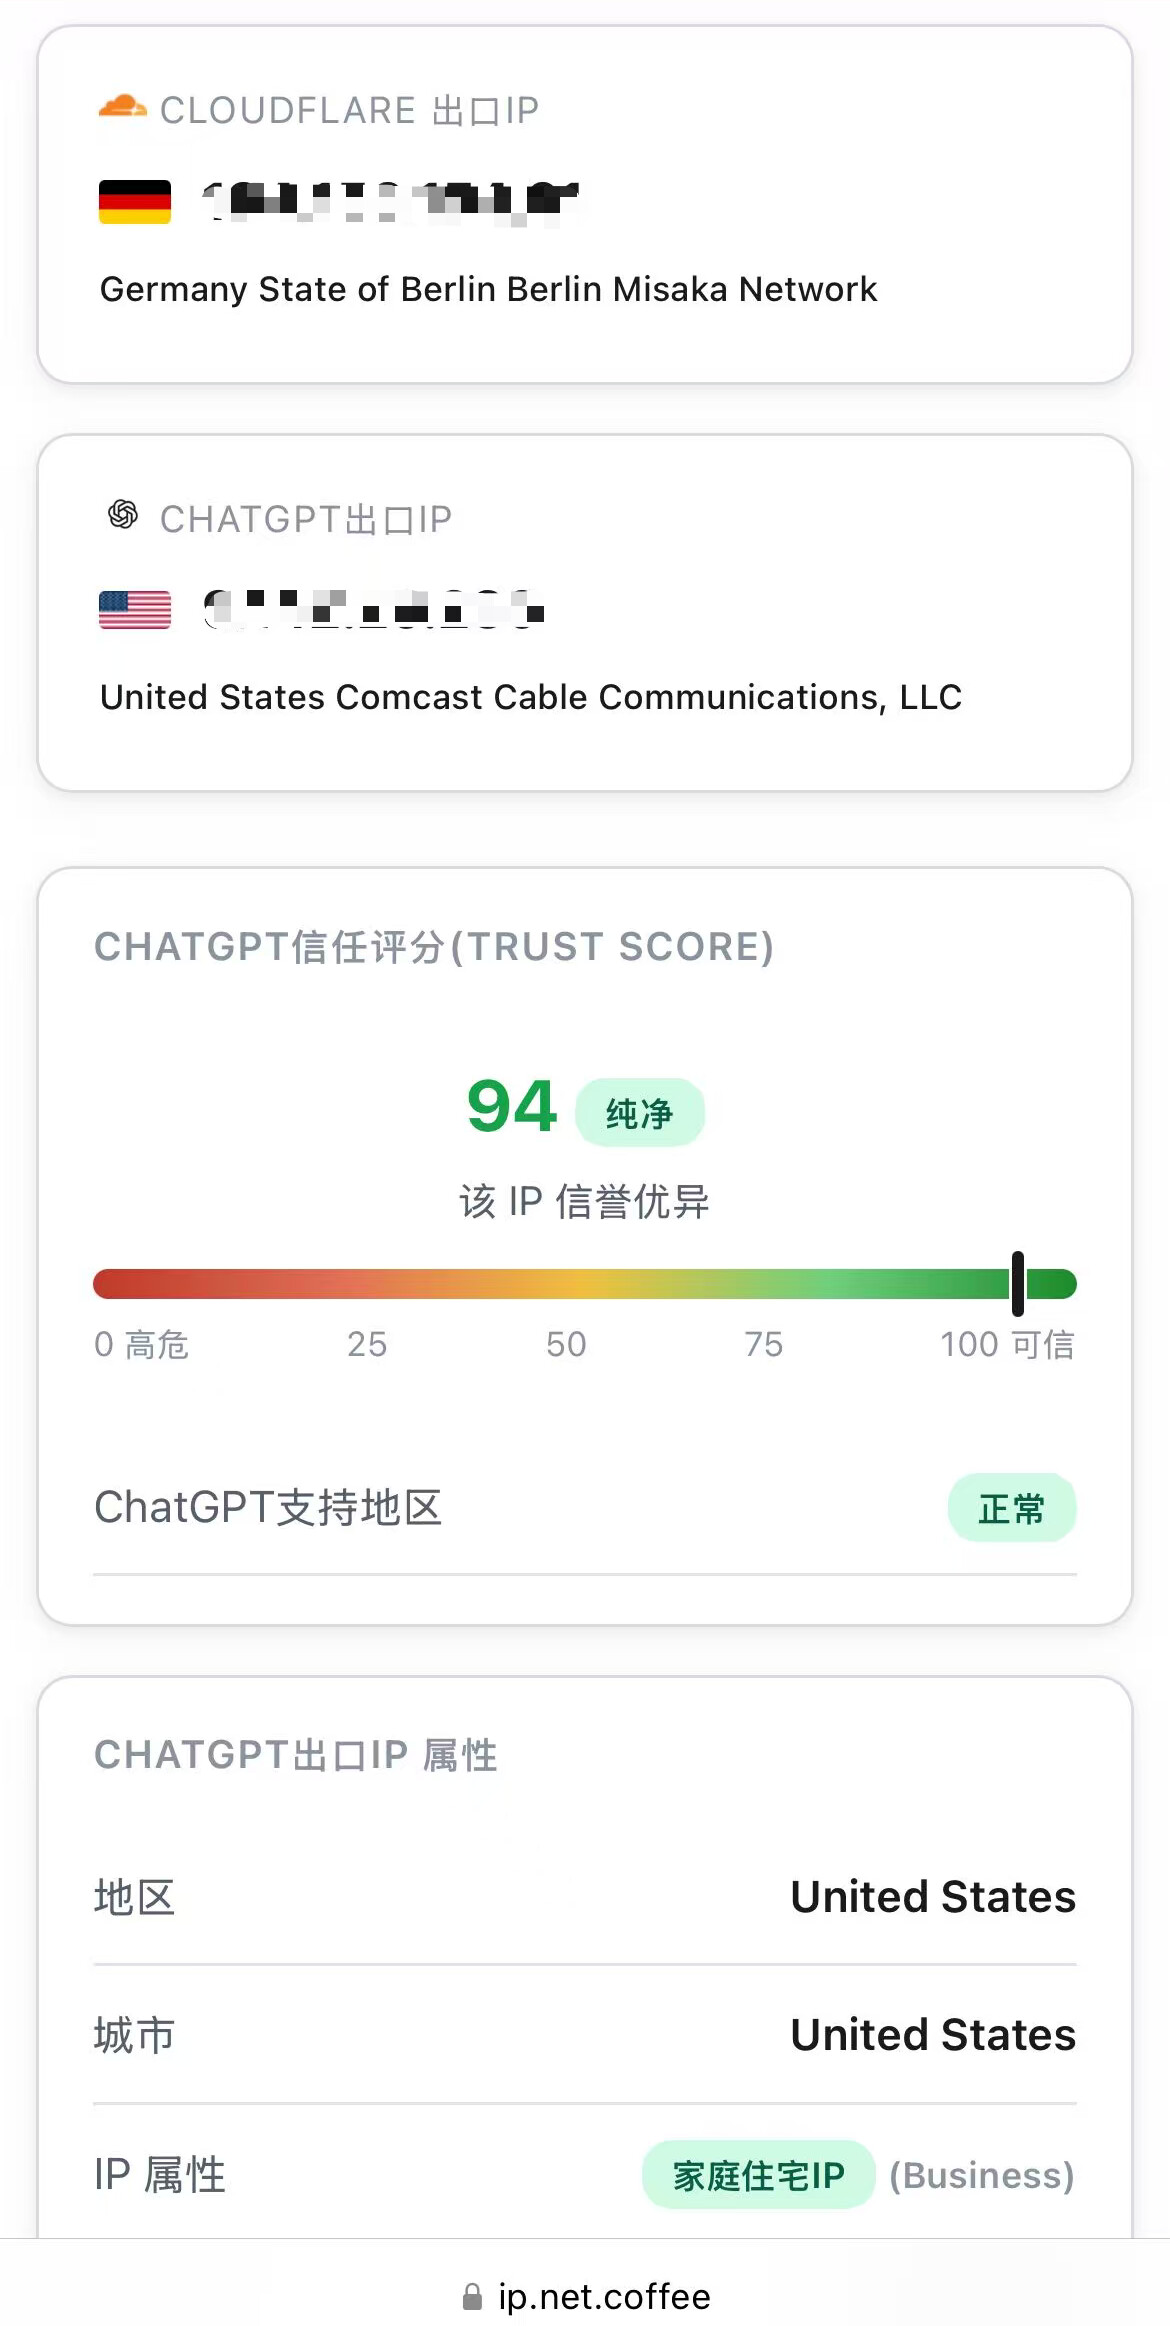
Cloudflare’s exit IP is Germany,
ChatGPT’s exit IP is our residential node.
No problem.
To add, the previous ChatGPT domain suffix addition was just an example.
If you want to do it properly, it’s建议 to add a series of OpenAI domains, especially those related to login.
The same goes for others like Claude and Gemini.
Also, in actual operation, you don’t have to add them one by one like this.
Find an AI to help you convert existing rules from your computer’s Clash / Surge / V2ray, etc., then generate a QR code and scan it directly.
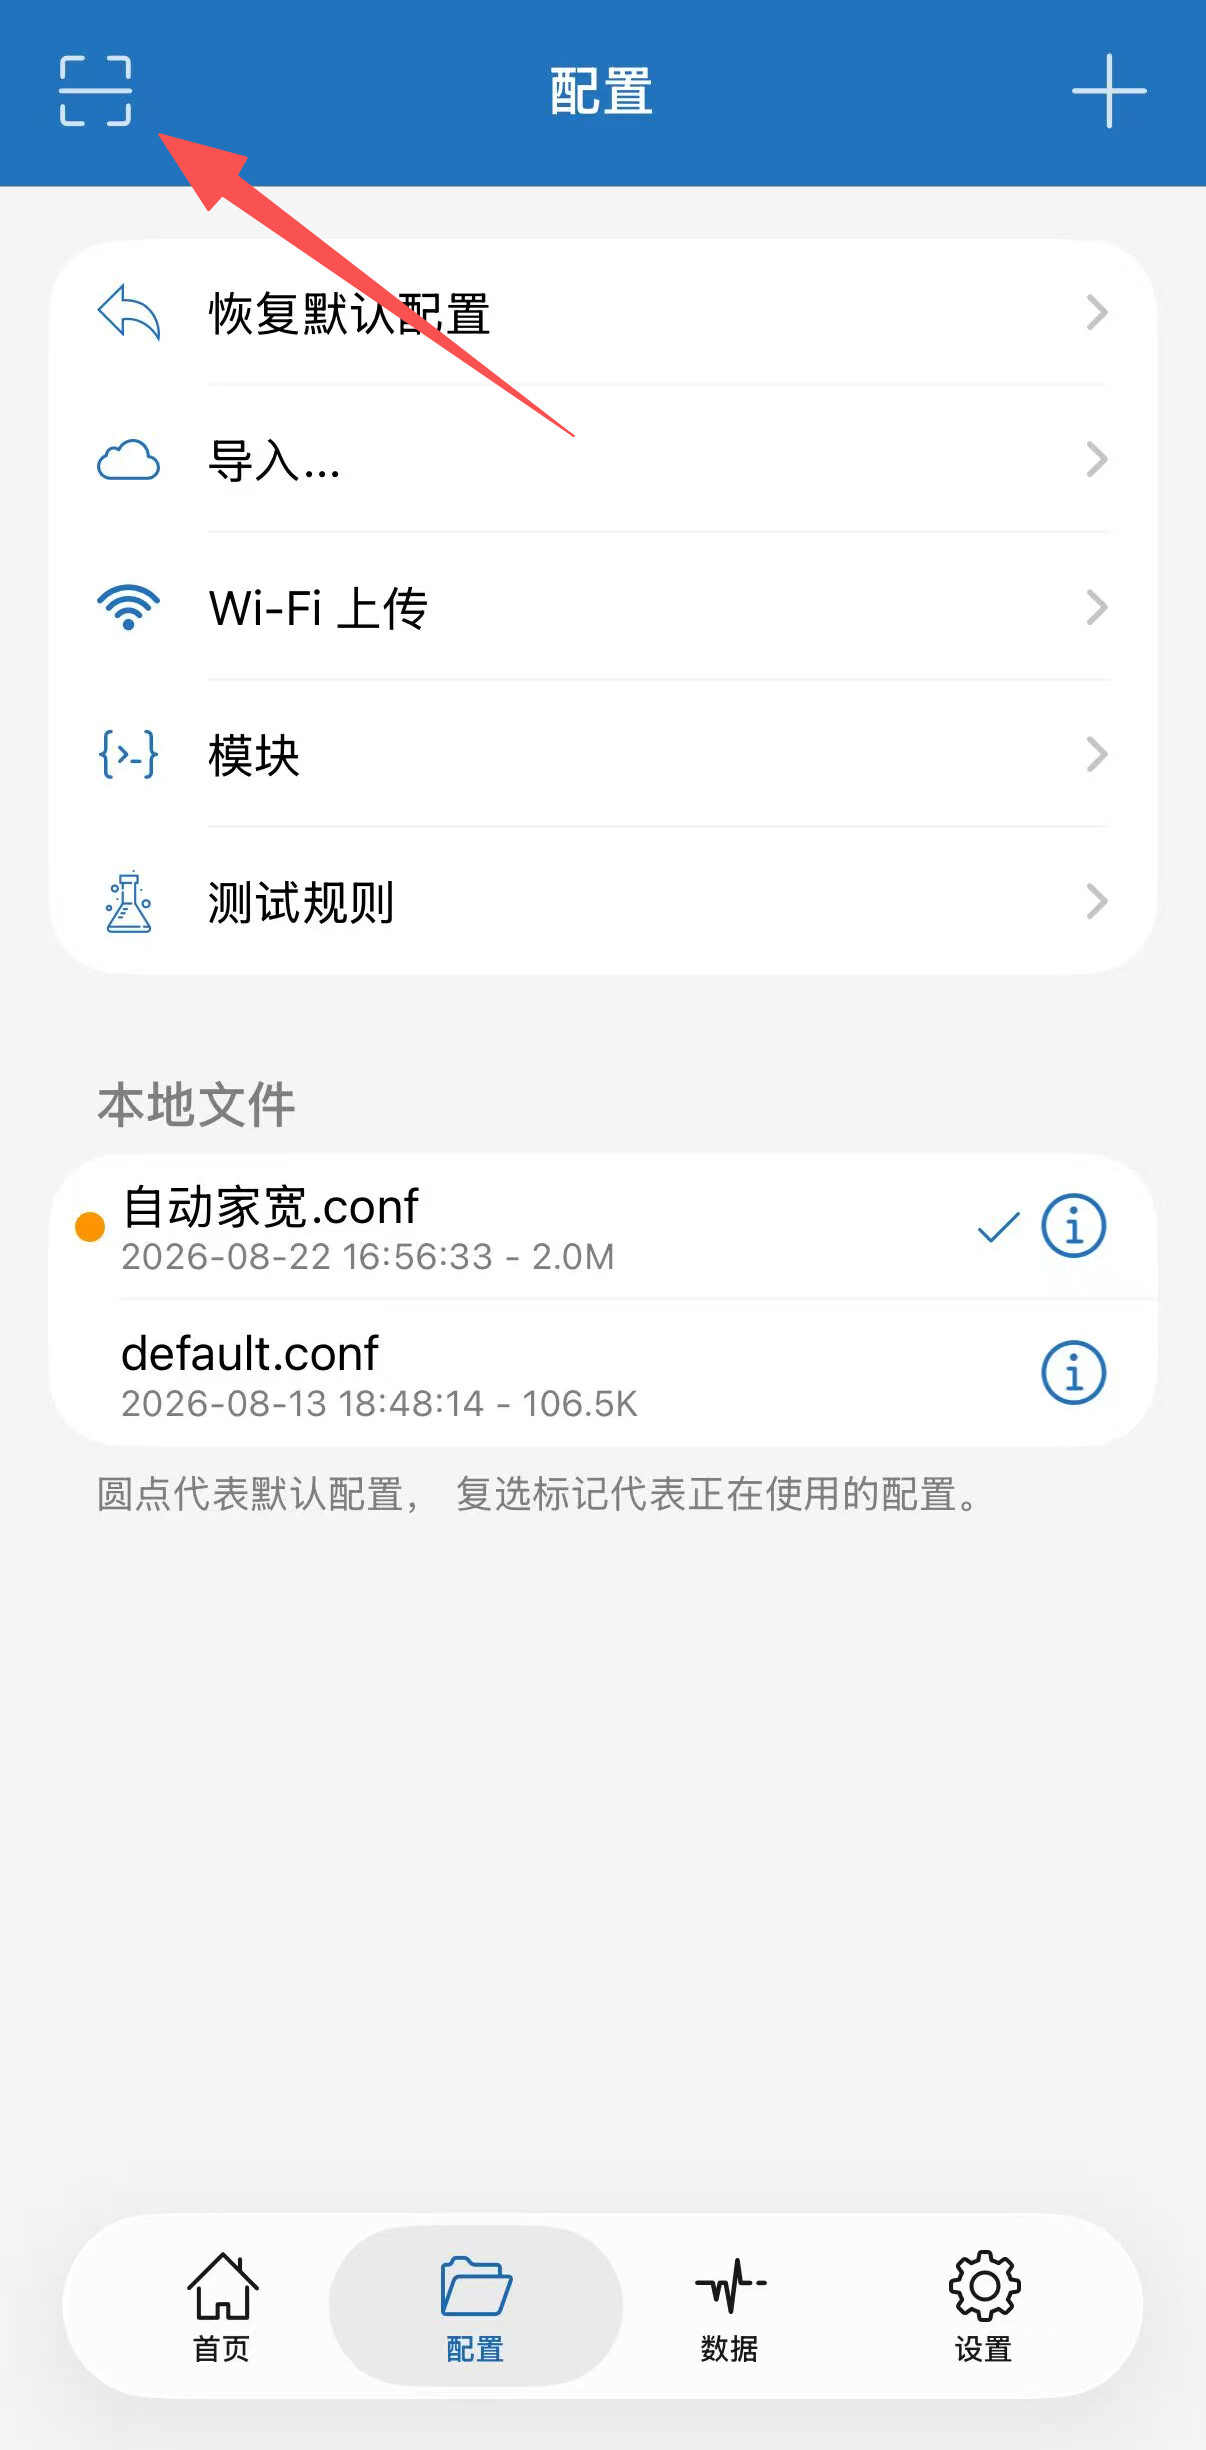
But when converting, I personally建议 maintaining relative restraint, only setting up分流 for some key websites.
Using overly complex分流 rules on a phone can also be a bit strange.
Especially some ad-blocking rule sets can be troublesome to manage on a phone.
That’s all.